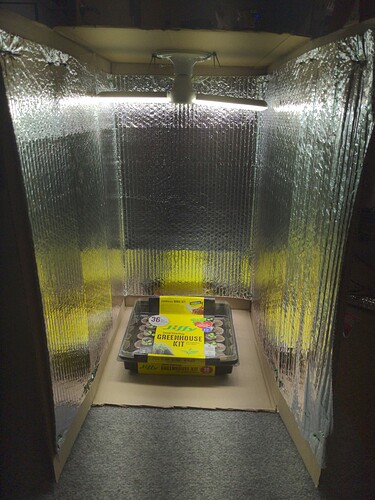
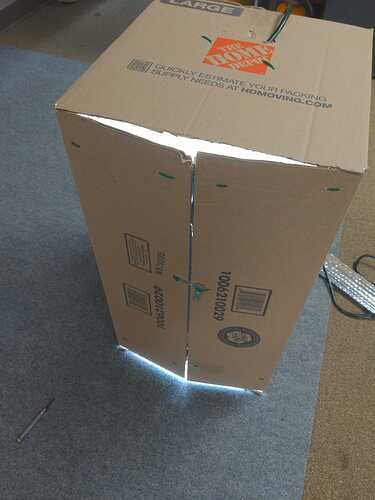
Inexpensive, open source hardware is a key way to advance knowledge and education. To contribute to this space, MARSfarm has created a $50 classroom greenhouse that anyone can build at home with a pair of scissors and a screwdriver. It is fully enclosed, lighted, and covered in reflective material. It has a PAR value of 230 with the doors closed and 171 with the doors open, which is not as much as the MV1 and FG-V3 units, but it is still useful for plant growth.
See this post about PAR which explains the process we used to measure the LEDs: Calculate Day Light Integral DLI using a Photosynthetically Active Radiation PAR sensor (also known as a PAR or Quantum Meter) - #2 by ben
The $50 Classroom Greenhouse
Here is the bill of materials that we recommend using. It is divided into materials that are required for proper function of the box as well as optional features to get more out of it.
Listed below is a full, step-by-step guide for assembly documented with pictures. Let us know if you have any questions about the assembly process. Please post pictures and feedback if you build one!
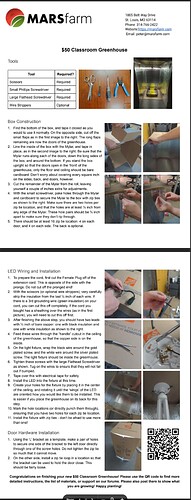
Here is a printable ‘one-page’ document with a summary of the instructions:
Box Construction
-
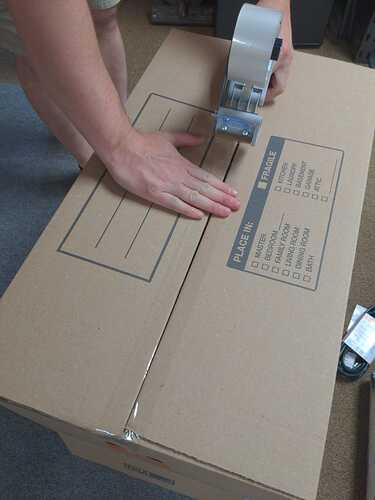
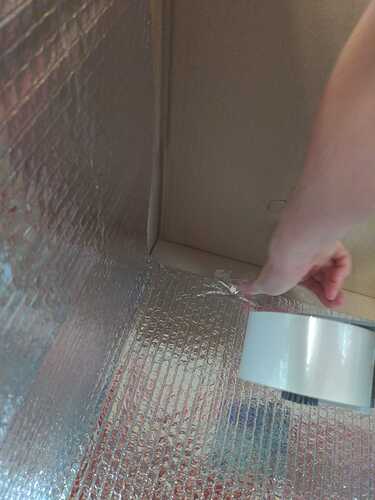
Tape bottom of the box closed
-
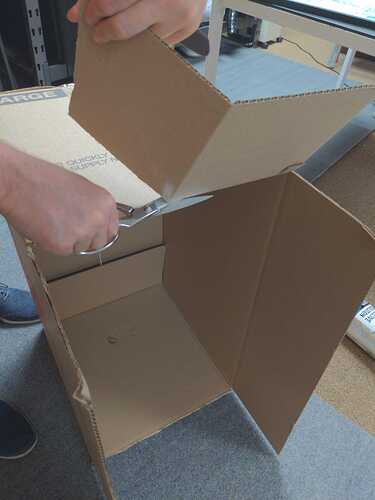
Cut off the short flaps of the top side – the long flaps are now the doors
-
Start on one door and tape the end of the mylar roll to the door so it can be wrapped around on the inside. This is just for convenience – the tape will be removed later.
-
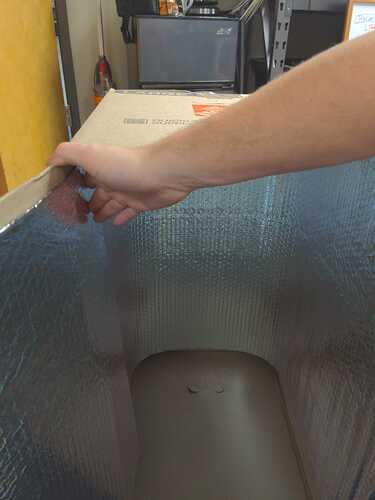
Wrap the mylar roll around the inside of the box to get an estimate of the correct length to cut the mylar. You will want the corners of the mylar to be tight to the corners of the box.
-
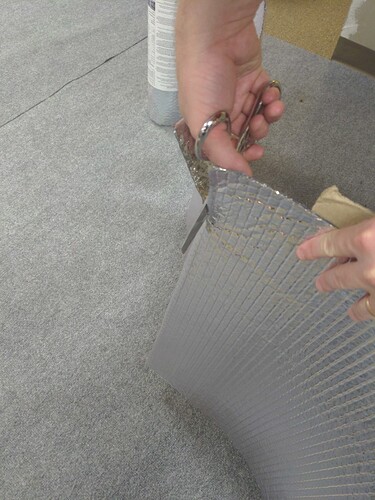
Cut the mylar, leaving about 4 inches of extra beyond the door
-
Flip the box so that the doors open upward
-
Press the mylar into the corners so it fits to the walls of the box, and secure with tape
-
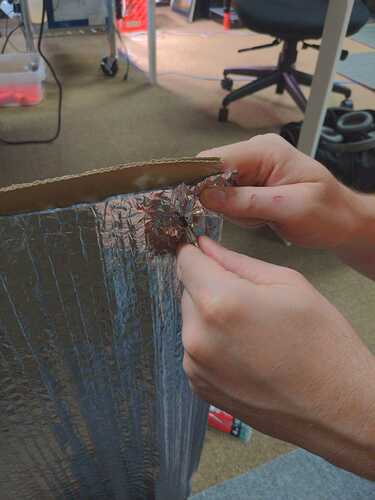
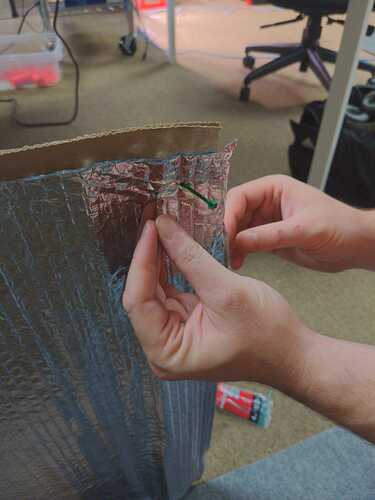
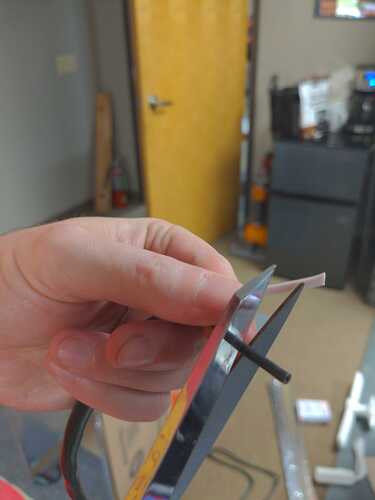
Poke two adjacent holes (¾” to 1” apart) through the cardboard and mylar. Make sure the hole are at least ½” away from the edge of the mylar. It’s quite easy to stab through both layers with just a screwdriver. Be careful with your fingers on the other side.
-
Put a zip tie through them to secure the mylar to the cardboard
-
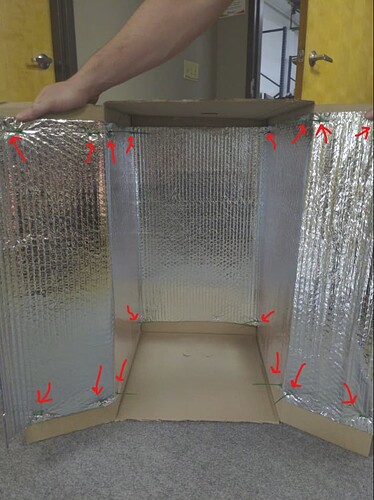
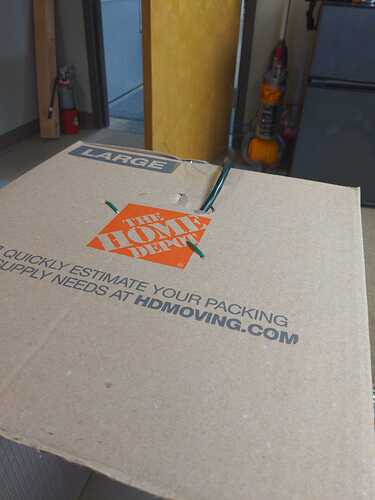
Repeat steps 8 and 9 in multiple places around the box. It is easier to completely finish one zip tie location at a time instead of poking all the holes and then putting in all of the zip ties. There are four zip tie locations on each door and left/right panel. Zip ties are optional in the back, but it is more difficult to stab through both layers of cardboard. The zip tie locations are circled below.
-
Cut off the excess mylar on the other door
-
Trim all of the zip ties.
LED Wiring + Installation
-
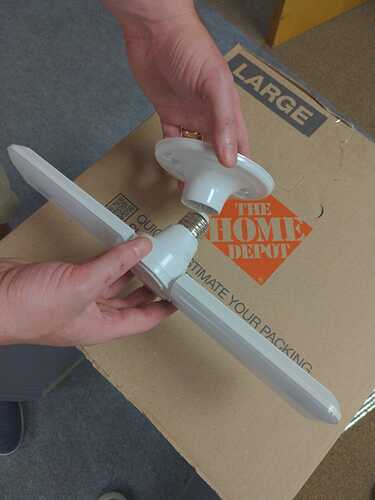
Unfold the light and screw it into the base
-
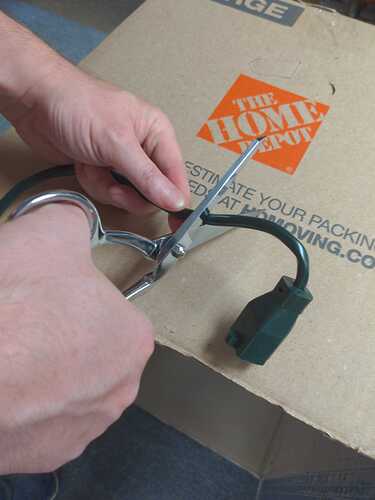
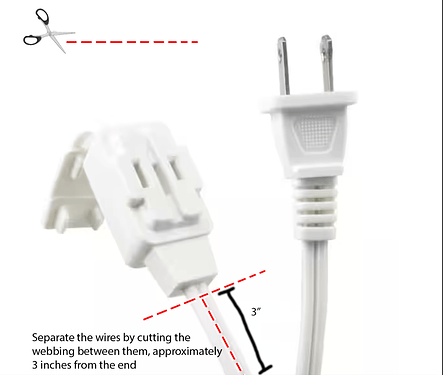
Cut the female end of the extension cord, leaving a length dependent on your setup. Your wire will likely vary compared to ours, as we used a different brand of extension cord that came with a ground. In our BOM, we specify a cord without a ground, as it is not used.
-
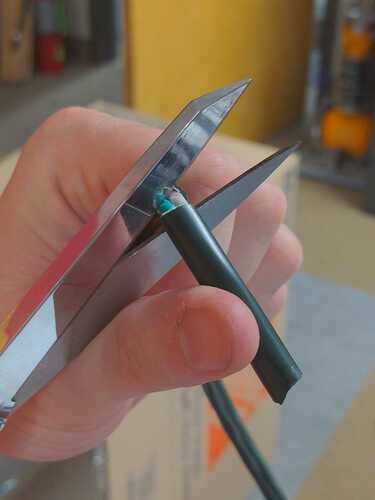
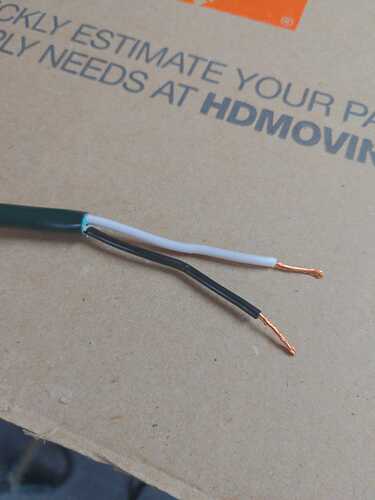
Carefully cut through only the outer sheathing, being careful to leave the inner wires intact. If you bought the extension cord in the BOM, there will not be an outer sheathing, so the two wires can be pulled apart.
-
Cut off the grounding wire (if you bought an extension cord with three wires)
-
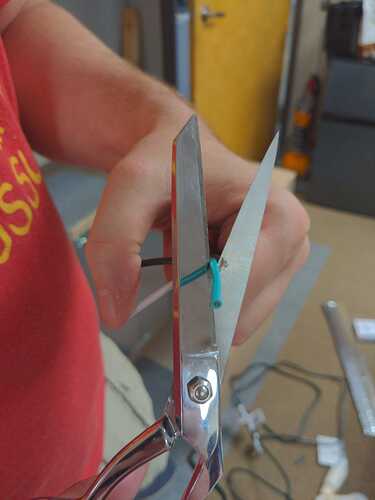
Strip at least ½” off the end of the remaining two wires. Be careful to avoid cutting the copper strands. This can be done with scissors, but it is recommended to use wire strippers. Removing too many copper strands can be dangerous.
-
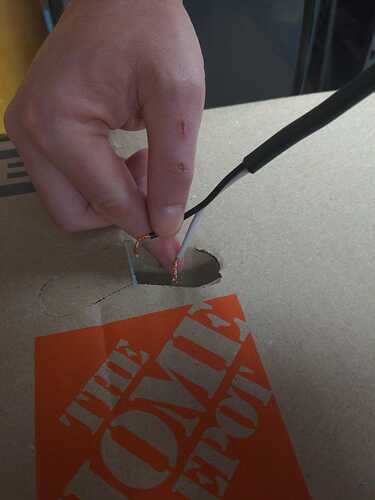
Pass the wire bundle through the hole in the side of the box. The wire should enter from the outside.
-
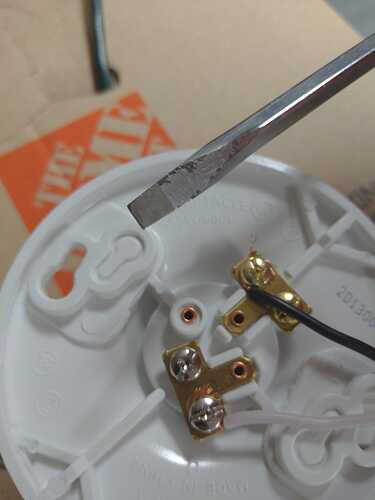
Connect the white wire to the silver terminal, and connect the black wire to the gold terminal. Screw
the terminals down to lock the wire in place. Be sure that the wire end is still on the inside of the box, as the light attaches to the inside.
-
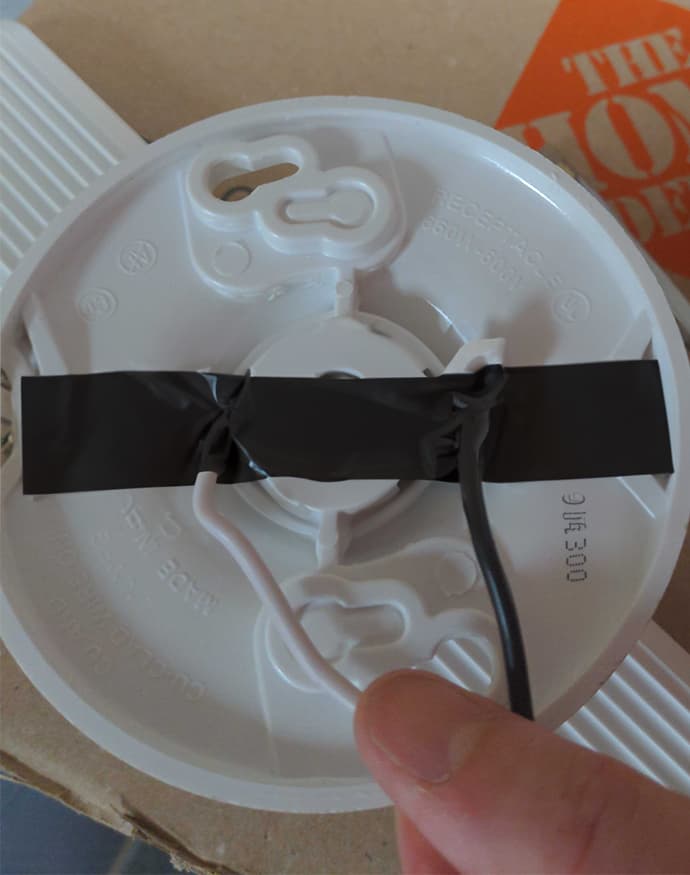
Use the electrical tape to completely cover both screw posts and bare wires
-
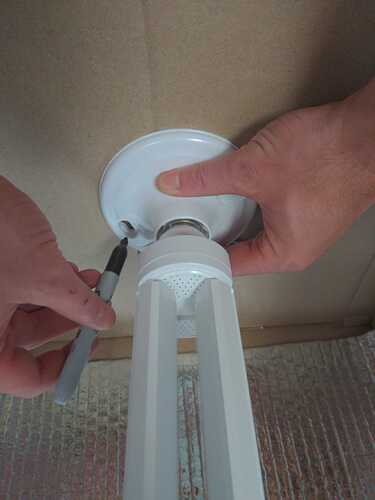
Fold up the light and center it on one of the short sides of the box.
-
Mark the locations of the holes through the base and holes on the outside of the base to zip tie the fixture onto the cardboard
-
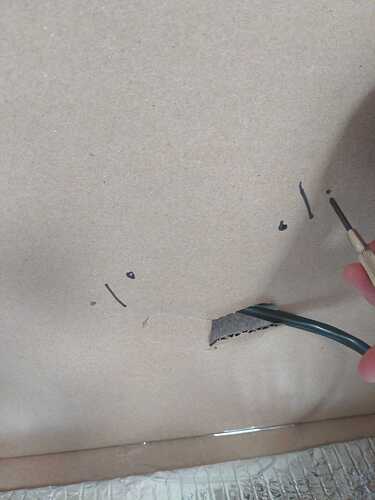
Remove the light, and poke through the holes. The lines drawn were to mark the edge of the base to mirror the hole distance.
-
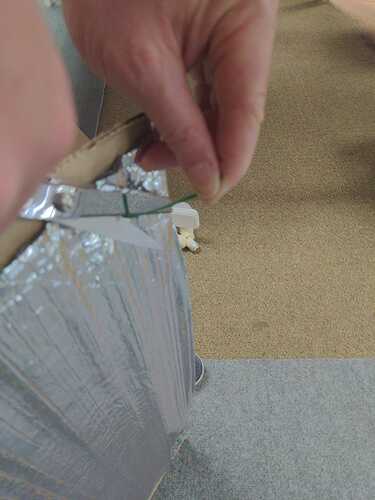
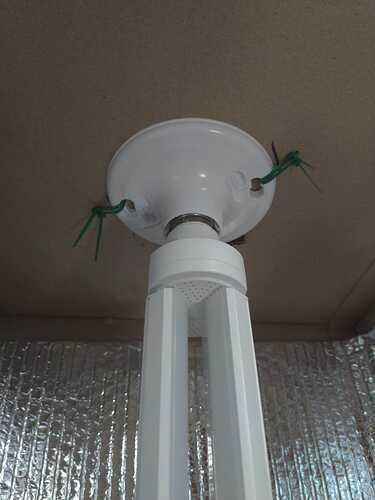
Put the light in place, and put in zip ties. Don’t be afraid to double them up on each hole.
Door Hardware Installation
-
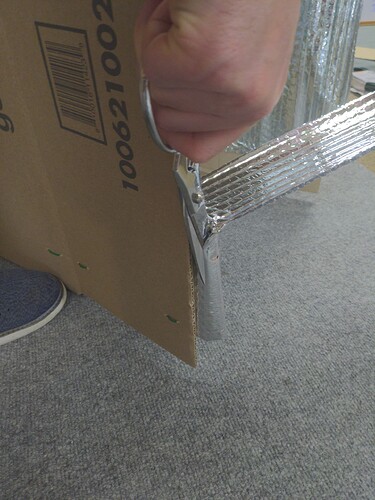
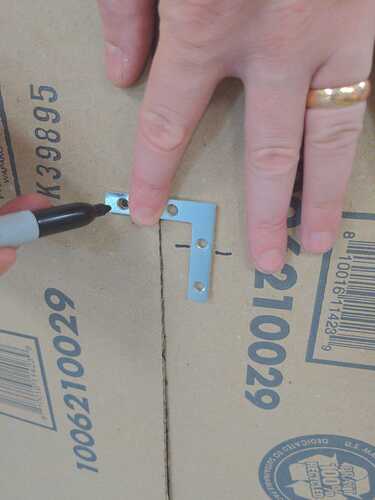
Line up the L bracket with the doors, and mark the hole locations
-
Put in zip ties and the L bracket, and secure the door in place. One side of the bracket should be zip tied tightly to its hole. The other door should have a zip tie that is an empty loop that is loose enough for the bracket to slide through easily.
