I have exciting news for you all. Over the past couple of weeks, I have been growing tomato plants in my MV1 units! ![]()
![]()
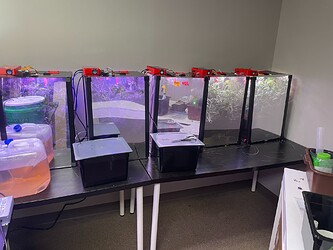
This is a photo of all the tomato plants inside the units.
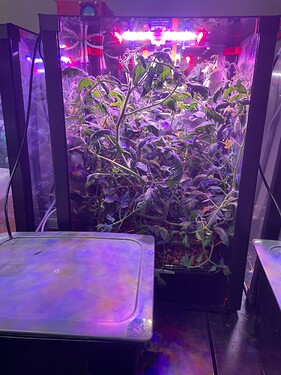
This is a photo of what the tomato plants look like. They are very large and grew very quickly. Becuase of their size I recommend putting one tomato plant in the unit at a time.
There were some differences in the setup of the tomatoes:
-
For media we used hydration clay balls. This was an interesting experiment, but I noticed they do a very good job at soaking up and distributing water.
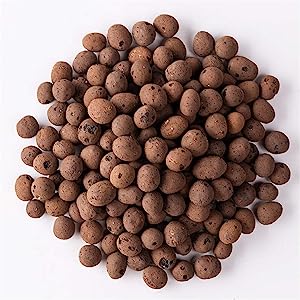
This is an image of the media that I used when planting the tomato plants. -
We added Jacks 1868 Hydrofeed as nutrients into the reservoirs to give them a total TDS of anywhere between 1400-3500 PPM. This is indicated as the right amount of nutrients for tomato plants to grow. For more information about the right PPM and pH to grow your plants visit this link: Hydroponic Charts for Fruits and Vegetables: pH, TDS, EC, cF, PPM
Additionally, because these plants grow to become so large, we decided to keep the reservoir outside of the unit to maximize growing space. We are currently using three different types of outer reservoirs:
This first reservoir currently has three units using the water inside. This is good practice if you want to ensure that multiple units use the same water while you run experiments.
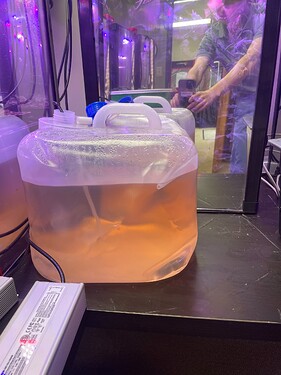
This second reservoir is only giving water to the unit behind it. The orange color is due to added nutrients.
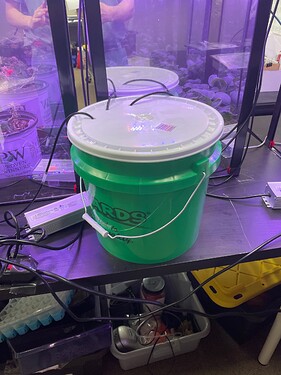
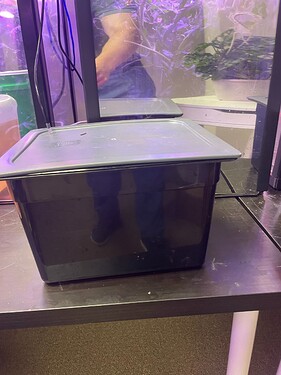
This last reservoir is the typical reservoir that the units use. We put a lid on it so nothing can get in the water and change the nutrients level.
Keep in mind whether the reservoir is inside or outside the unit, does not change the water output or watering time, it just allows for fair experimentation and gives the plants a couple of extra inches to grow. I recommend setting up an outer reservoir if you are growing plants that tend to grow tall (such as tomatoes).
Because the reservoirs are outside we had to move the water uptake tube. We did this by fishing it through a hole at the top of the unit. We attached multiple tubes to add length (if you need additional tubing contact peter@marsfarm.com and we will be happy to send it to you).
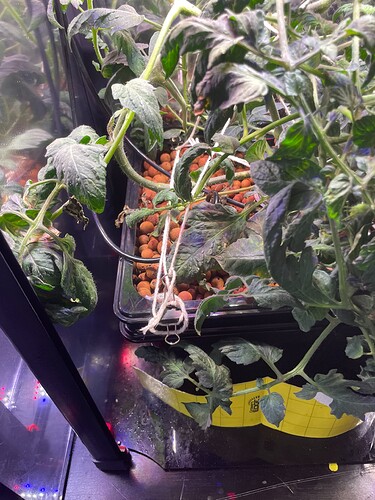
This image depicts how we set up the tubing. As you can see it is going through a hole at the top. It then hangs down into the reservoir.
NOTE: Only the water uptake tube (the tube with the drainage guide) is the one that is set up differently. The other tube is hanging in the upper tray as normal.
Lastly, I will like to give you a tip for when your plants get large:
When plants get large you can take some string and hold some of the stems down. This can allow for more room and allow the plants to grow without getting too close to the lights and heaters which can damage the leaves.
This image depicts how we tied down the plants. Notice how we attached the strings to Binder Clips and then clip them on either end of the upper tray.
Unfortunately, this is my last day working at MARSfarm, so I will not be able to post progress on these plants ![]() . If you have grown tomatoes before or would like to share what you grow in your MARSfarm unit, feel free to reply to this thread.
. If you have grown tomatoes before or would like to share what you grow in your MARSfarm unit, feel free to reply to this thread.
