Hello everyone,
My name is Steven Solomon and I will be interning this summer at MARSfarm. I just completed my sophomore year at Indiana University where I major in Finance and International Business and minor in Public Relations. This summer one of my roles will be to use the MARSfarm Version 1 and help make materials to help the user understand and use all the hardware and software here at MARSfarm!
3 Likes
Steven, I am excited for you! As a teacher let me say that the work you will do has great value! Have a fantastic summer.
3 Likes
Over the past week, I have been assembling some MV1s, and here are some of the common mistakes I have encountered along the way:
-
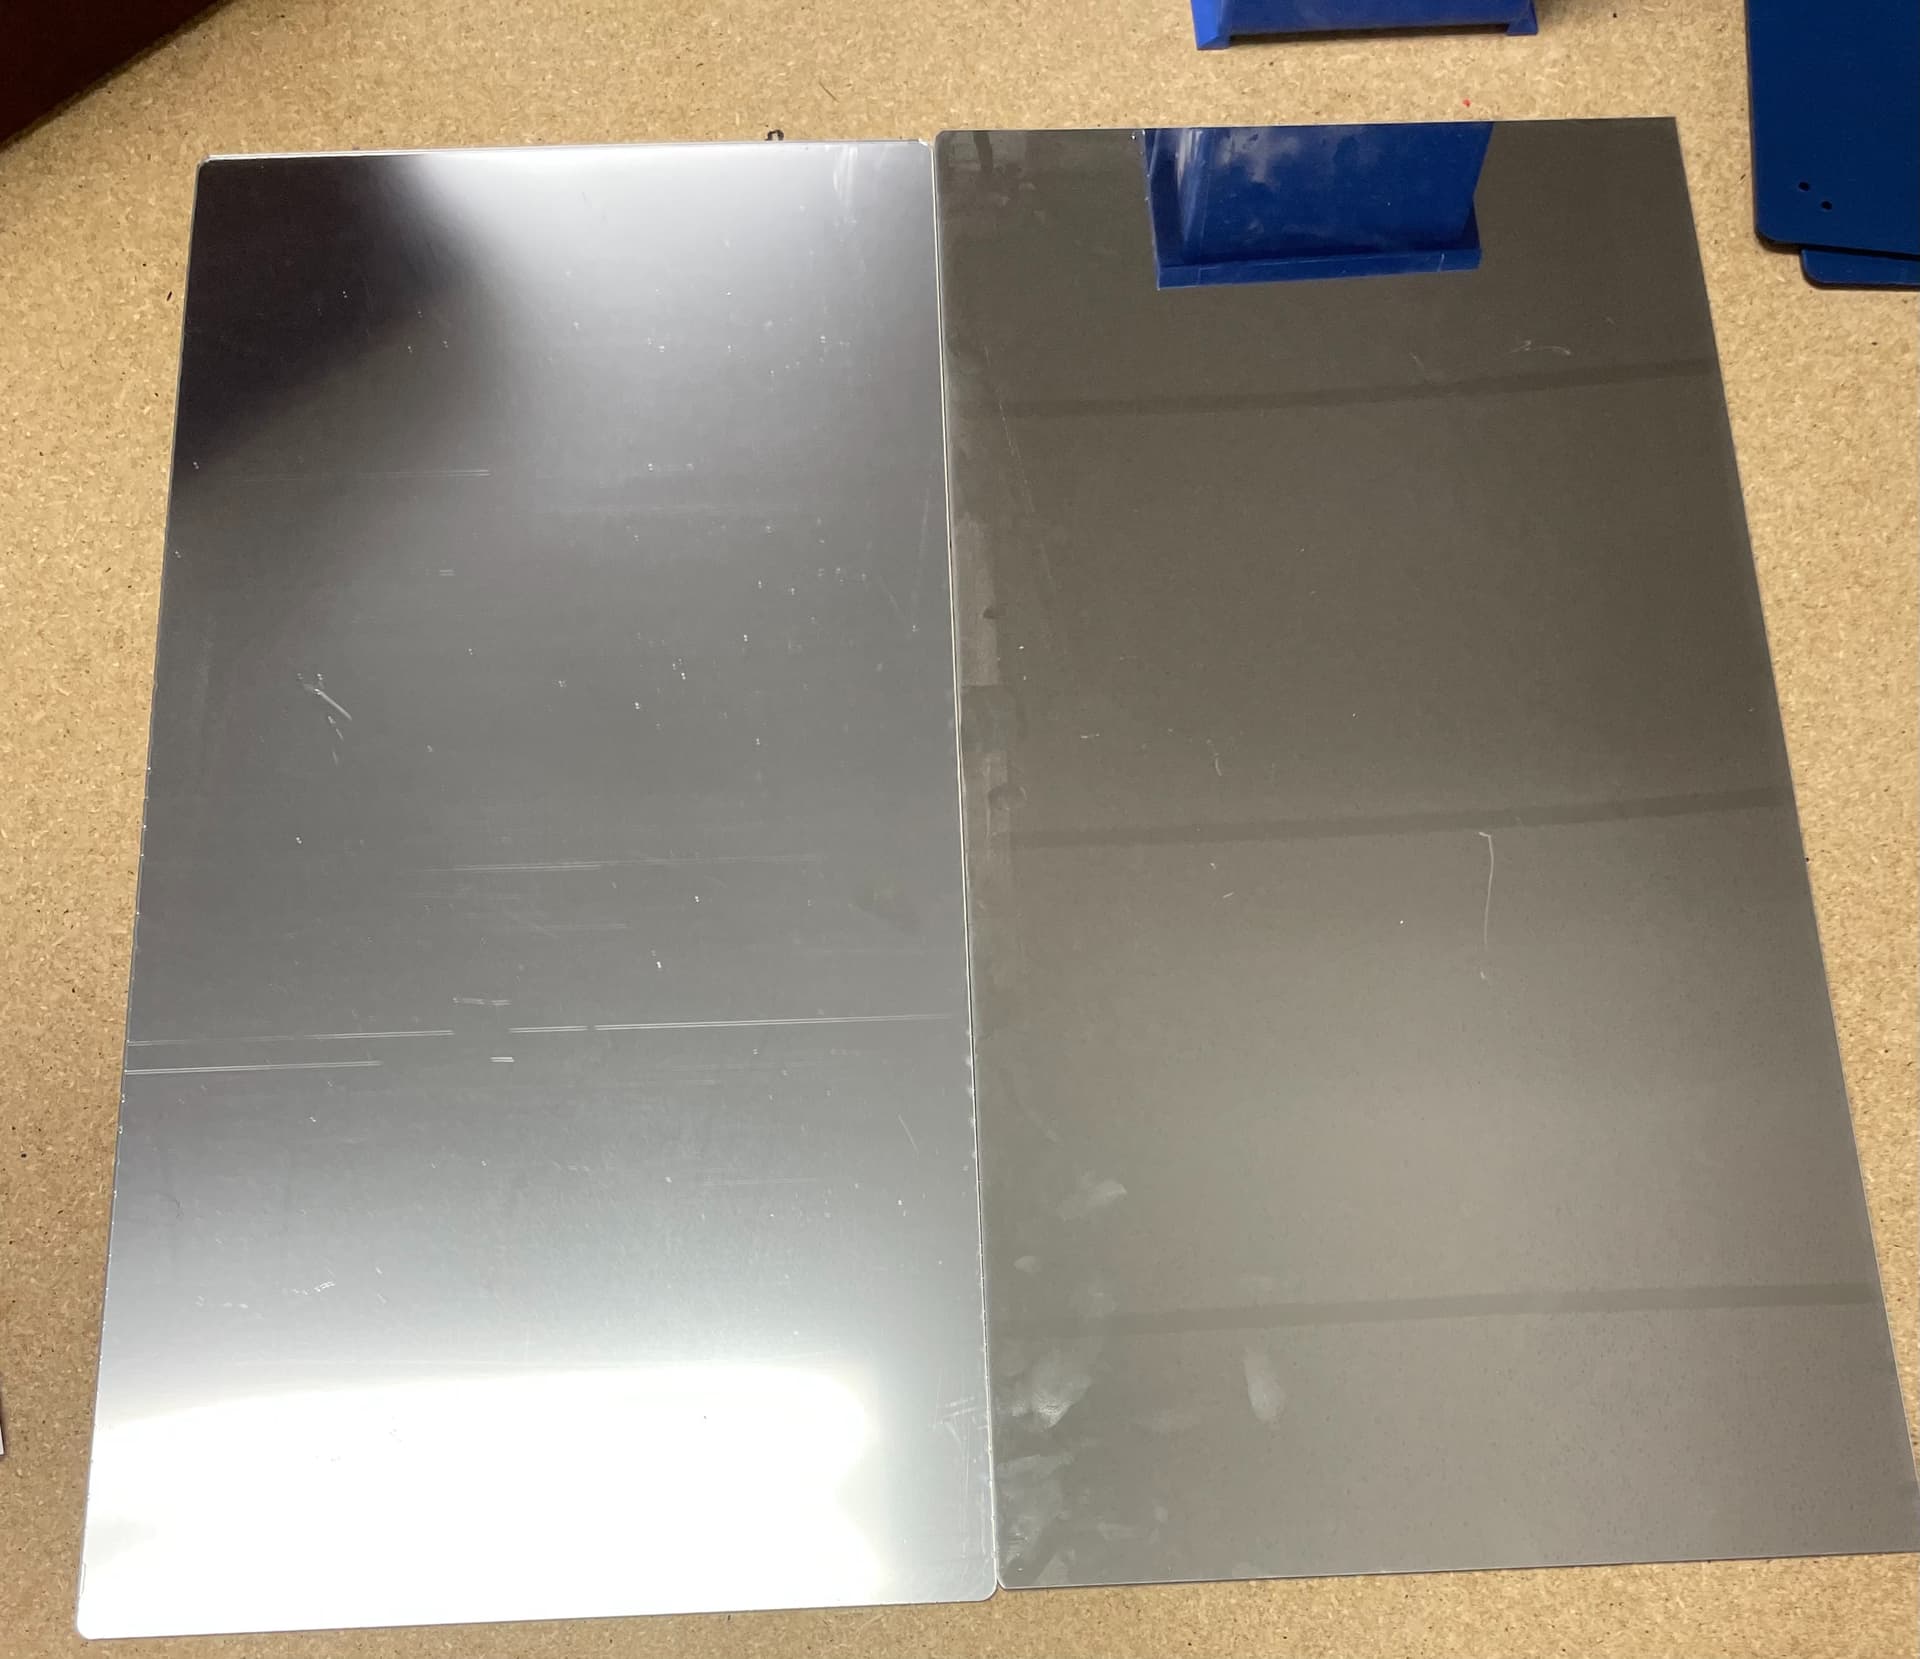
First, Make sure the plastic film and bottom are removed. It is sometimes hard to tell if the film is on and it is often on both sides. The panels should be almost see threw (if they are foggy, there is a film on them)
Two side panels, the one on the left has film
The bottom should be black on both sides (if it is blue, there is still film)
Two bottom panels, the one on the top has film -
The heater is often installed incorrectly (I did this several times myself).

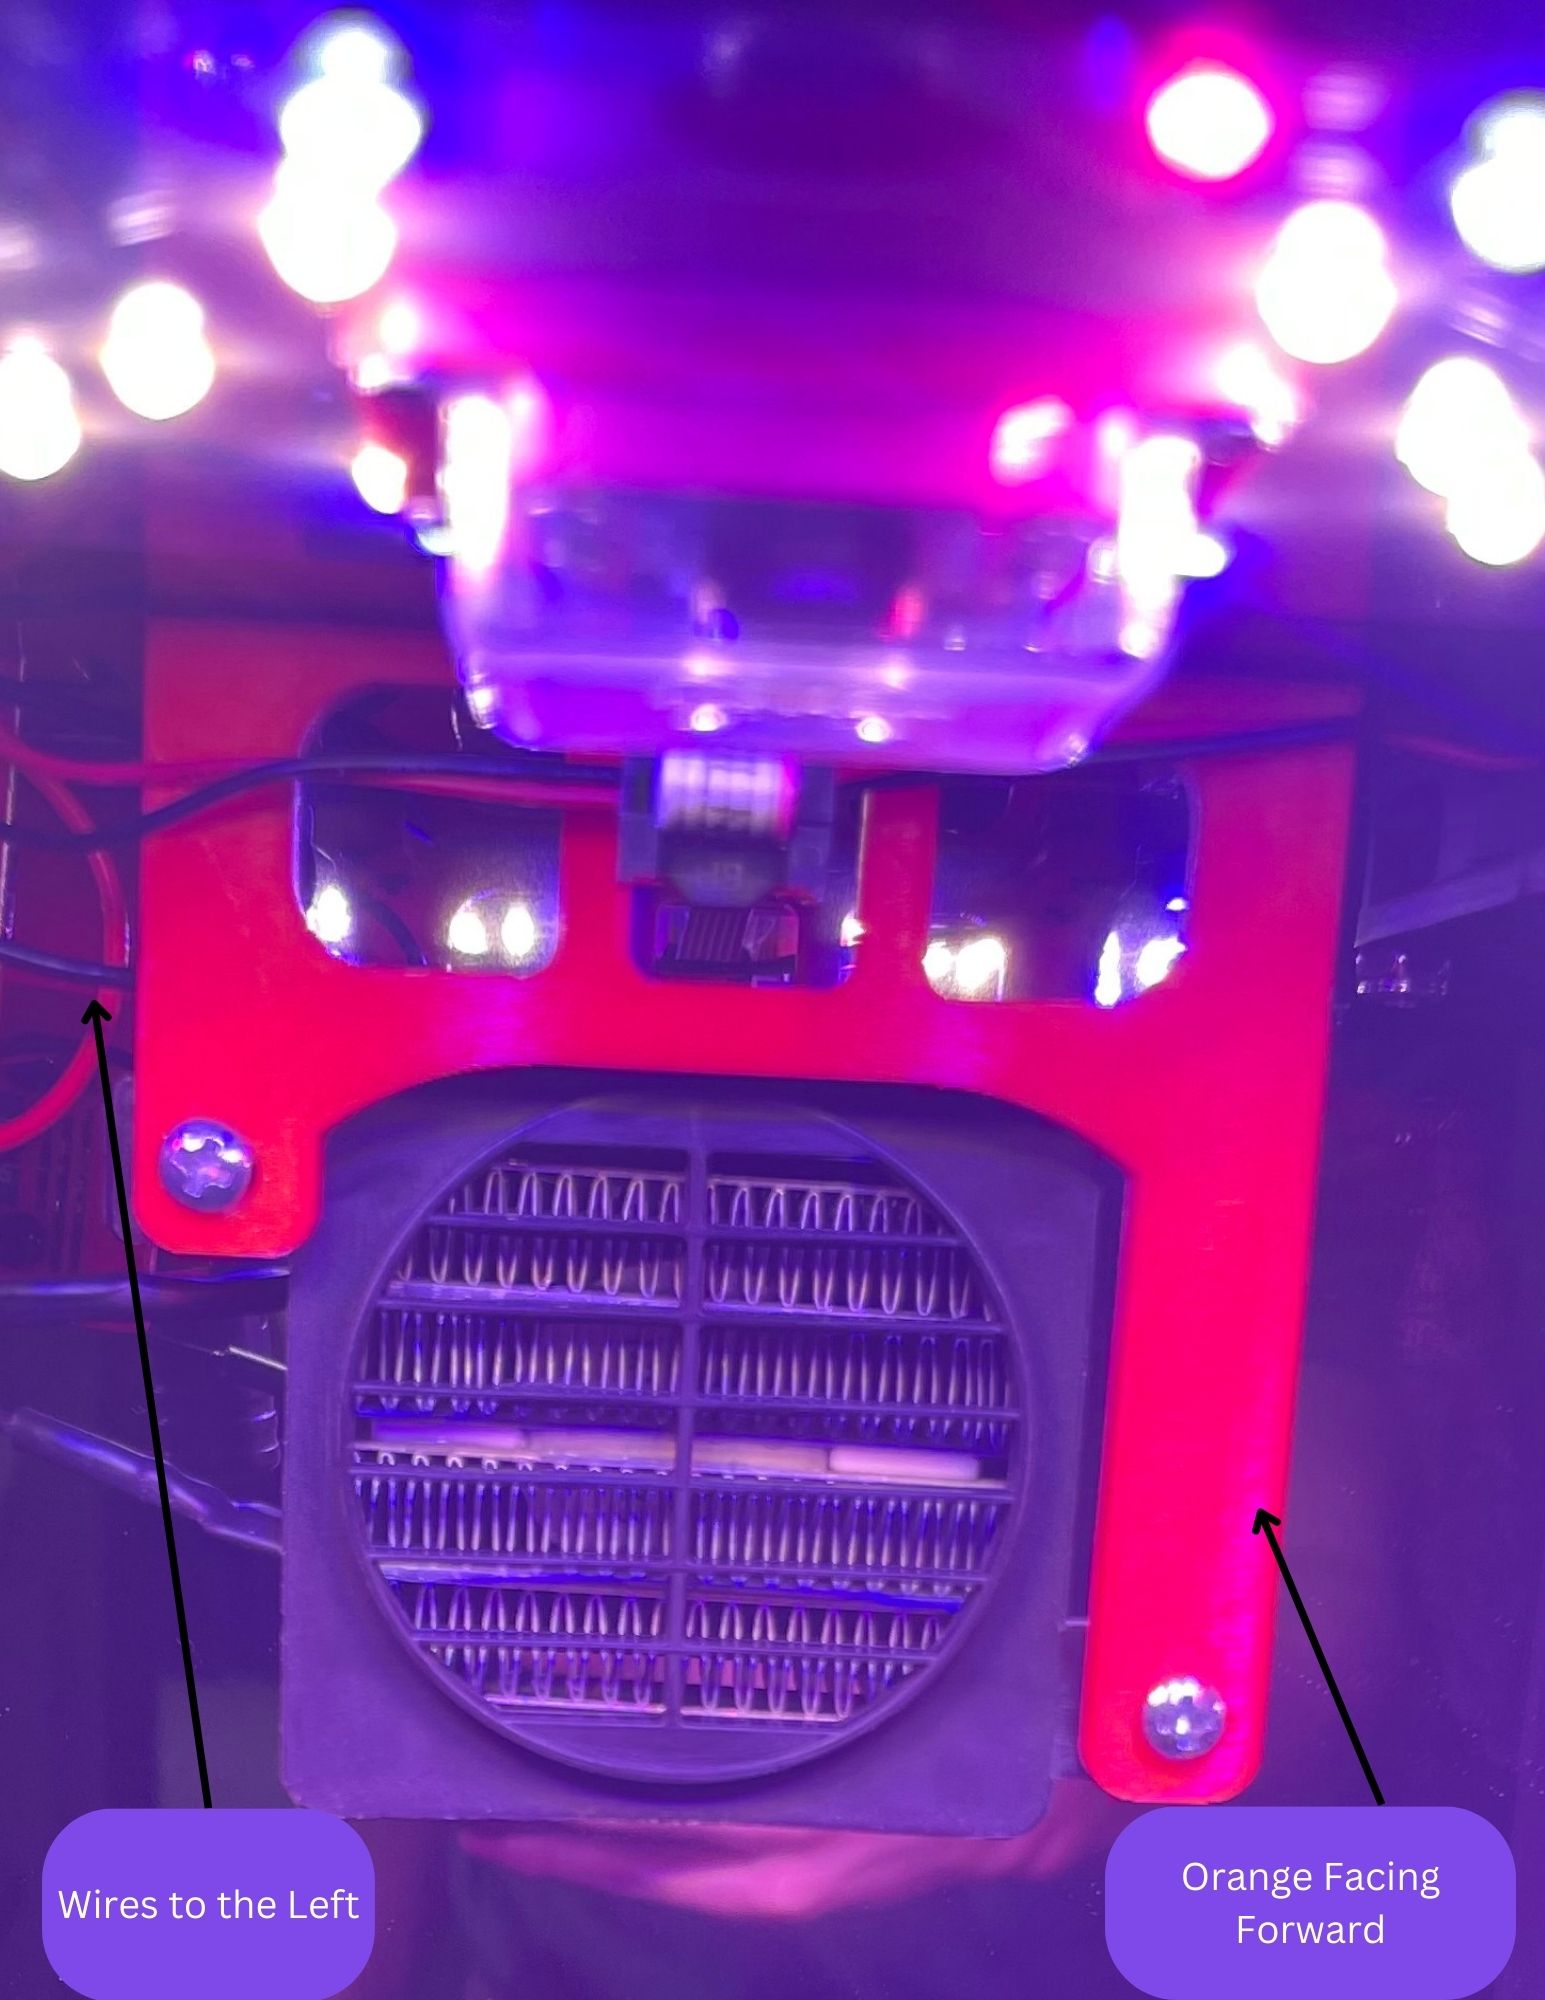
- The orange part of the heater should be facing forward.
This is a heater installed correctly - This is seen in the assembly guide, but we understand that it is not the most clear.
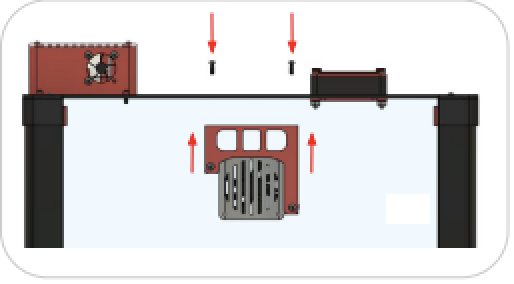
This is the fan installation in the assembly guide. As you can see, the orange part is facing outward with it the longer orange side going to the right
Lastly, to double-check that the heater is installed correctly, it is blowing towards you. You should feel the hot air once you turn on your box.
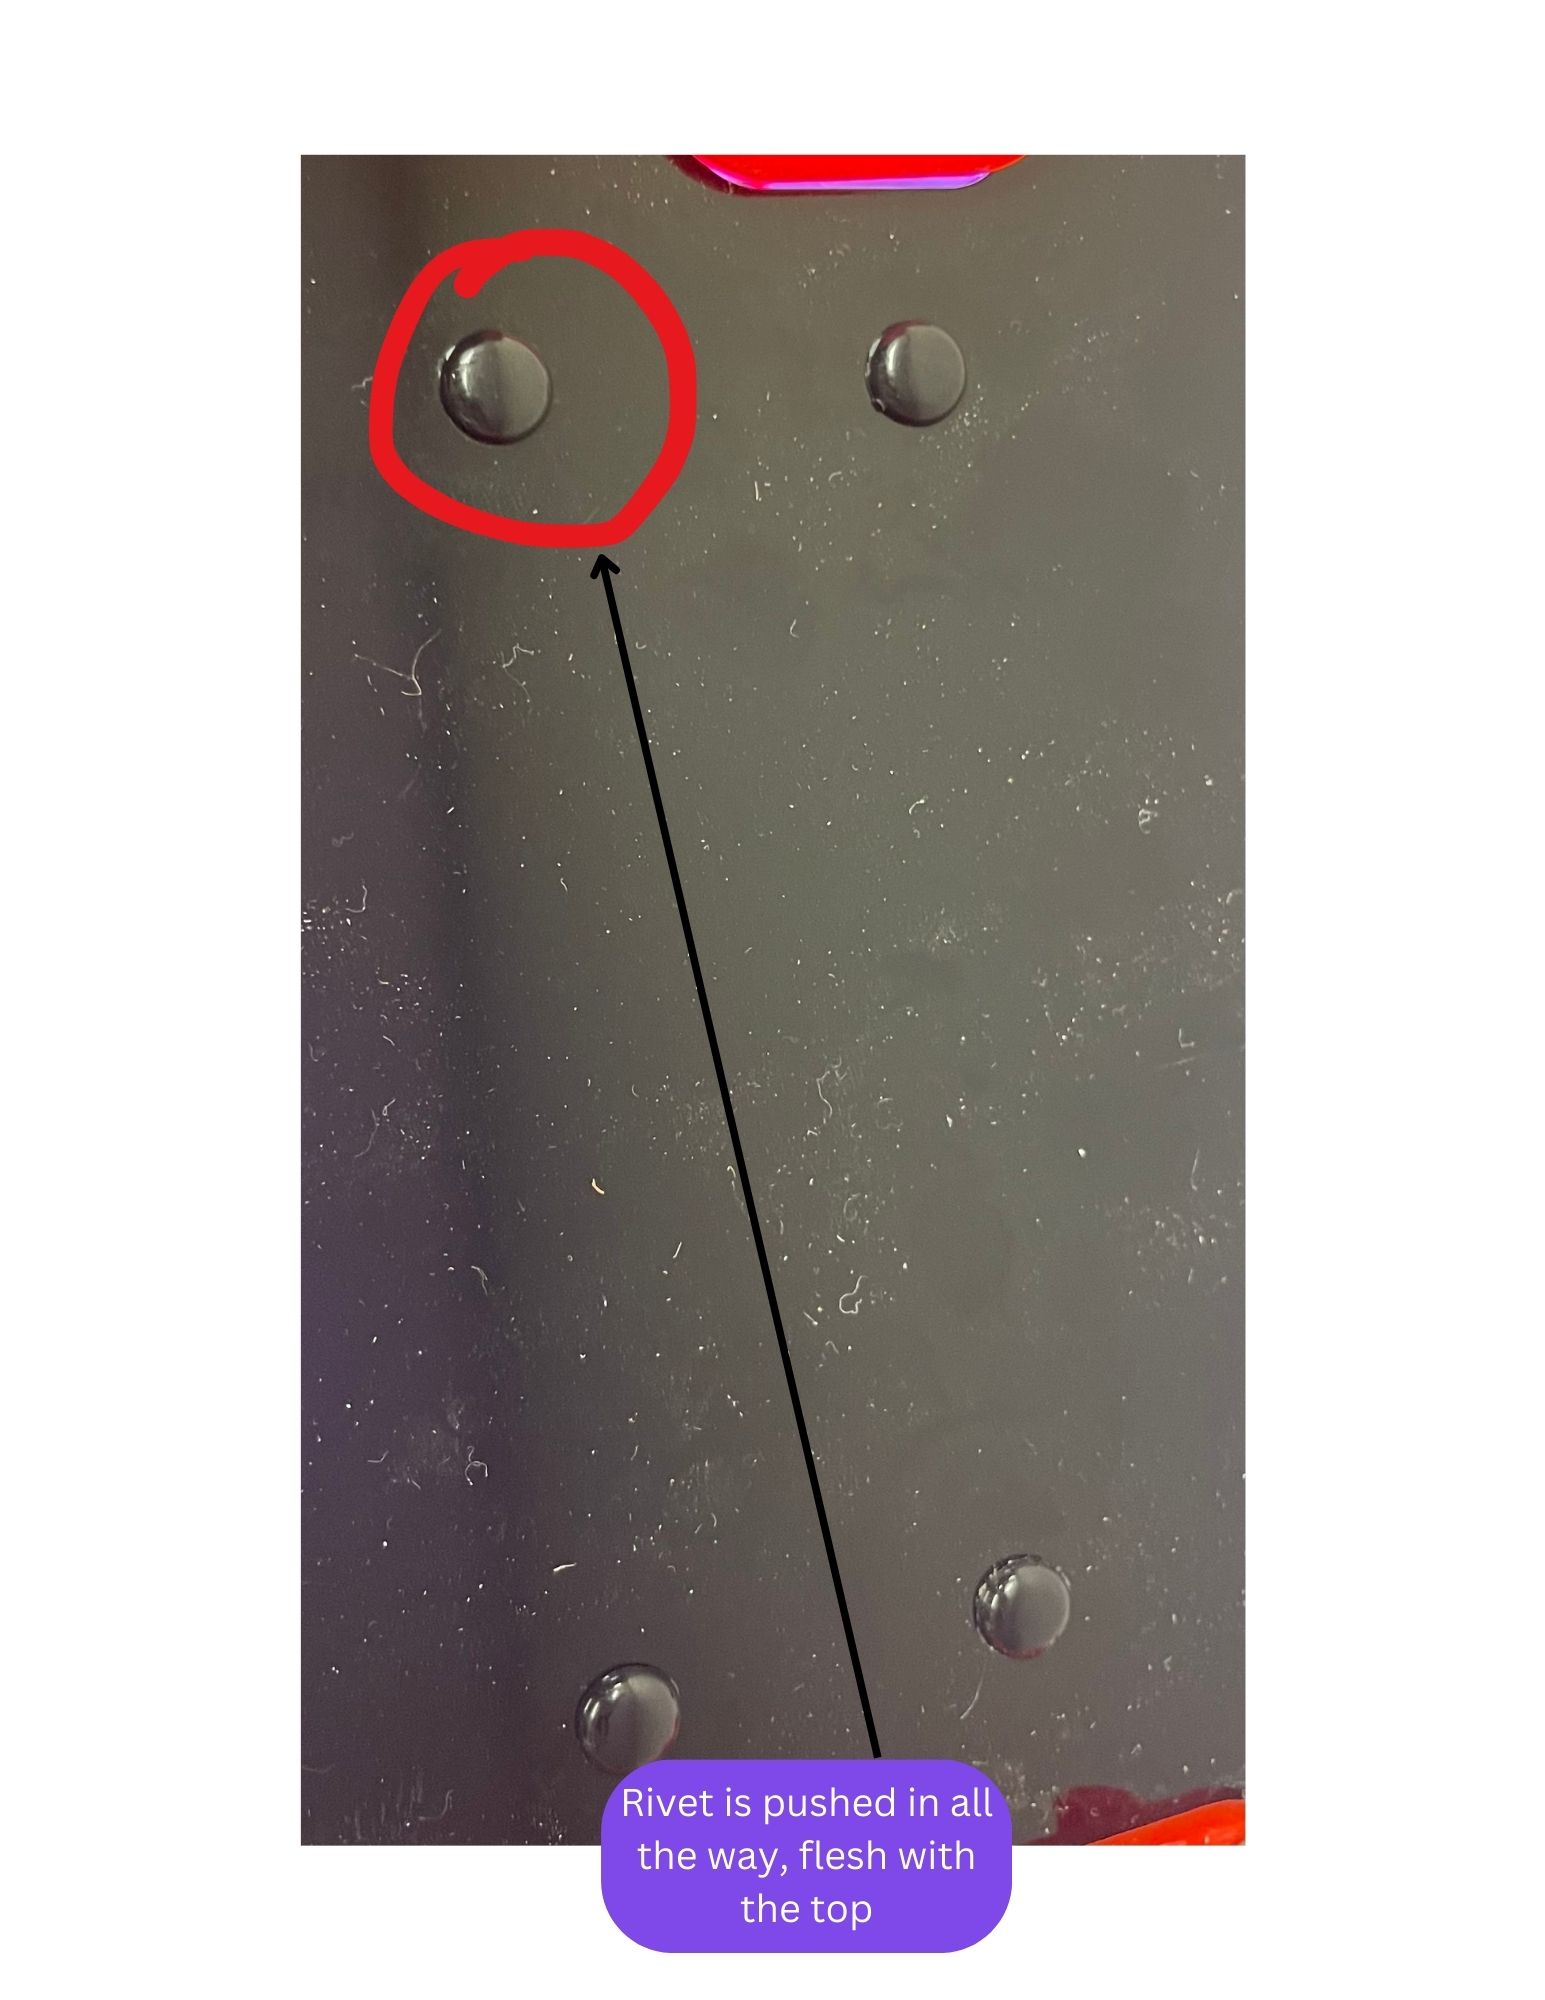
- When attaching the heater with the rivets they must be pushed in.
This is a rivet pushed in all the way, correctly securing the heater
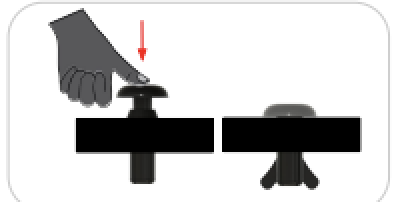
As you can see in the assembly guide the rivet is opened and then closed once it is pushed in all the way

This is the overview look in the assembly guide. I find it helpful because you can compare it to the top of your box. Most of the time if it does not look similar the rivets are not in all the way and might need to be reput in
-
The rivet can sometimes be finicky, so opening them back up helps. Pushing rivets that don’t go in does not help it you would need to remove it, reopen it and try again. (It sometimes gets frustrating but it helps ensure that rivets are pushed in without braking). Pushing in extra difficult ones with a coin (such as a quarter can also help).
This is what a rivet looks like when it is open -
Lastly, to double check you should be able to see the bottom of the rivet through the holes of the heater.
I apologize for the poor image quality, but as you can see the rivet is pushed through the hole of the fan


I hope this helps you overcome some of the common mistakes that I encountered while building some MV1s.
1 Like
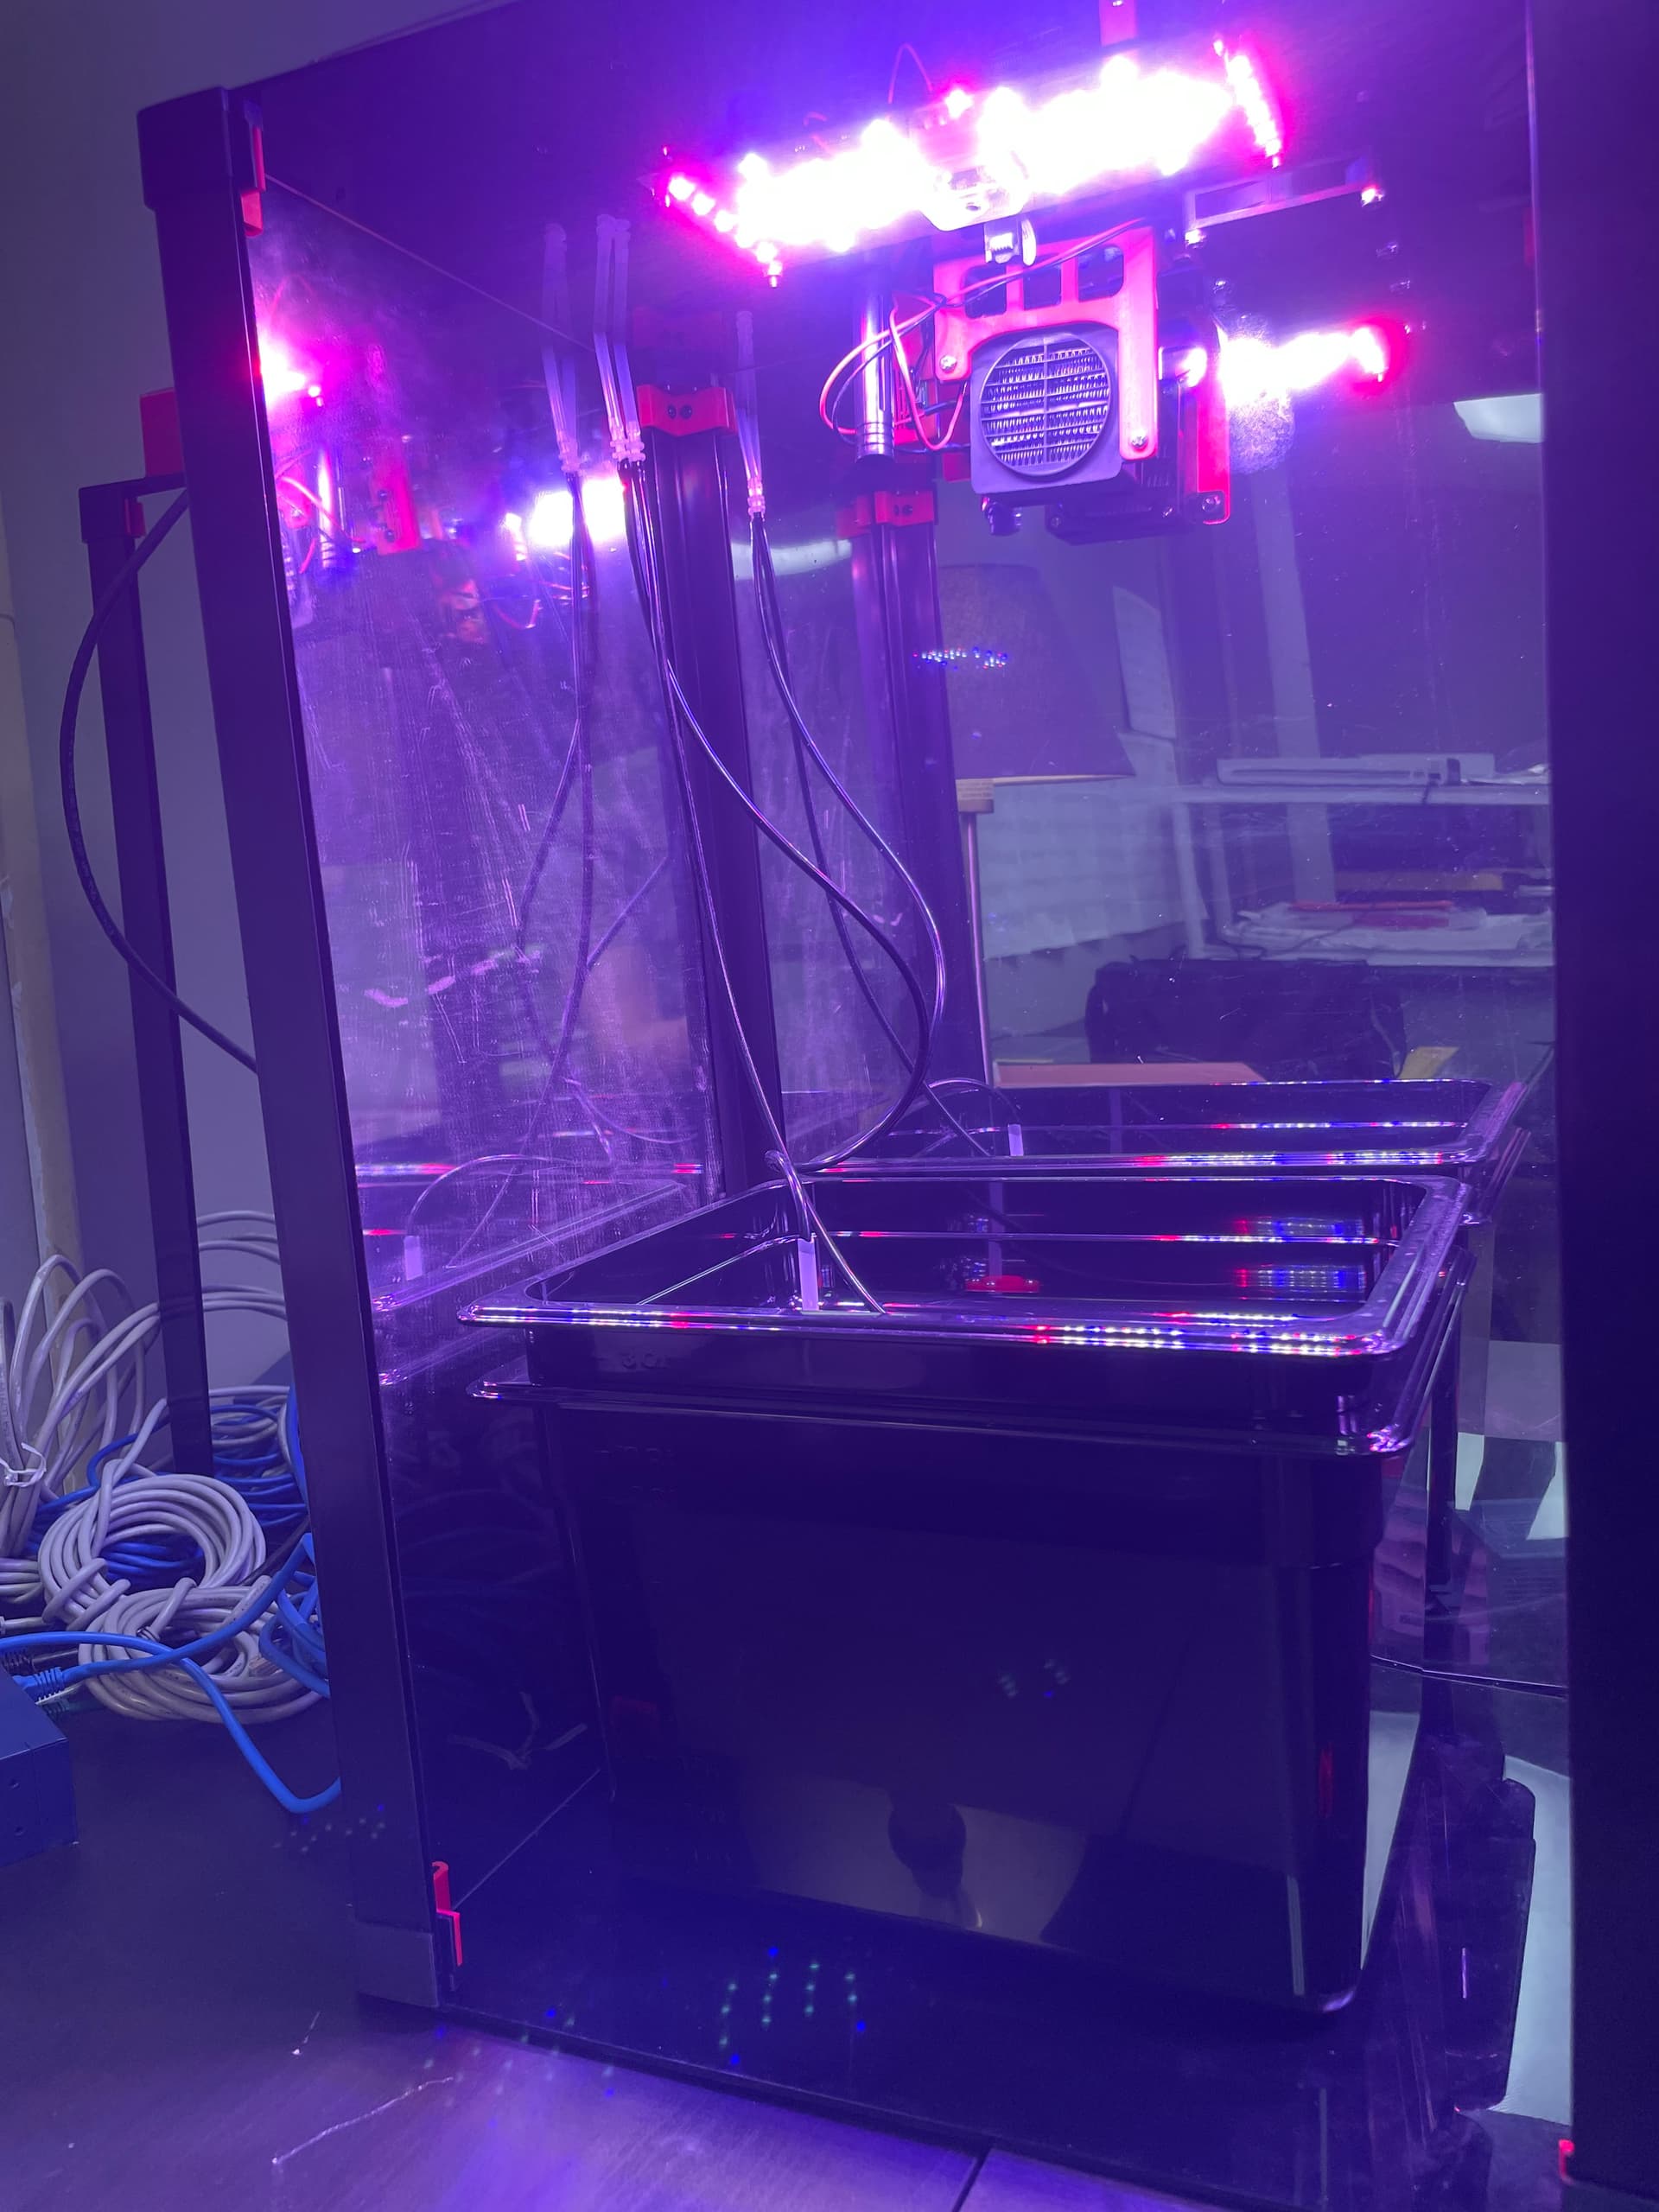
Yesterday I set up 7 MV1s to run trials.

These are pictures of the MV1s last night.
I planted lots of plants in them, from Zinna to Red Romaine. Some of them gave me some feedback, and the data was cool to see:

This is some of the data from the Red Romaine that I planted
Unfortunately, some of the machines did not pick up the recipes I sent to them and (because of that) did not send data. The recipe that we sent out to them should have turned off the lights after 14 hours (around 11:30 pm). As you can see in the picture above, some of the lights stayed on. That is how we knew we had a problem. I know others have had some problems with this (@speck_c).
I have done several things to help combat this problem:
-
I first just reset the trial and redid the steps I did yesterday to send them recipes. This is a good first step because it requires less work and it could be a quick fix
-
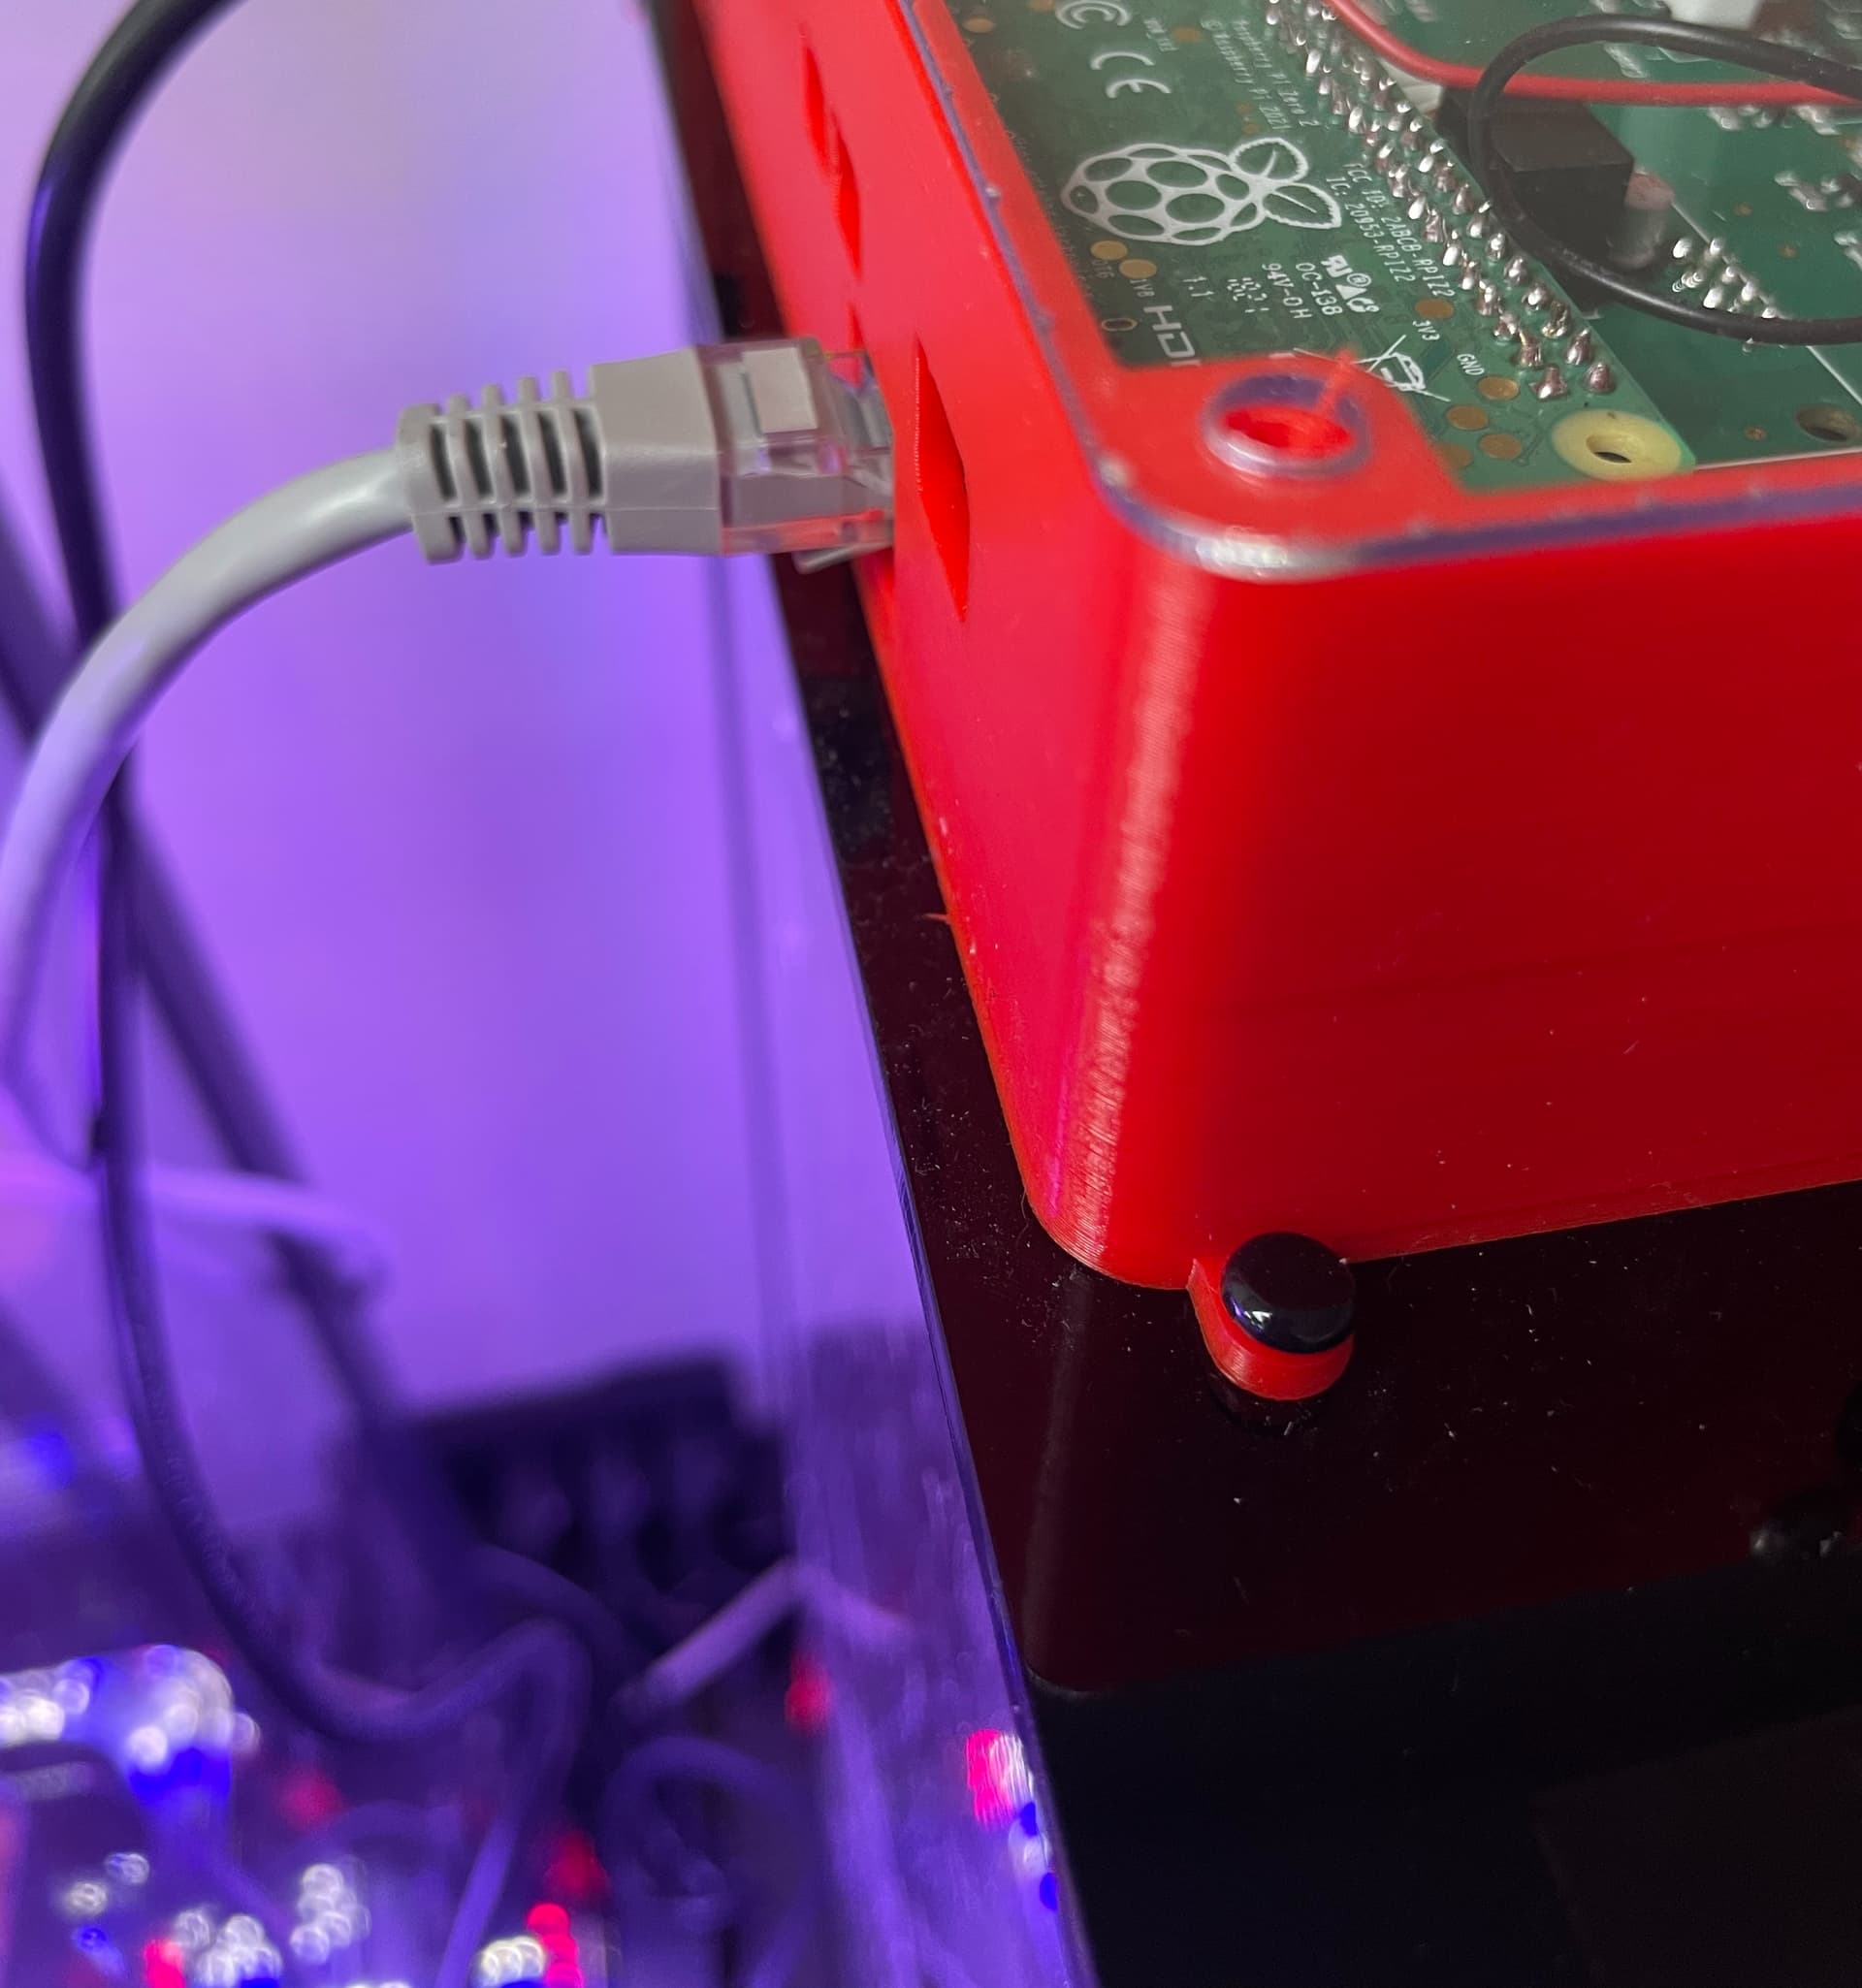
For a couple of them, I had to go in and restart the machines. First, make sure the machine is connected to ethernet.
This is a photo of the ethernet cable. Make sure this is plugged in
Then unplug them from the power supply and replug them back in.

This is an image of the plug to the power supply. This is what you unplug and plug back in
A way to check if the recipes are working is to make sure it is logging into the MARSfarm software. The machines log data 5 minutes after every hour (ex. 9:05, 10:05…). If the data is logging, the recipe was successfully picked up and is working.
I am excited to continue my trials and keep you all updated (good or bad) along the way!
Here is a link to a resource that can be used to help set up the automatic irrigation system and set up your plant:
MV1 Setup Guide
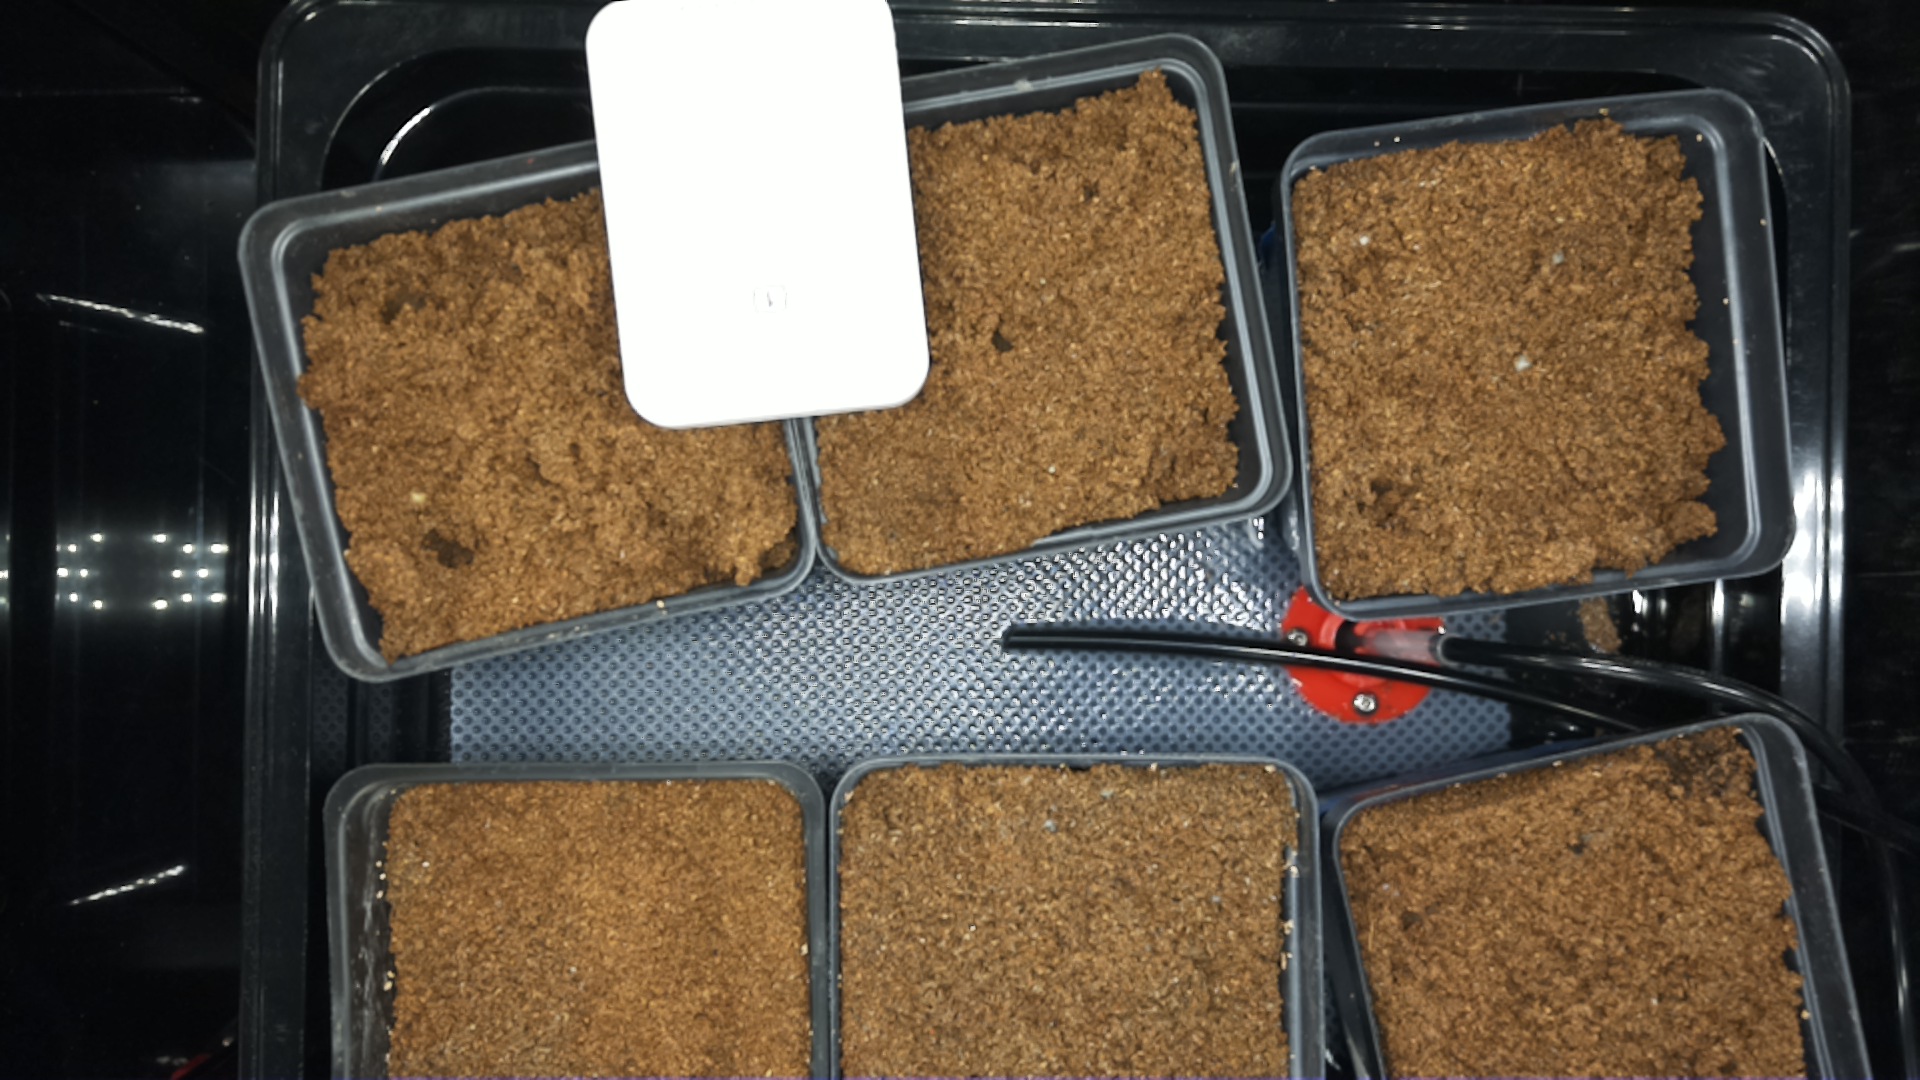
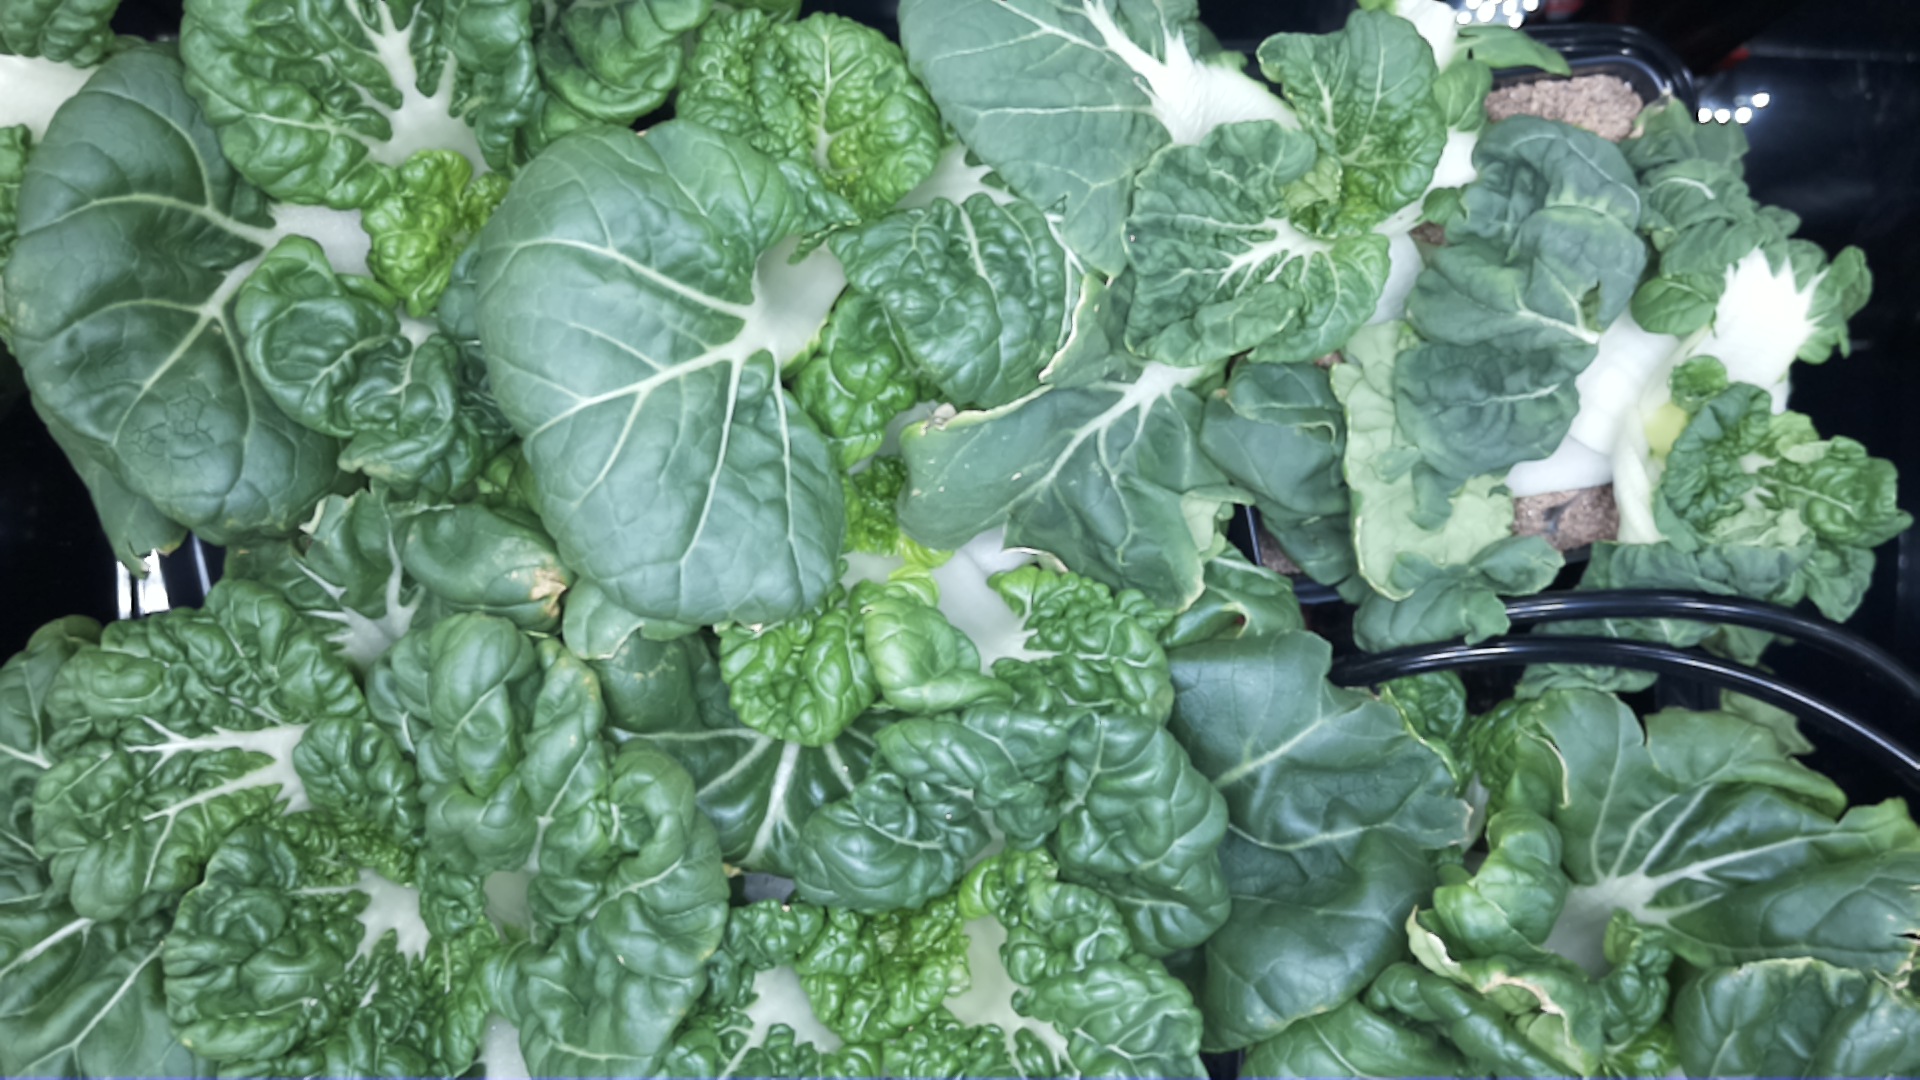
Over the past couple of days, the MV1s have germinated and have some seedlings. It is very exciting!! Here are some pictures of the plants in the machines:
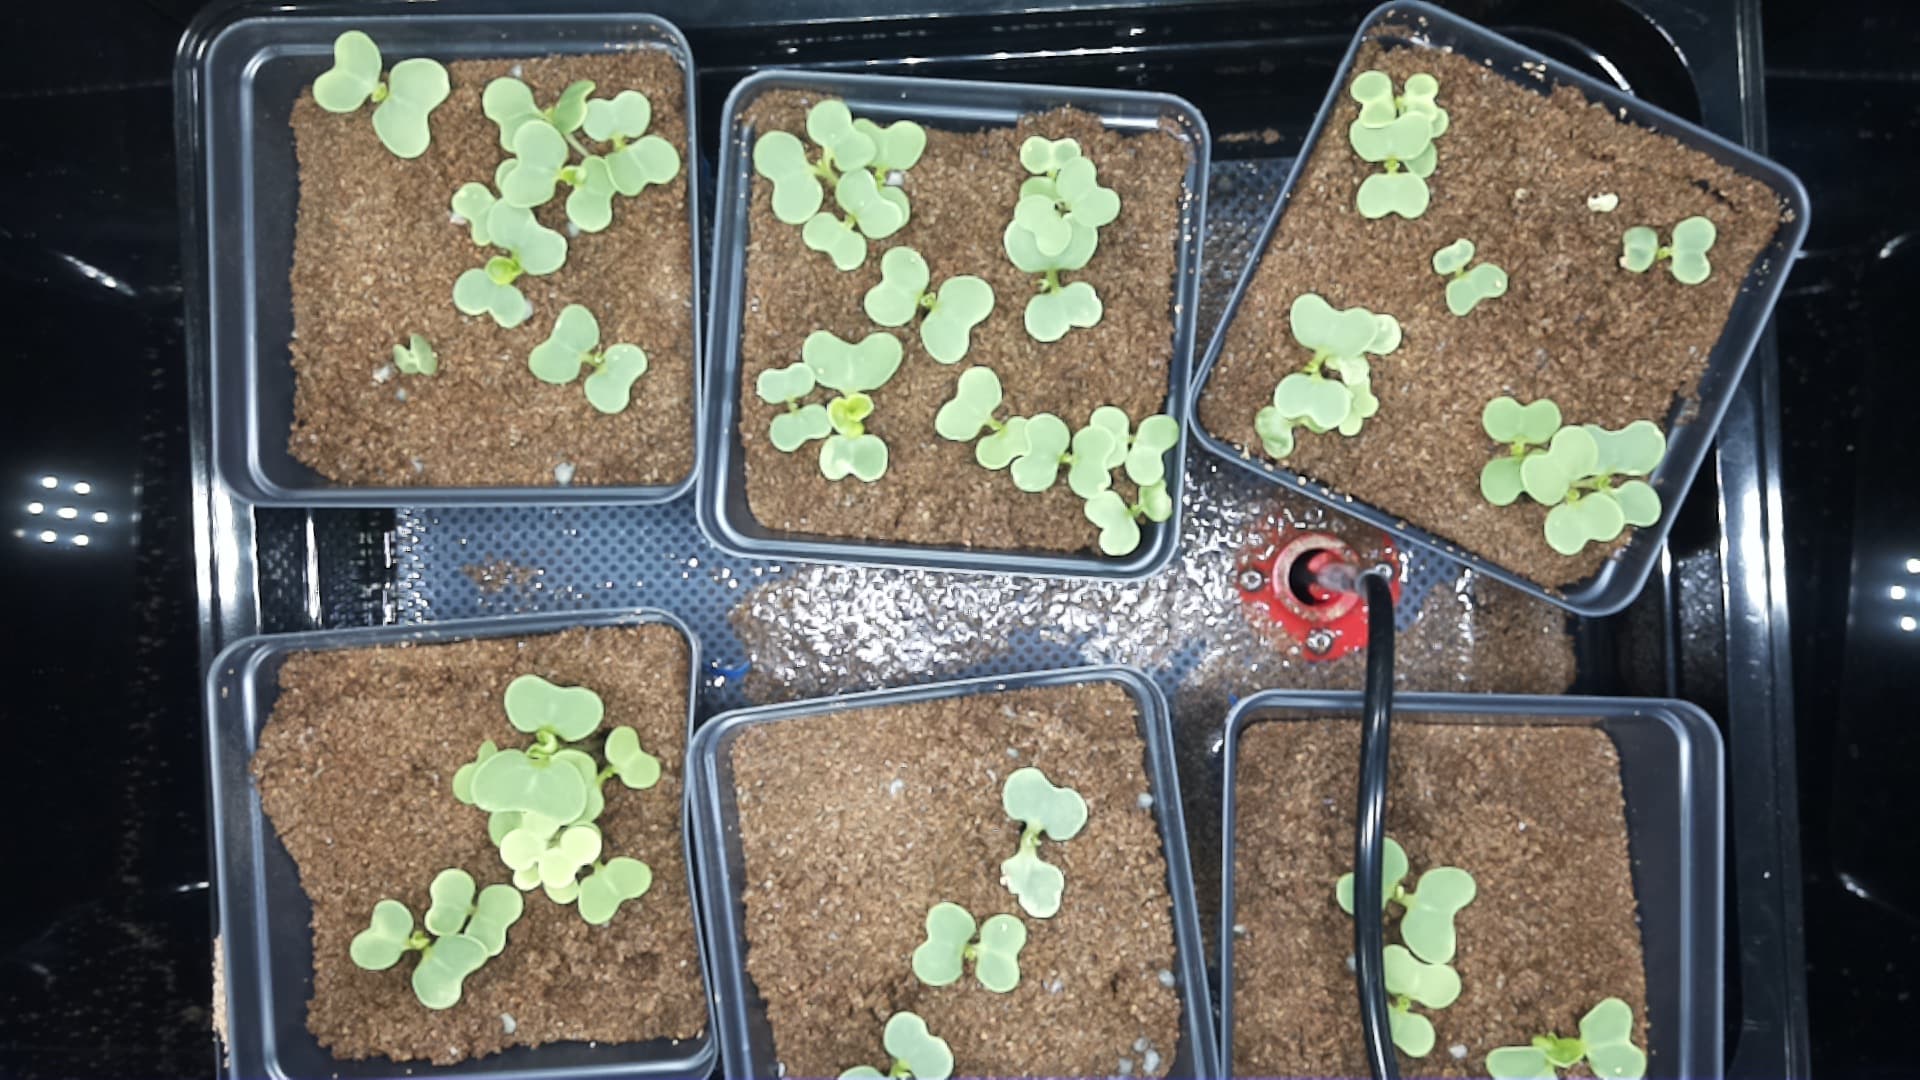
This is MV1 38 growing Bok Choy
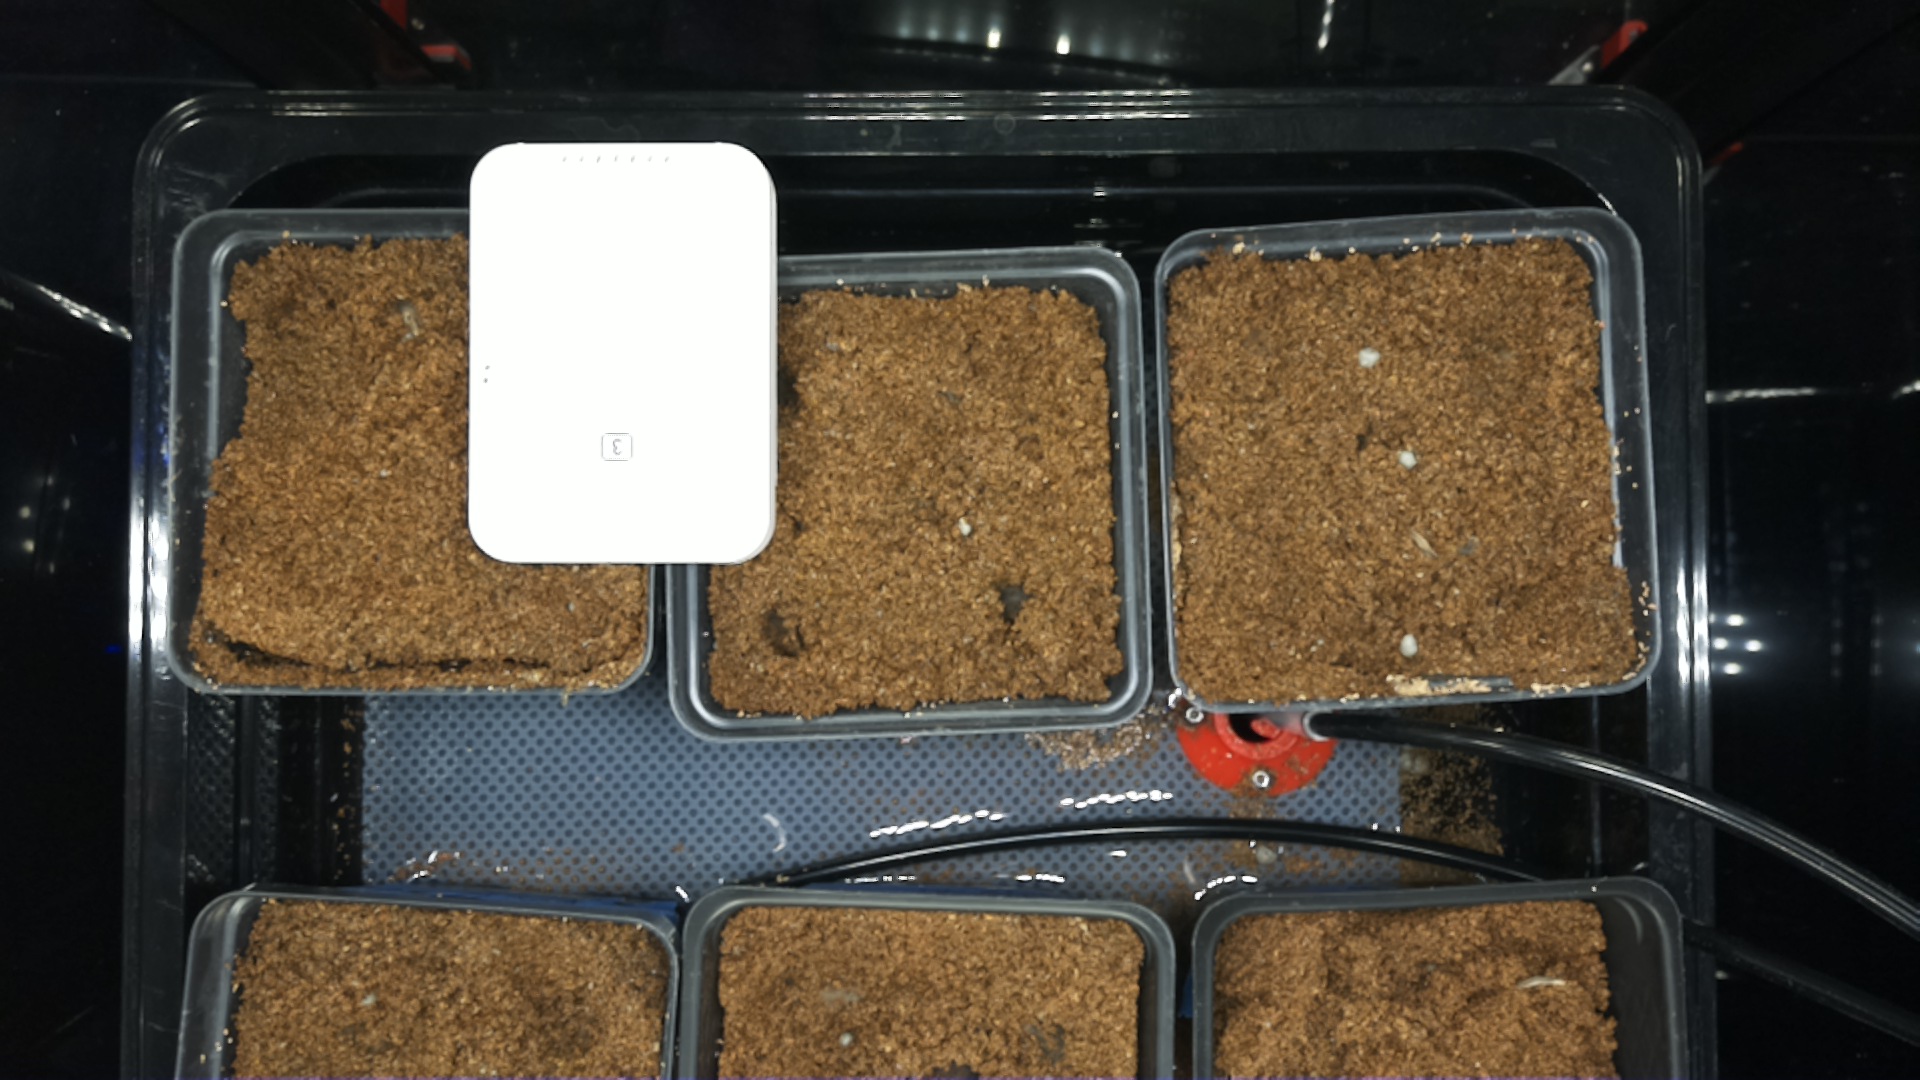
This is MV1 39 growing Zinnas. The white block inside is an extra temperature sensor to help us gage the temperature inside the box without having to go into the software

This is MV1 40 growing Red Romaine
This is MV1 41 growing Black Seeded Sampson

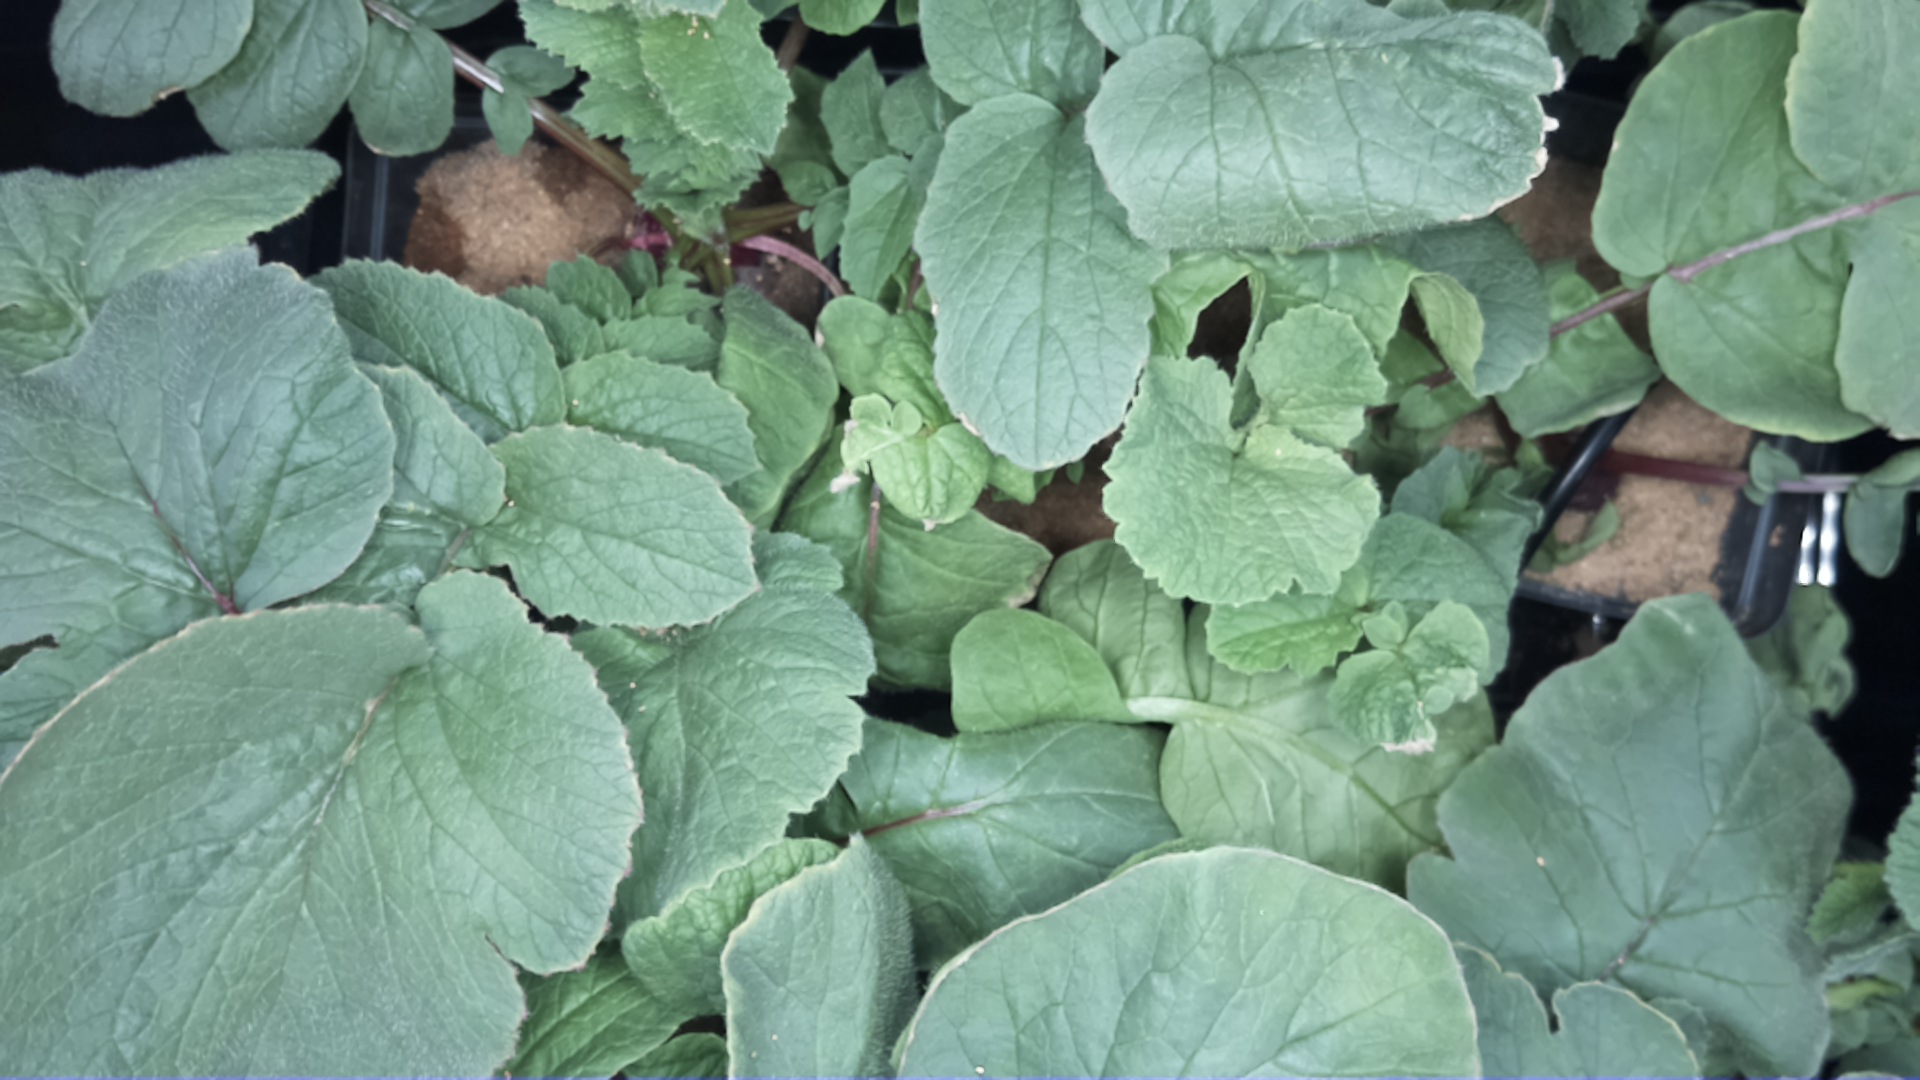
This is MV1 42 growing Cherry Bella Radishes

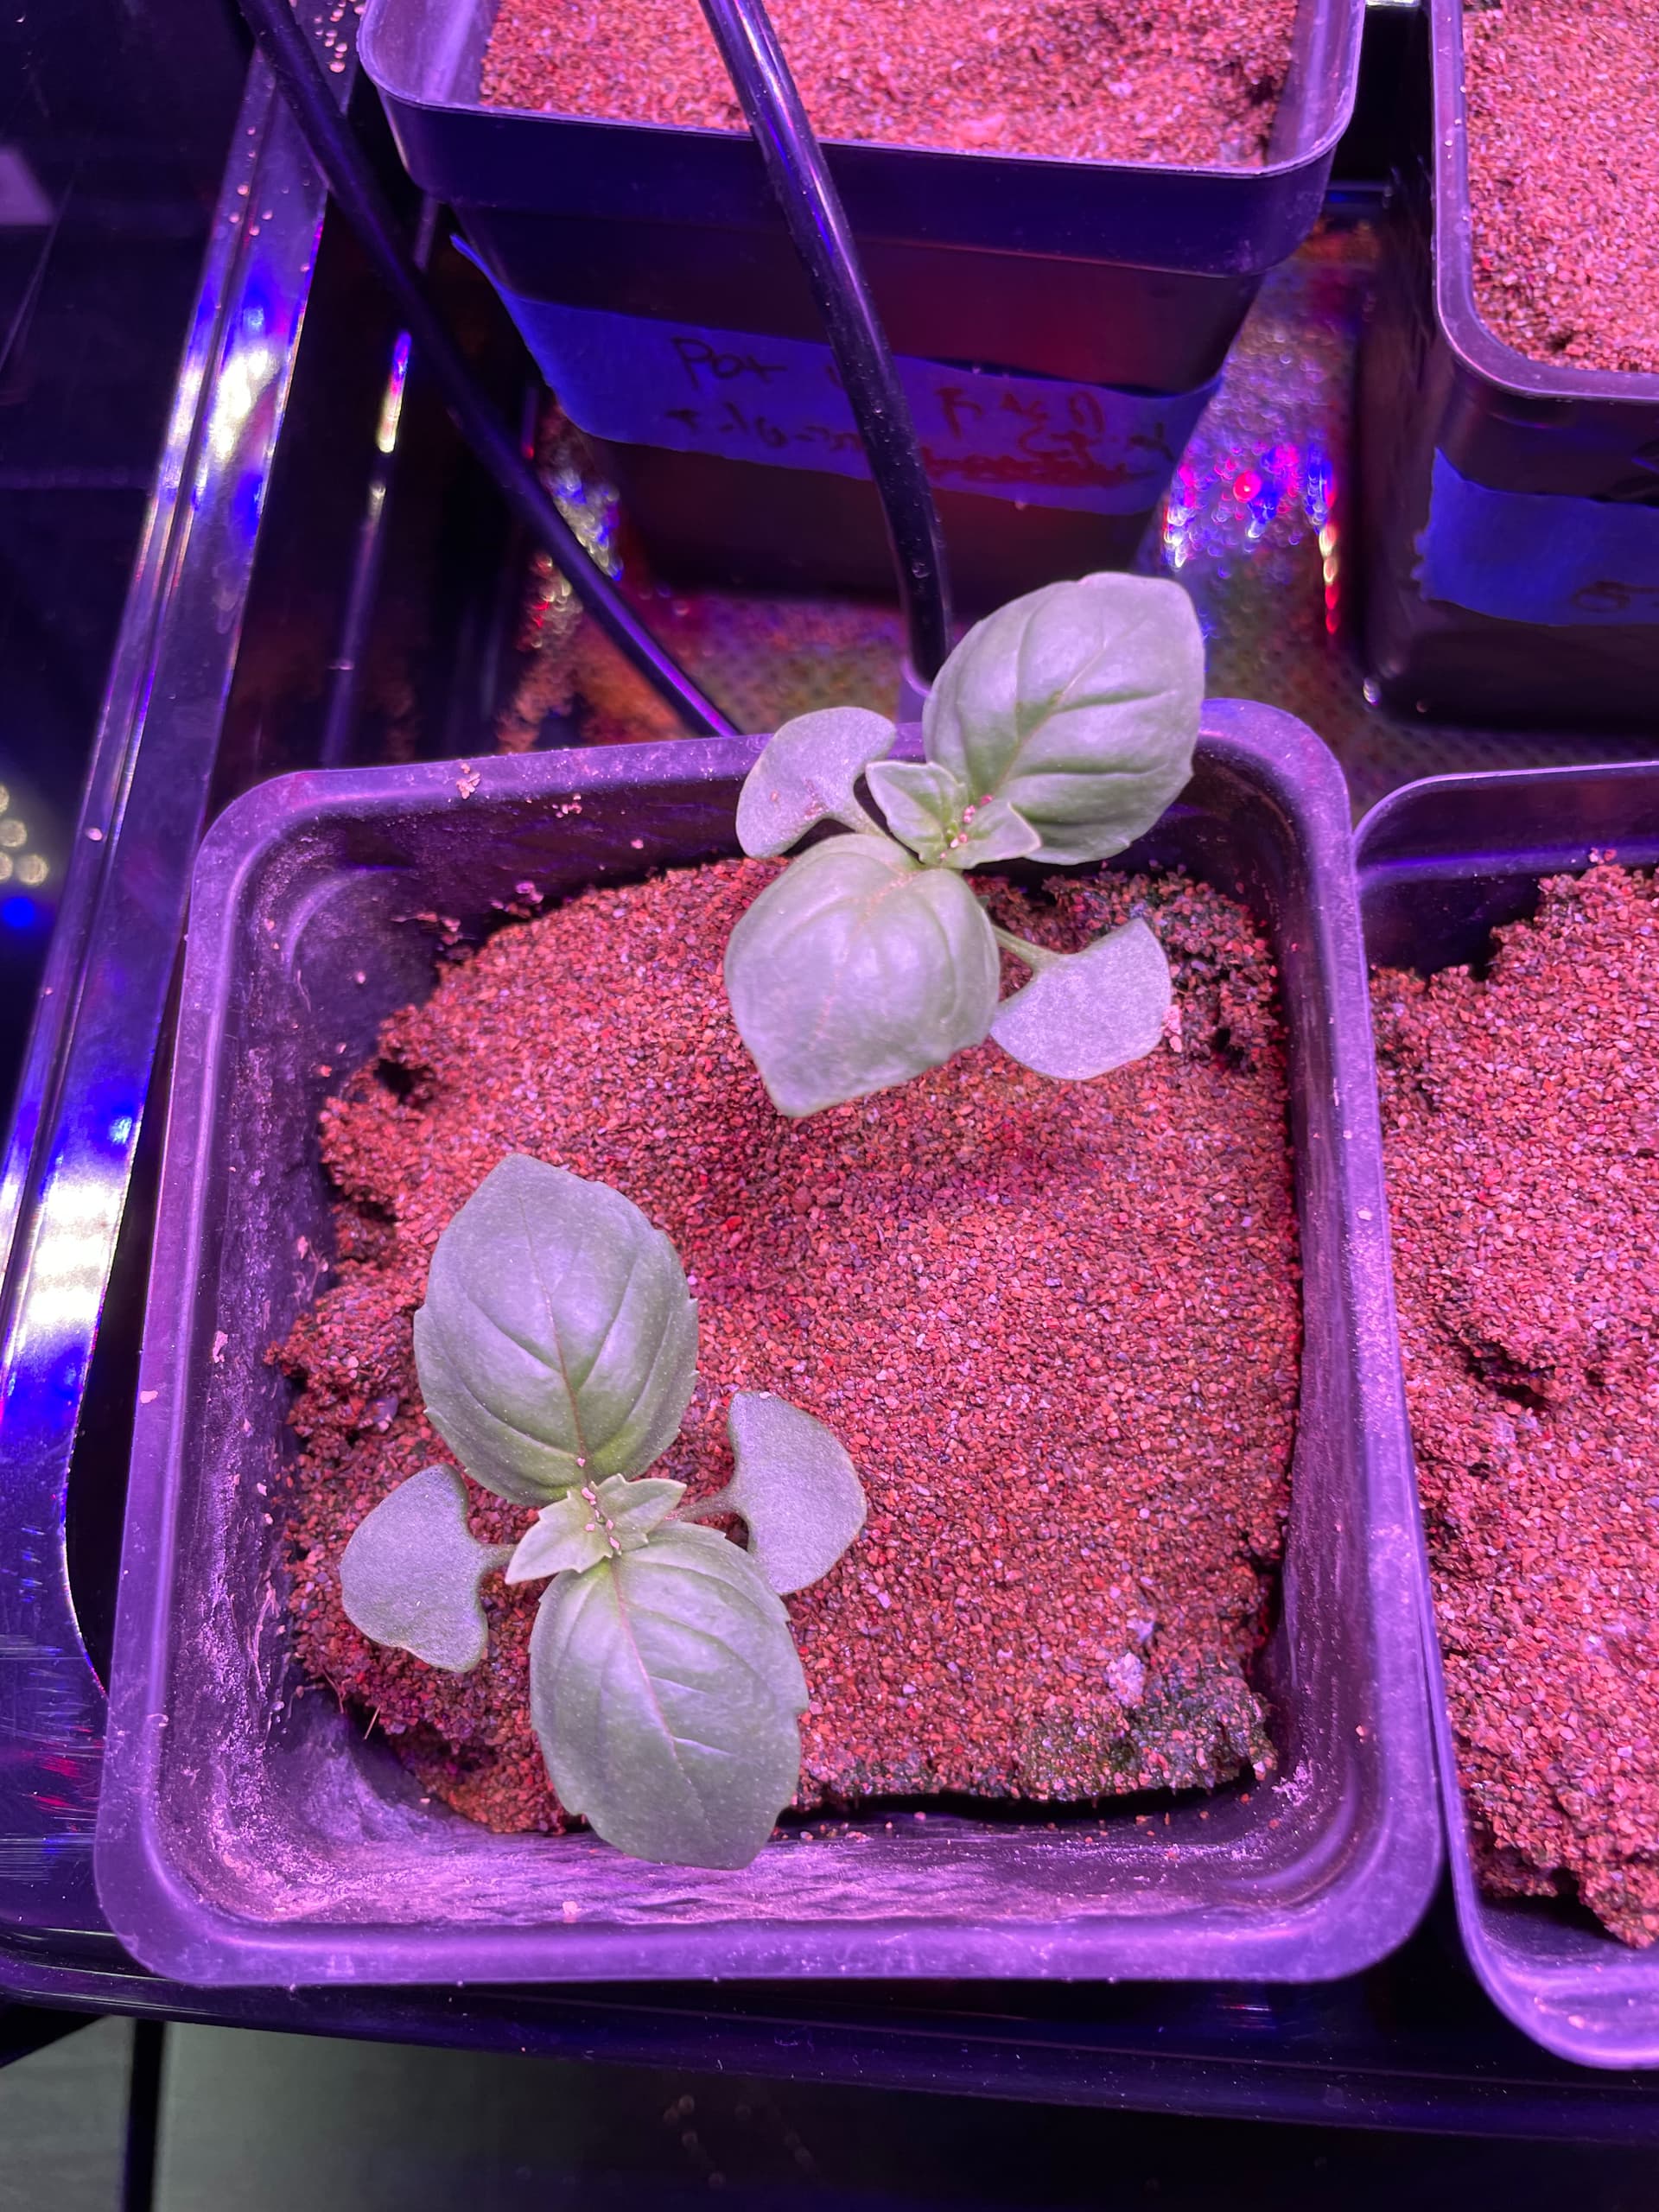
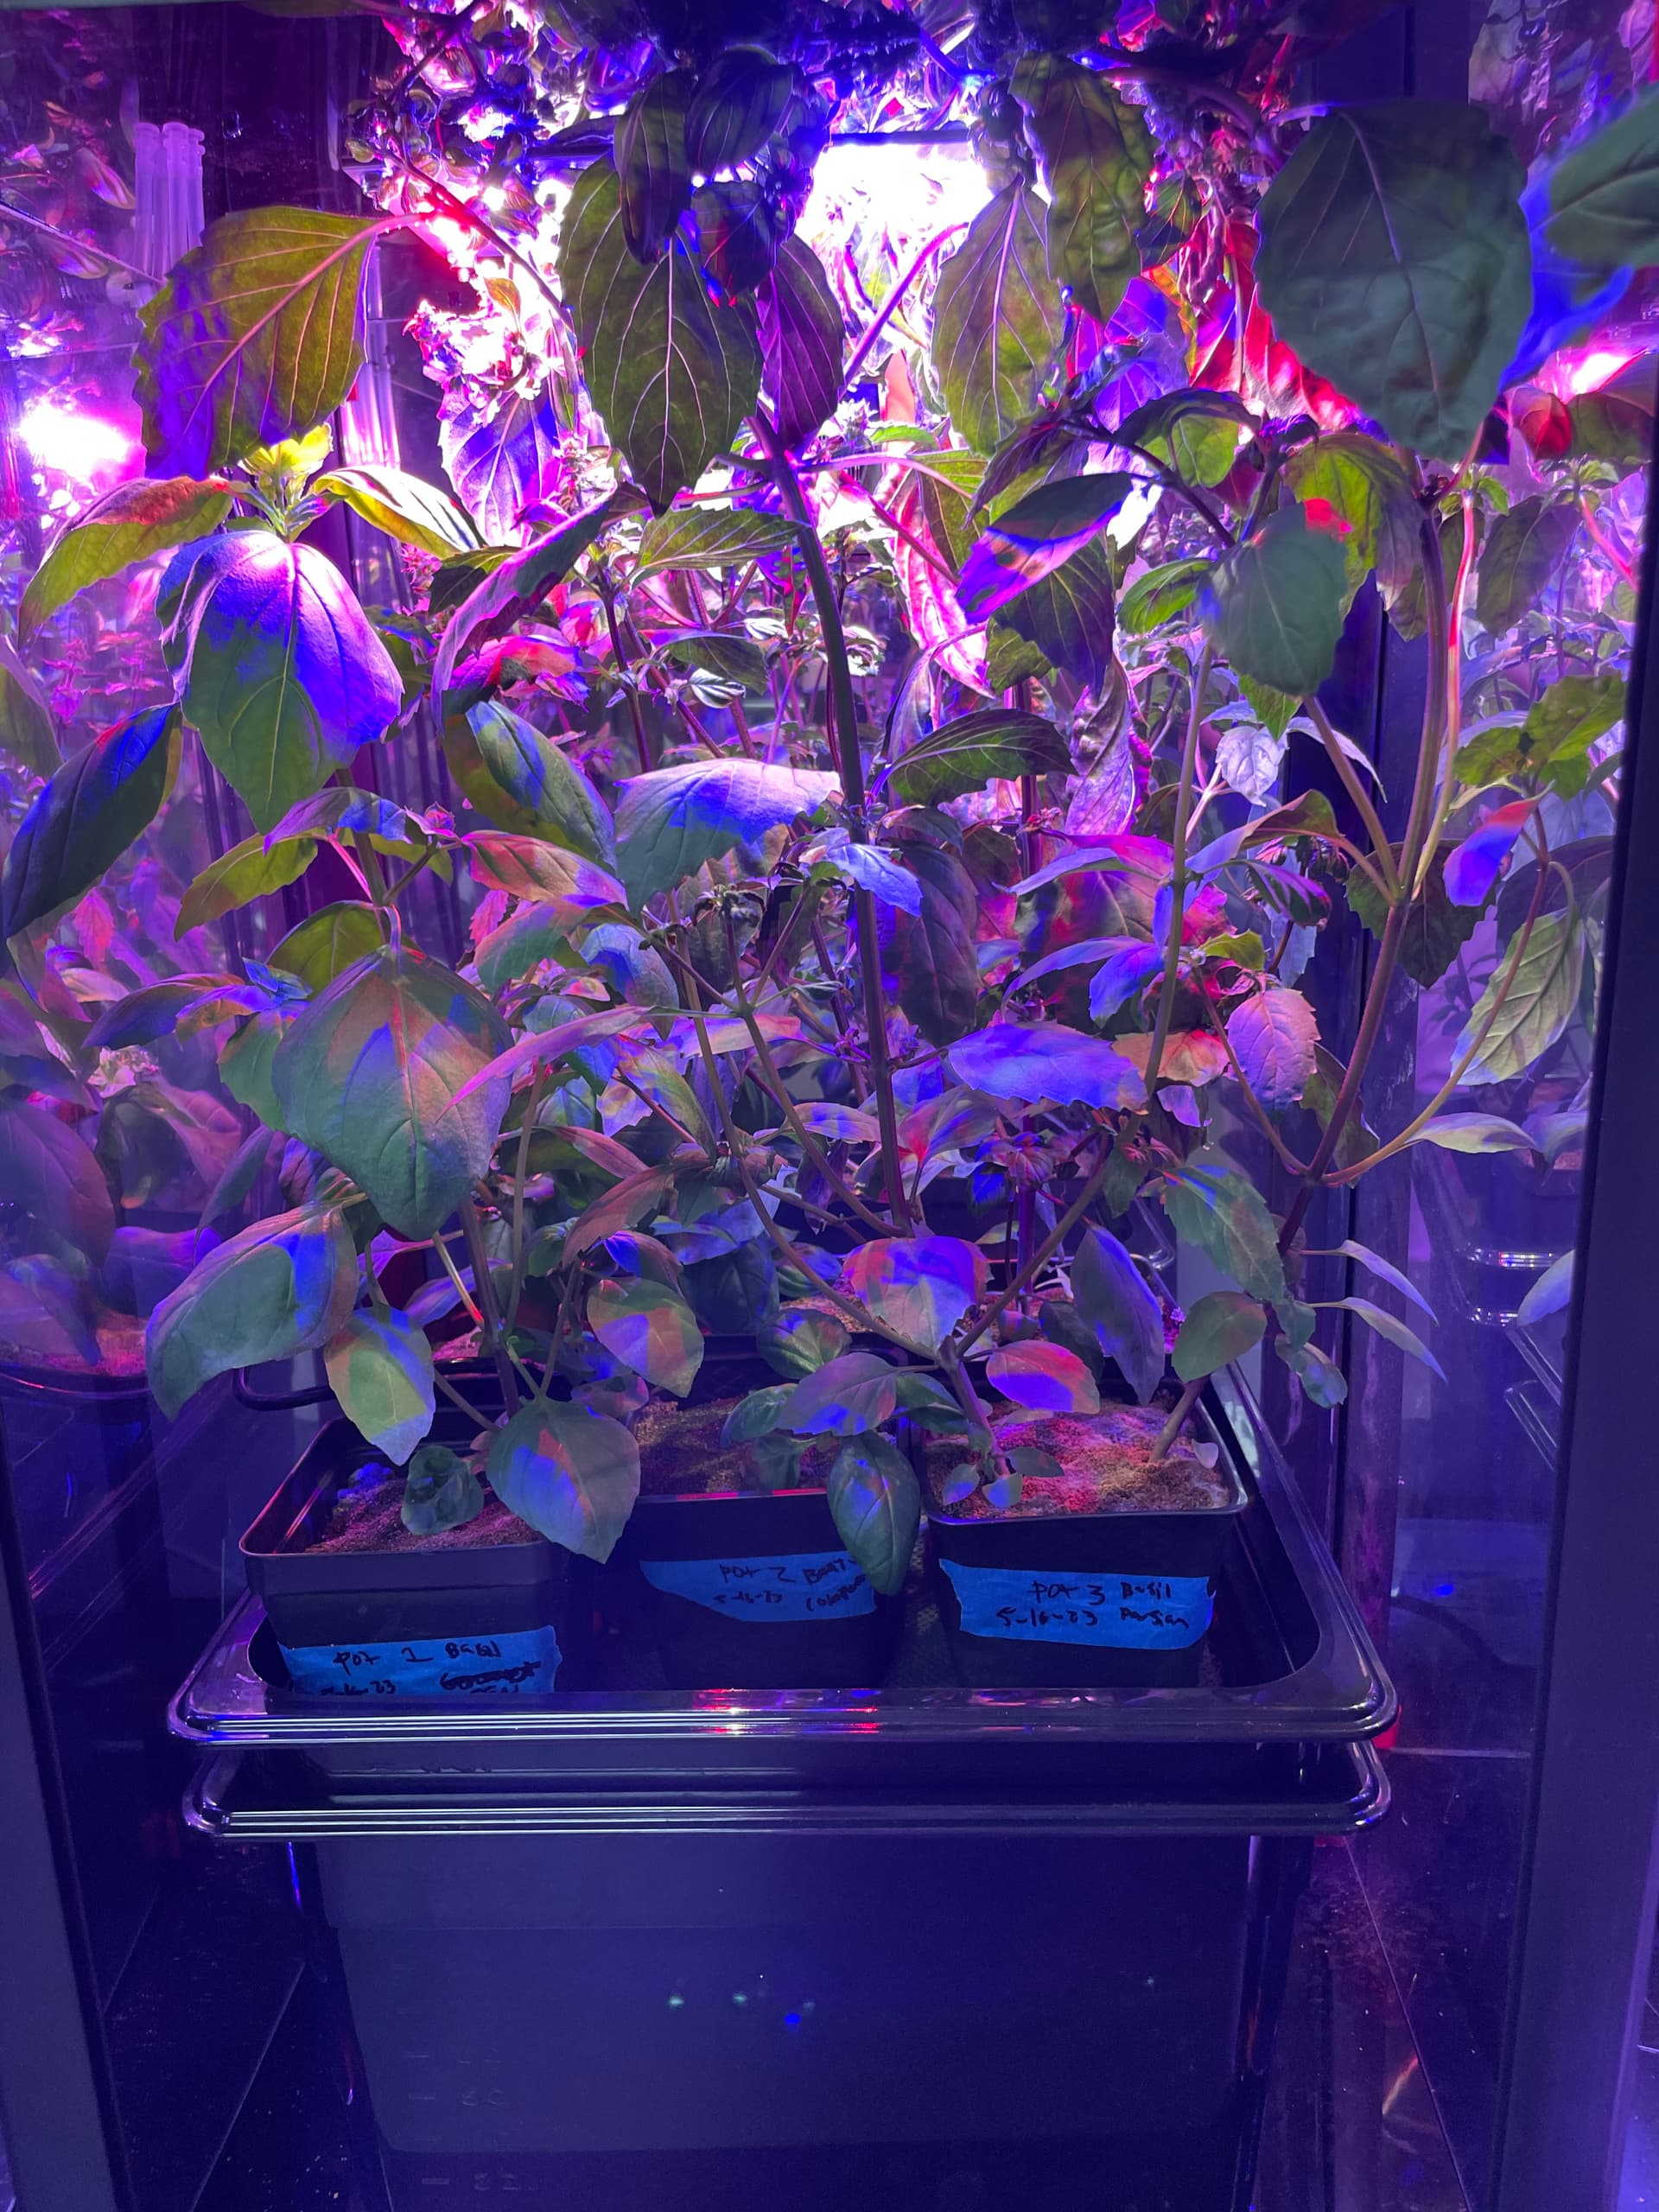
This is MV1 43 growing Cinnamon, Compact, and Persian Basil
As you can see, the image is a little bit blurry. This can be for several reasons but the two main ones are:
- The camera is dirty. You can clean it with a tissue or Q-tip
- The camera is out of focus. Since the chambers use auto-focus cameras, they might focus on something other than some of the plants. (for example, it might focus on some of your tubing). To fix this, you can try moving your tubing out of the way or try a test like we did here:
This is the test we ran to see if our camera issue was due to focusing or damage.

We placed some extra pots into the chamber to make a big object to get it to focus on that object. If the picture came back clear, we would know the camera had a problem focusing. We would try to move some things ould of the way.
As you can see, it did not come out as a clear photo. This means that the camera is either dirty or there is some other damage to the camera.
Here is a deeper dive into some of the plants I grew this past week.
1. Bok Choy
Photo taken 5-22-23

Photo taken 5-20-23

Photo taken 5-19-23
2.Cherry Bell Radish
Photo taken 5-22-23
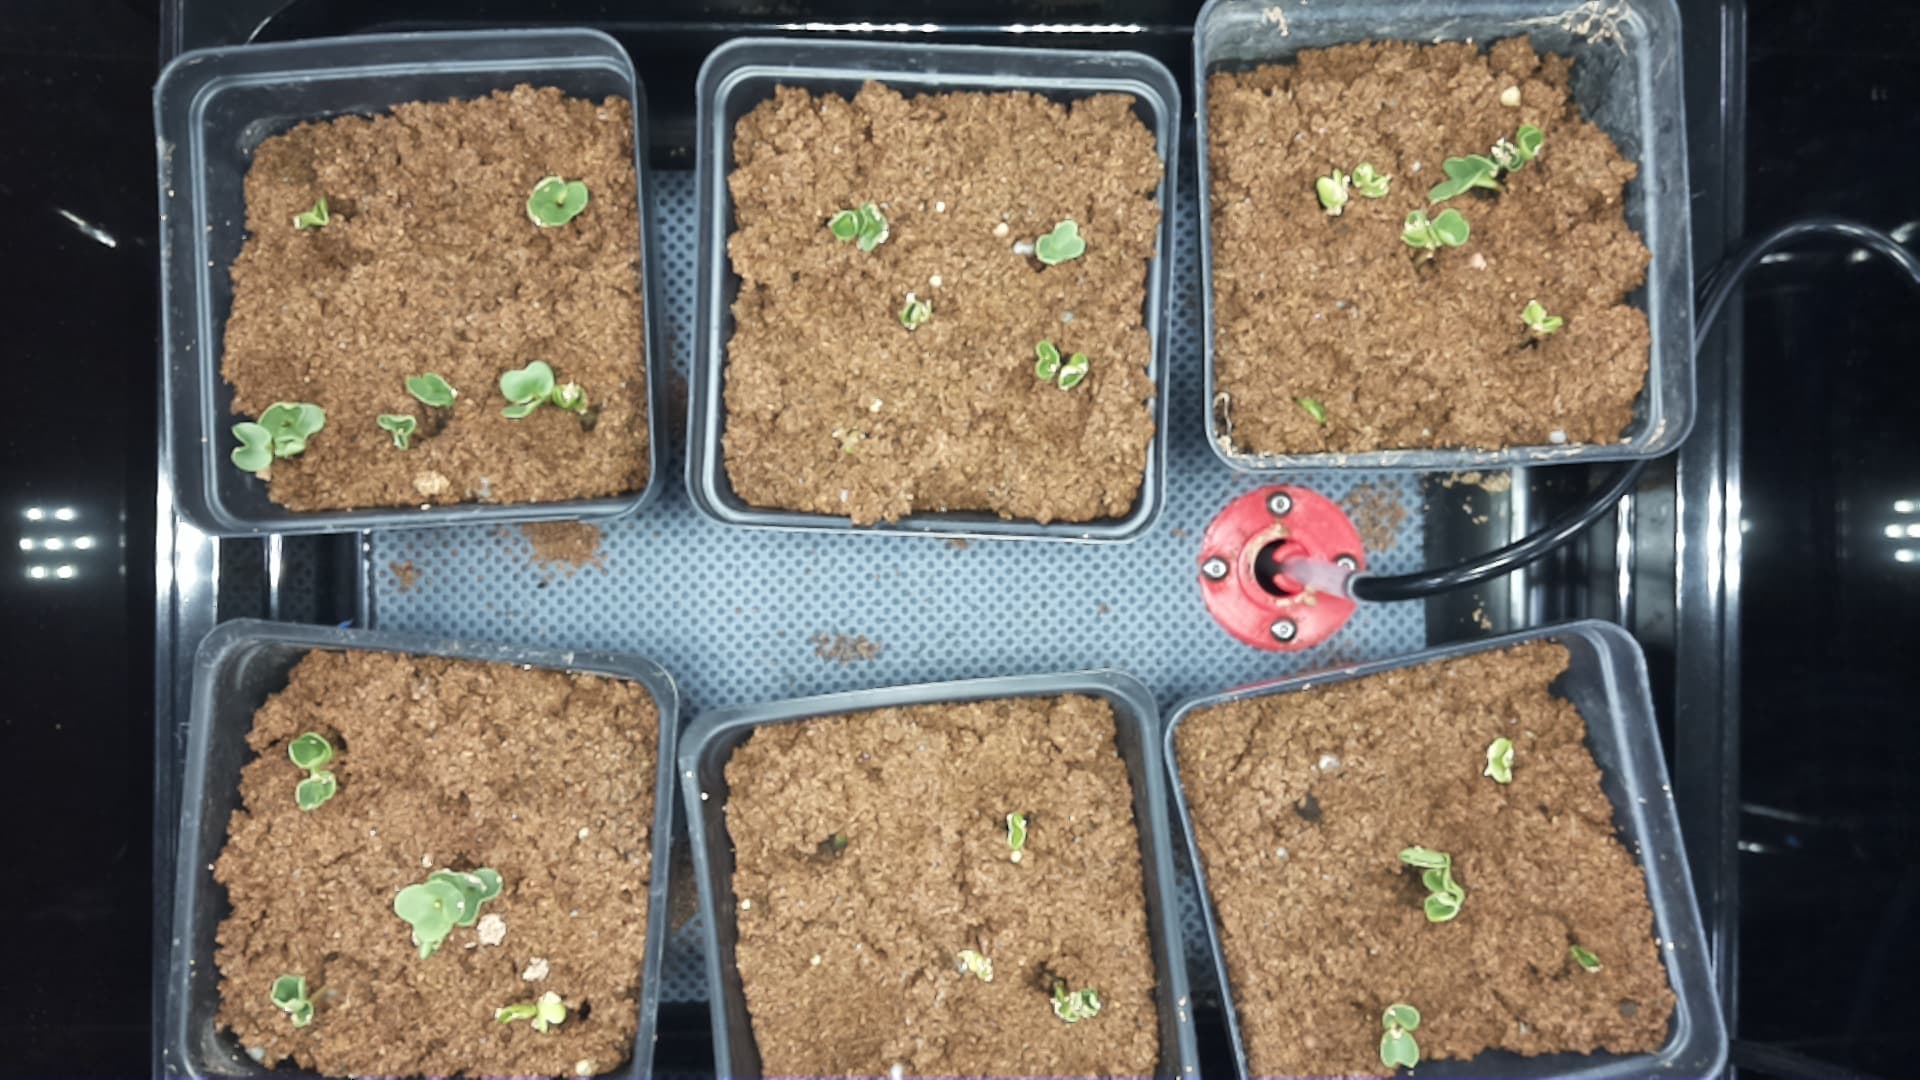
Photo taken 5-21-23
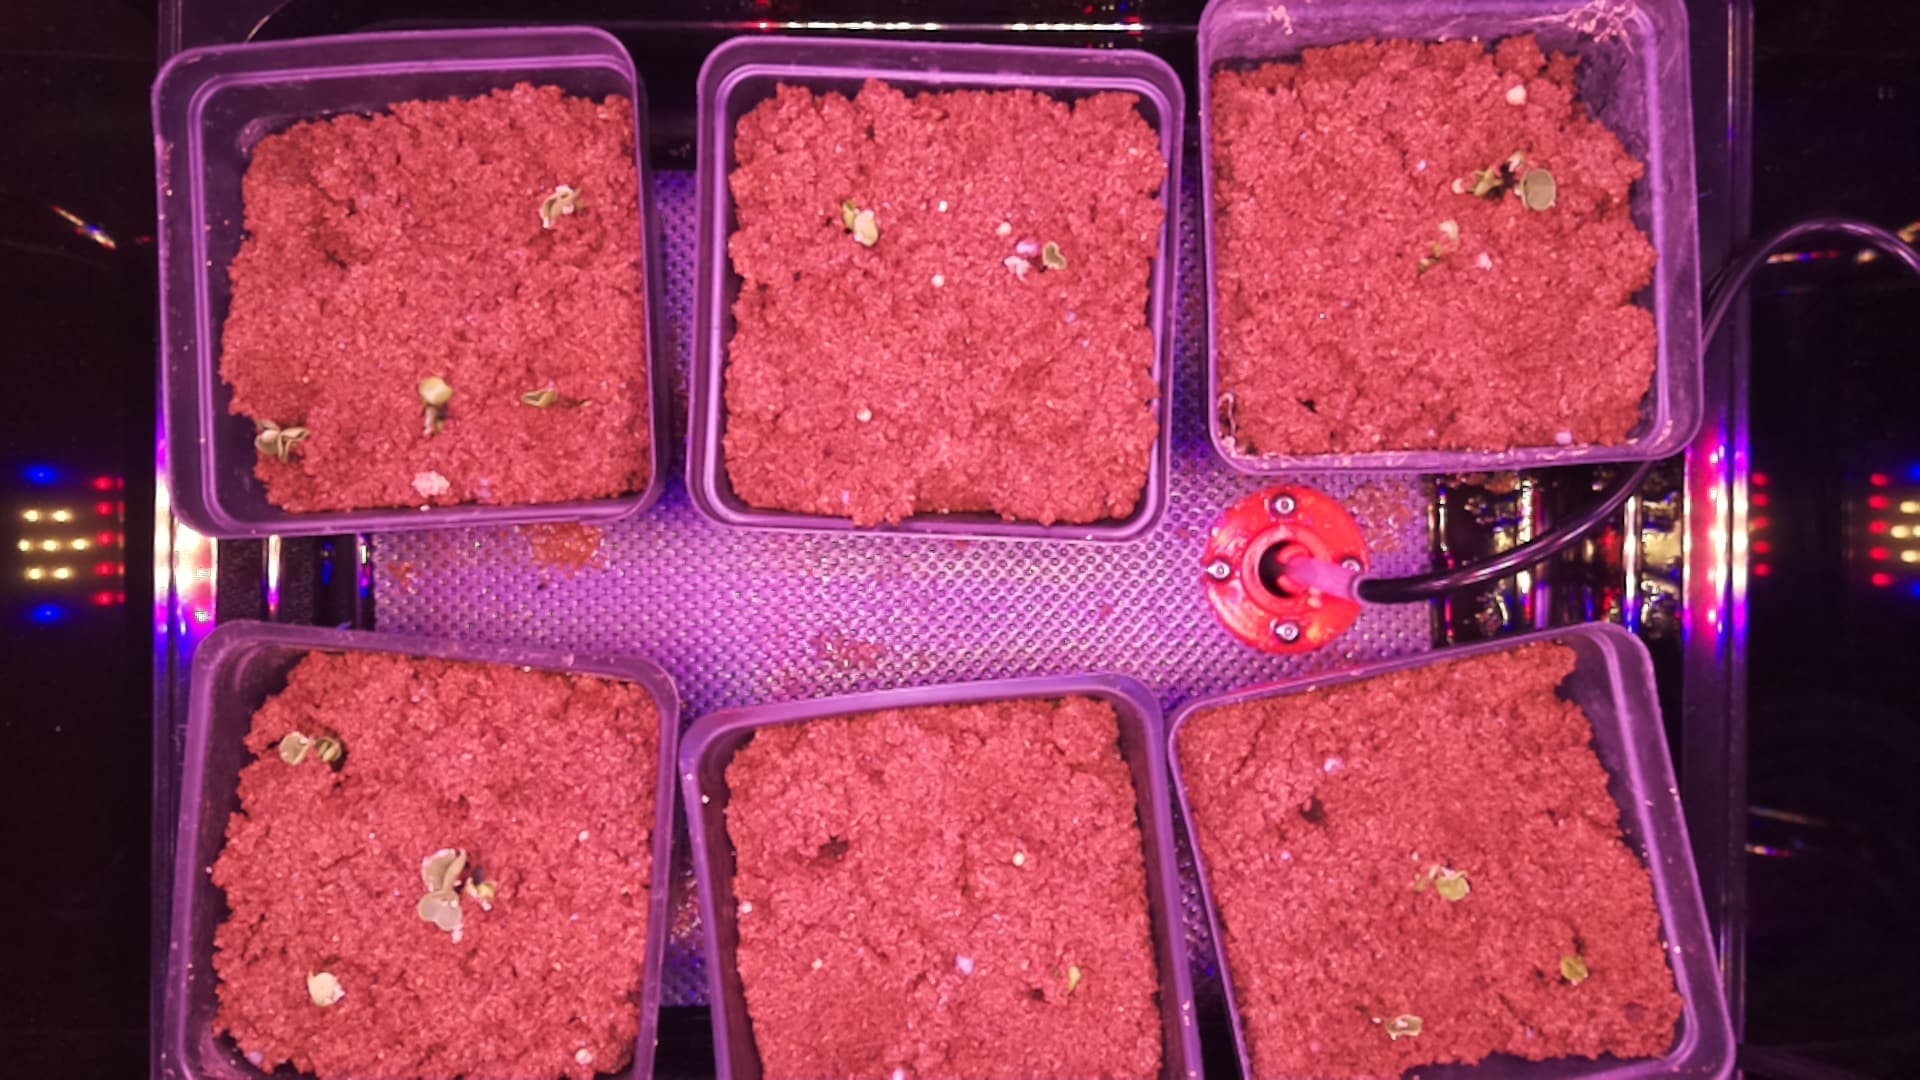
Photo taken 5-20-23
Through these demonstrations, you can see how quickly these plants start growing. It only took 1-2 days for the seeds to germinate. About five days after planting, we have some full-blown seedlings (very cool right)!
I will keep you all updated as the plants continue to grow!!
1 Like
I was able to make graphs and charts based on the data sent by my MV1s to a Google sheet.
Here is a video that shows you how to do it:
How to make graphs and tables based on data
This allowed me to make charts:

*This is a chart showing the average CO2, humidity and temperature per day
This helped me make graphs based on all of the data :

This is a graph showing CO2, Humidity, and Temperature on average every day
This also helped create graphs on just one set of data:
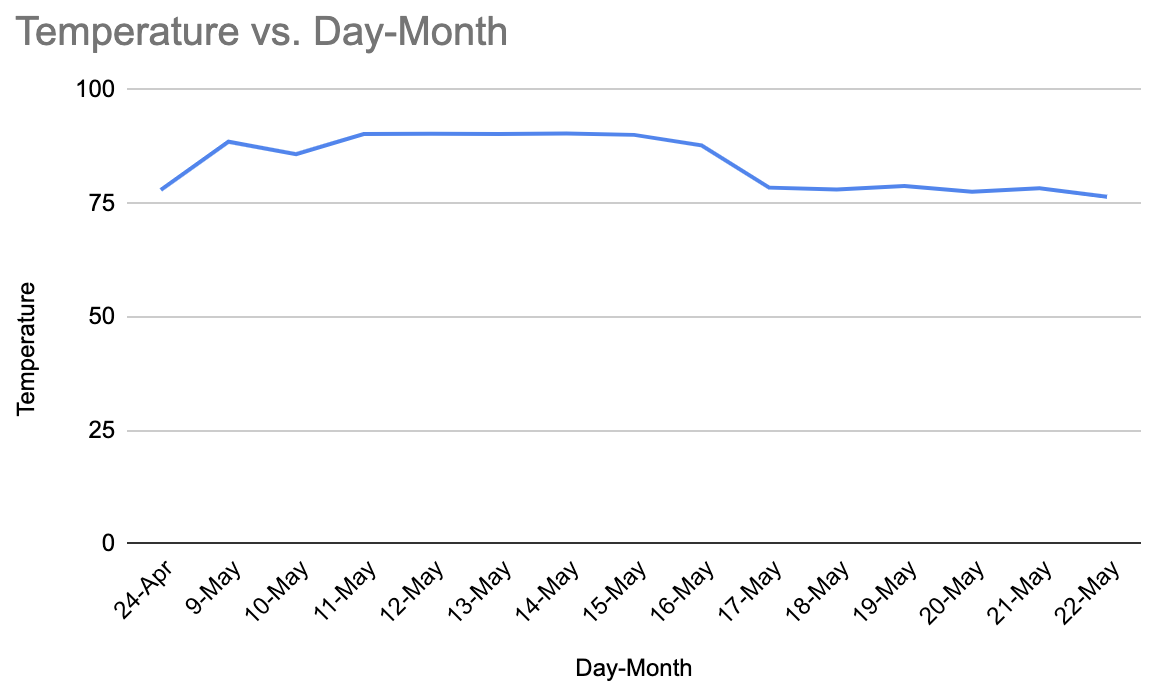
This is a graph just showing the average temperature each day
By selecting the whole row, as seen in the video, the charts and graphs should update automatically without redoing them.
You can see graphs like this on the MARSfarm software, but this is a good way to use data and manipulate it into different graphs and charts comparing lots of things. I am excited to show you more ways to present and read your data as the trials continue!
1 Like
I just tweeted about the irrigation system that is keeping all of the plants in these trials hydrated. (The video was taken from our Bok Choy trail). You can check it out here:
https://twitter.com/getMARSfarm/status/1661482998427009024
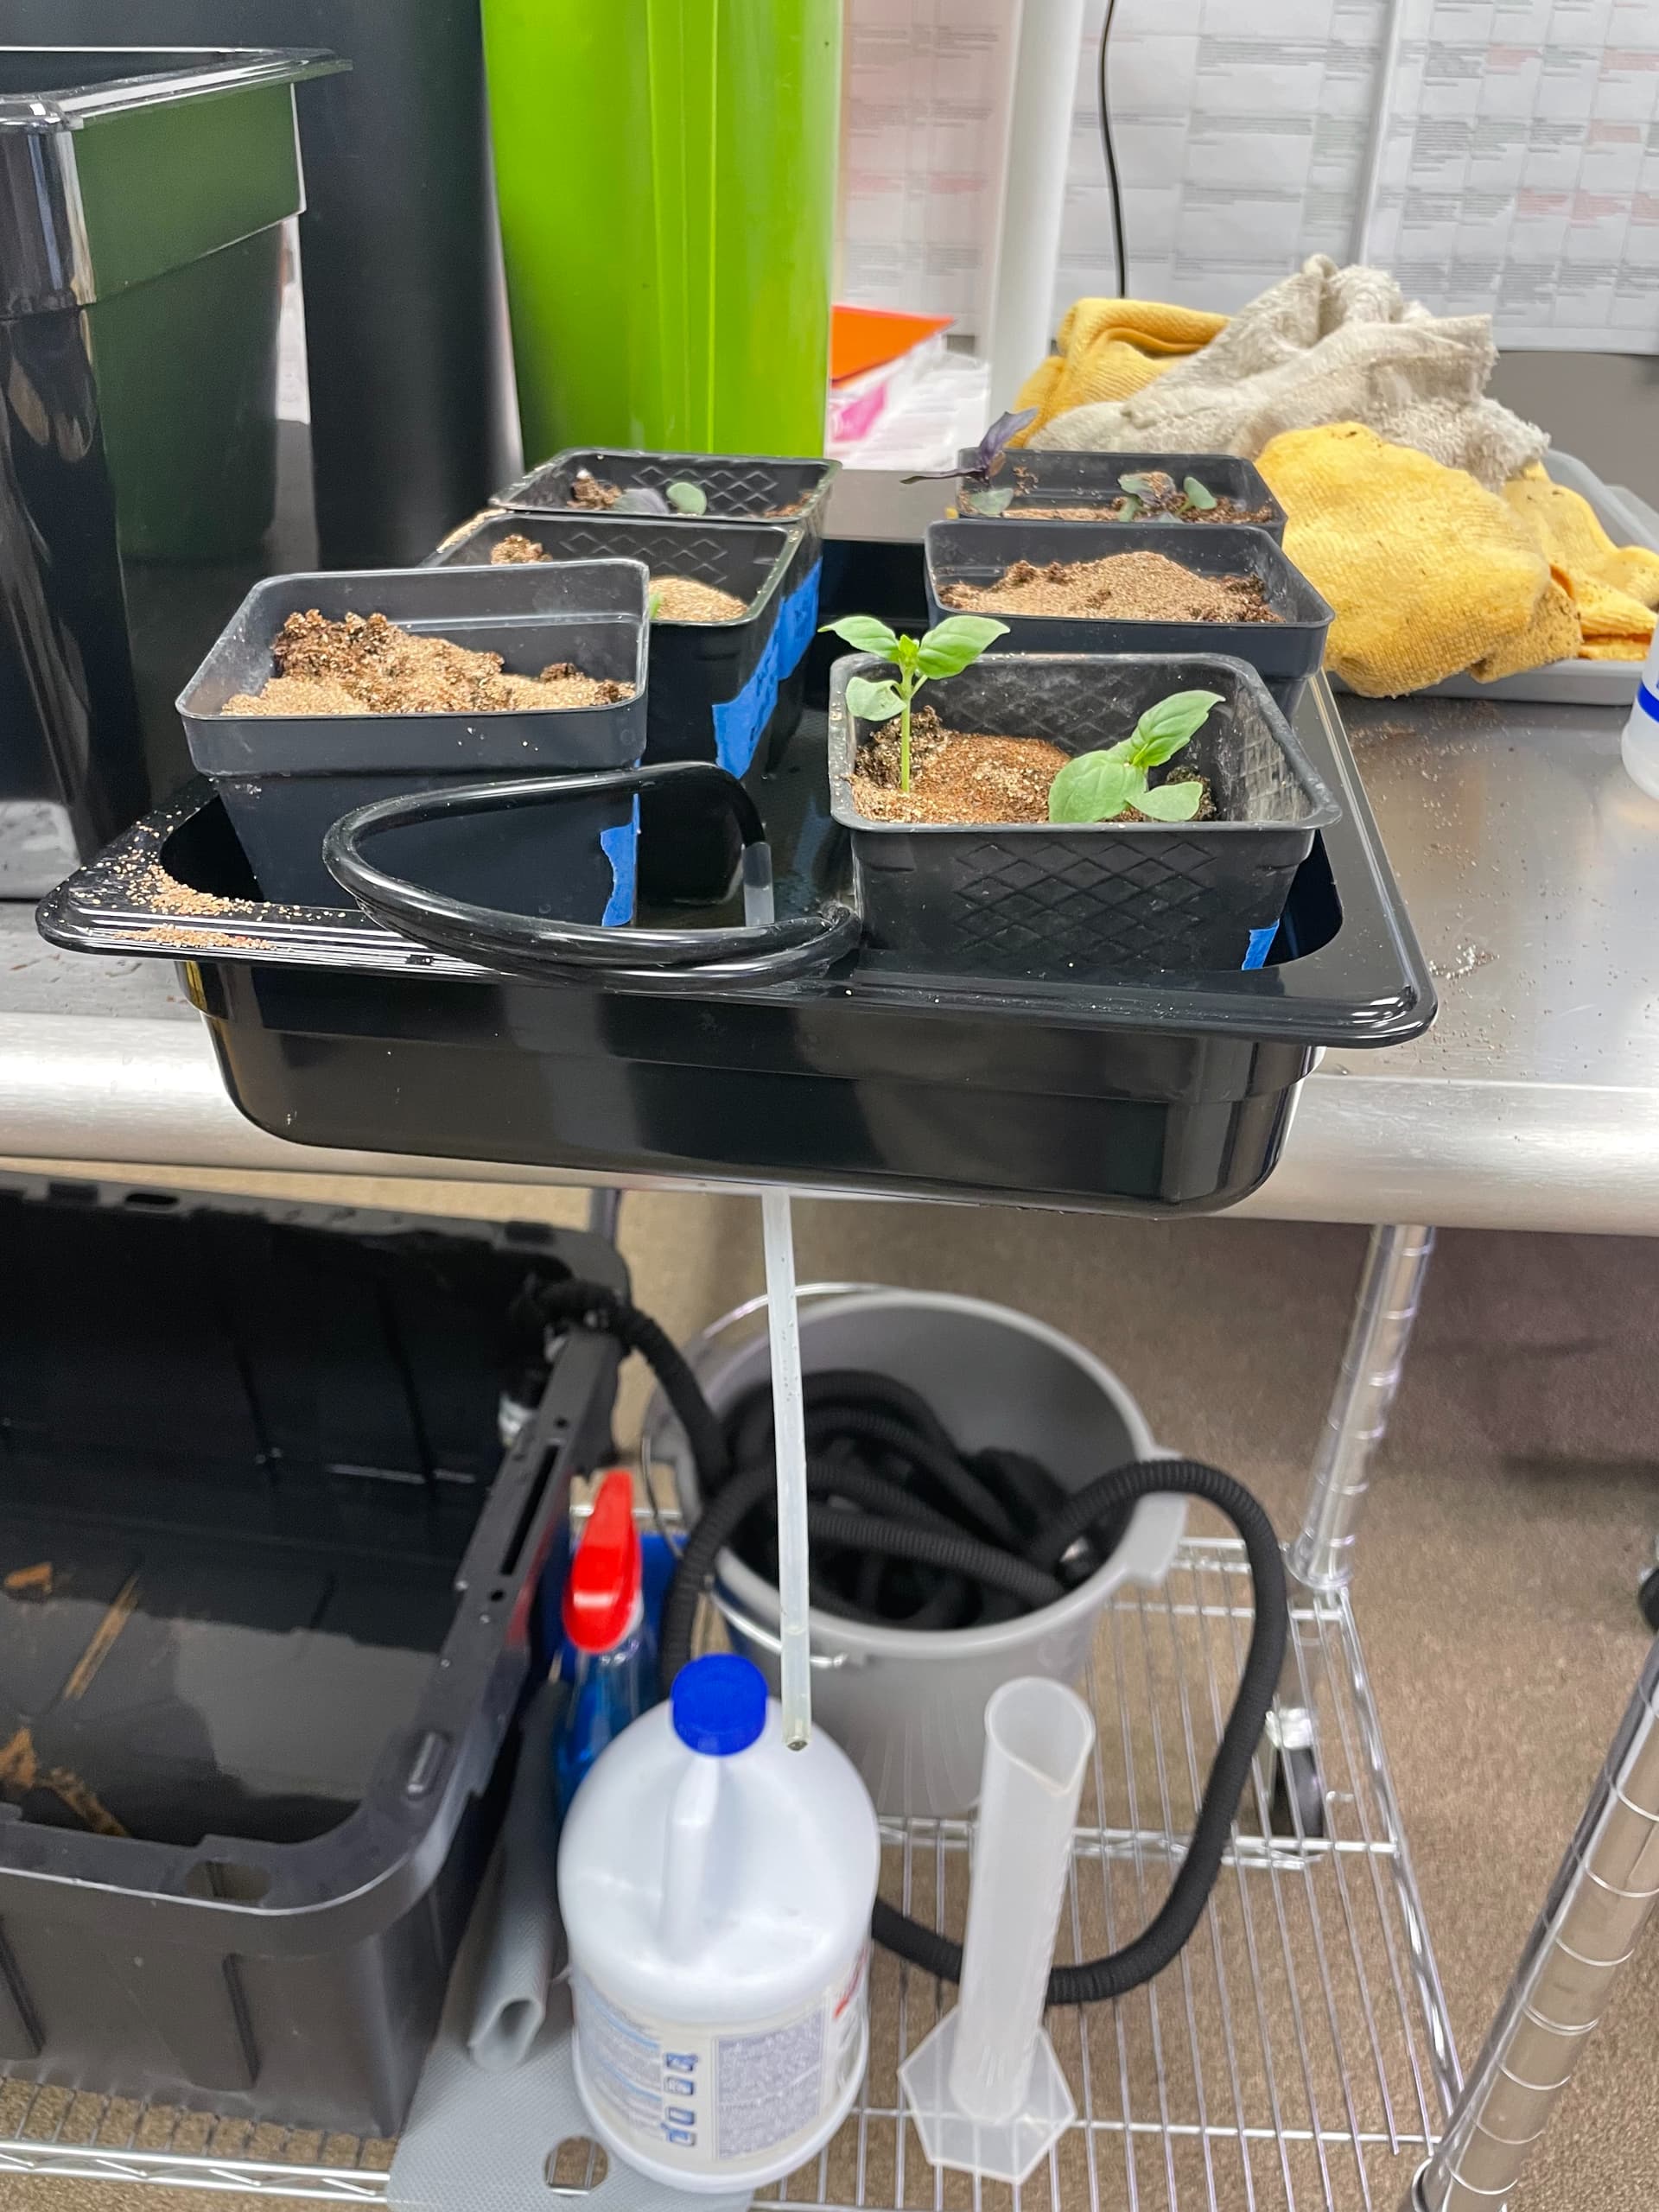
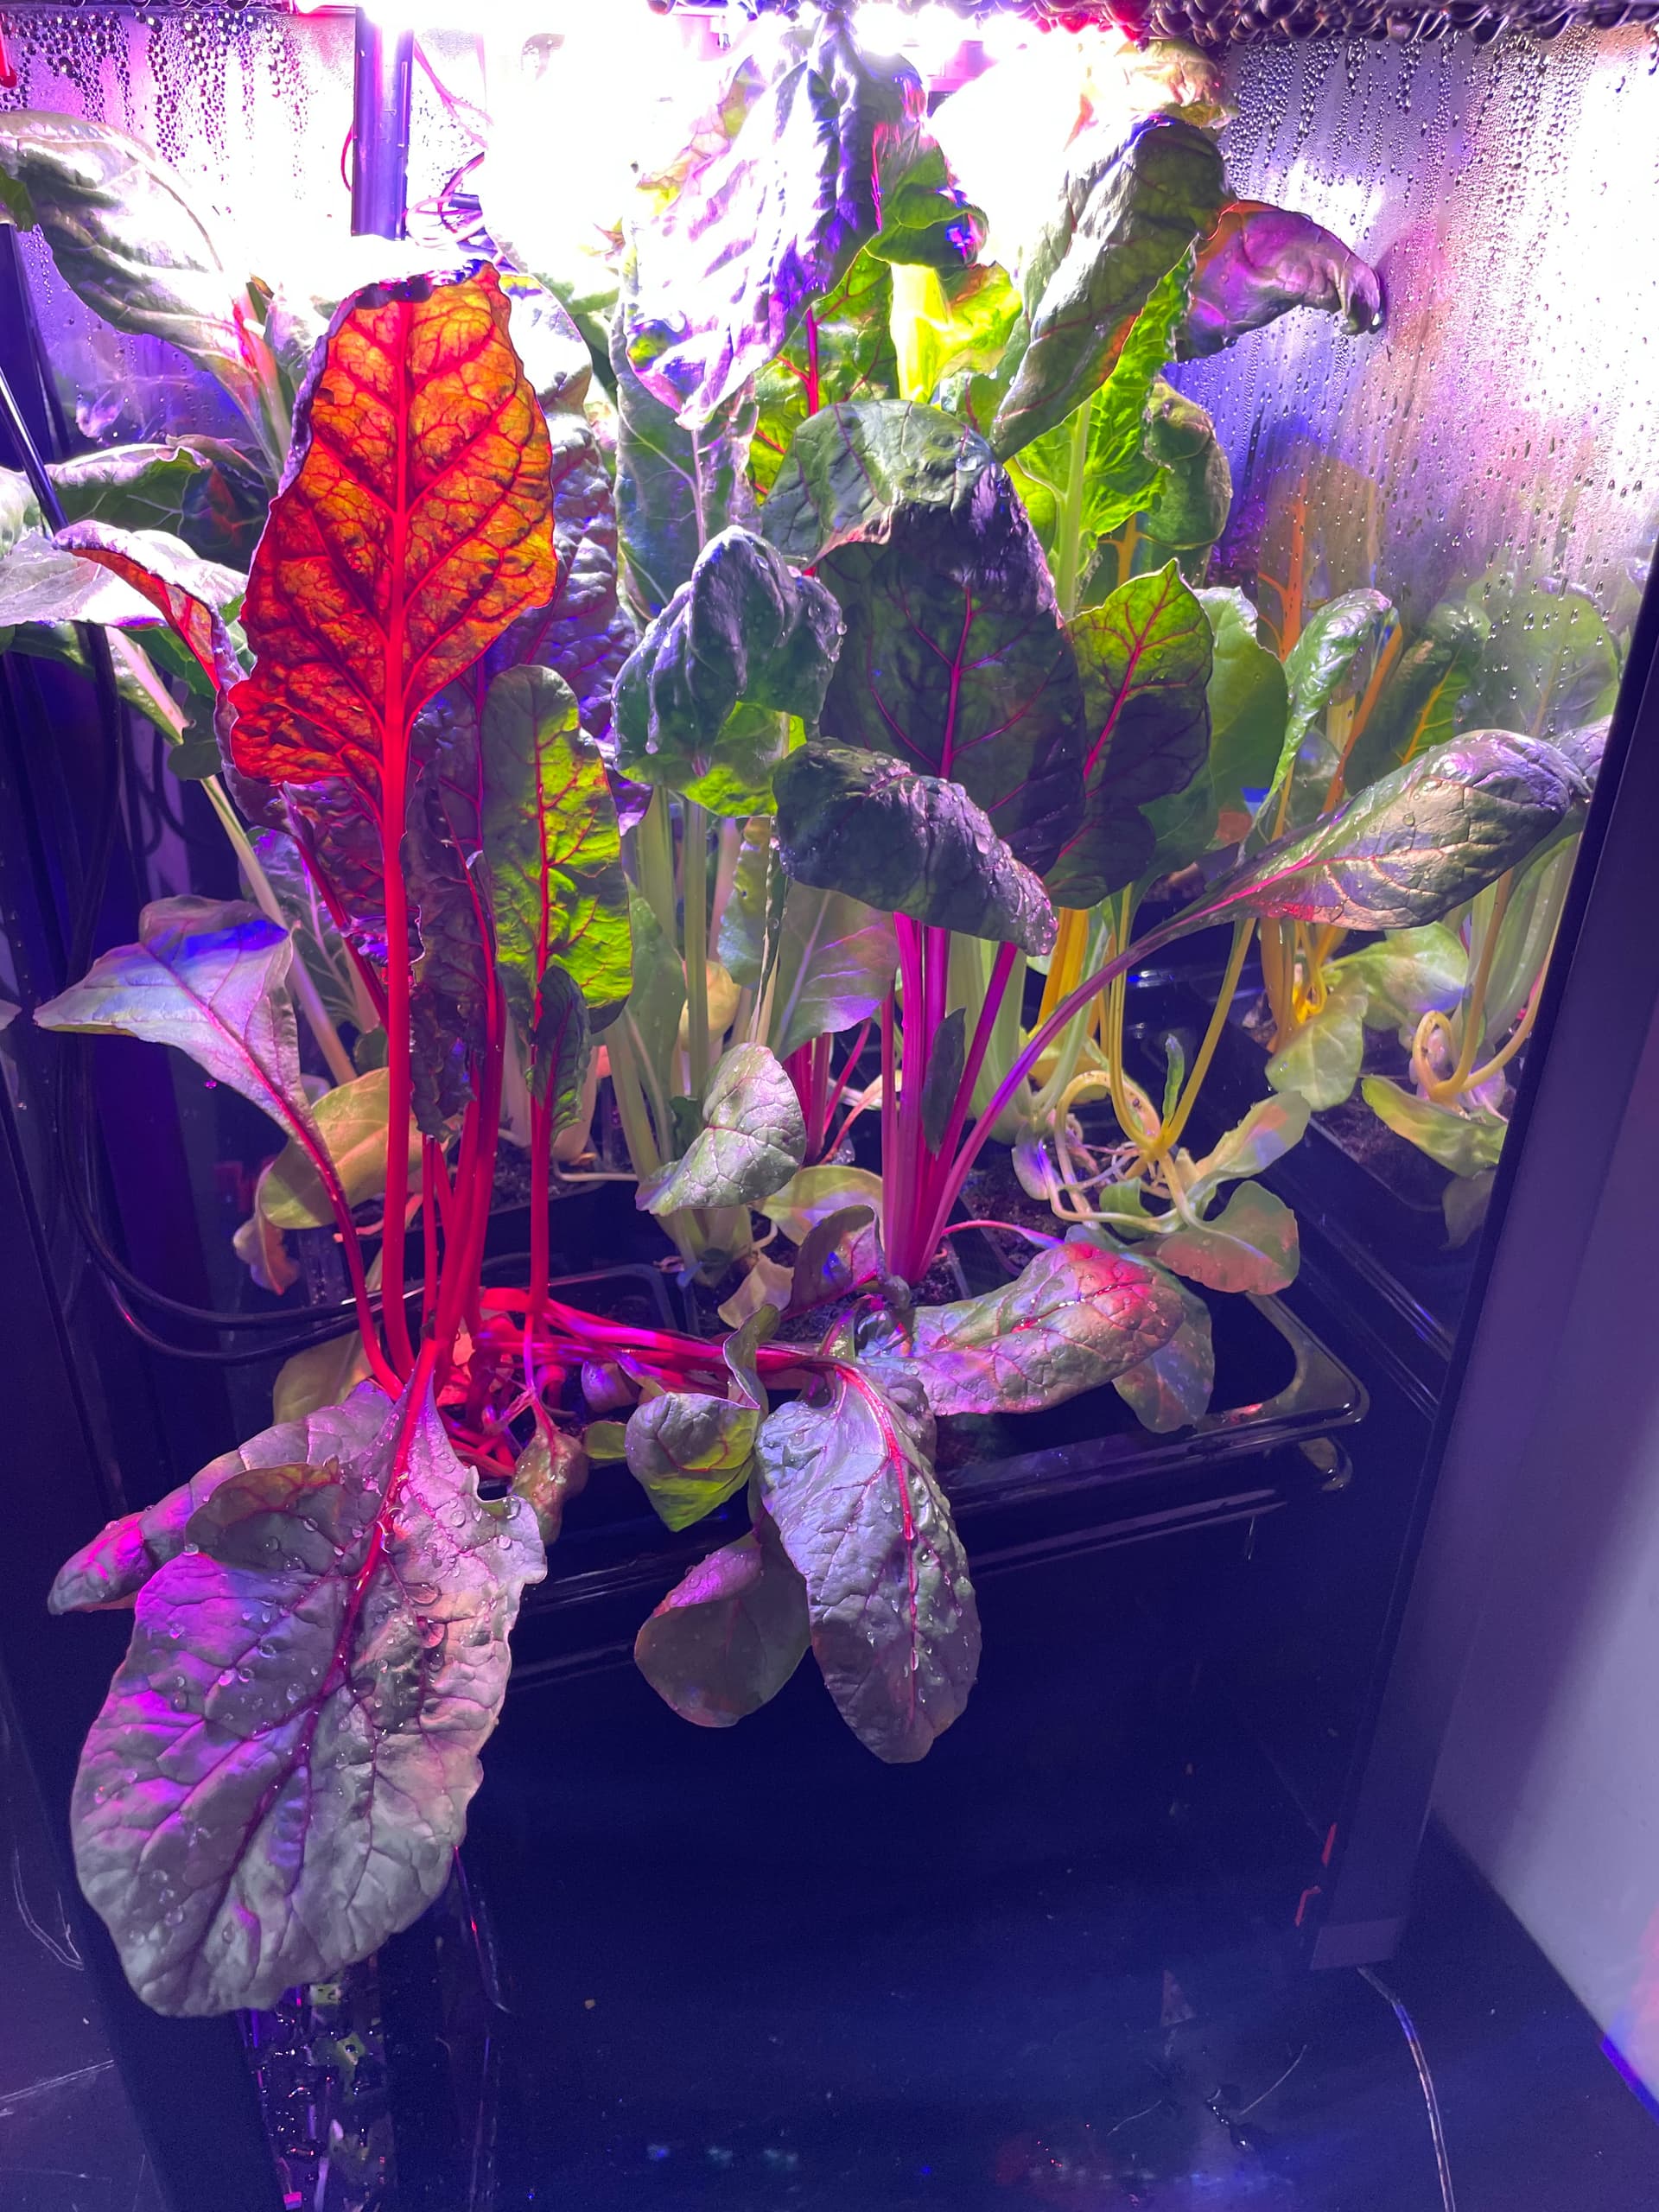
SUPRISE, I am running two more trials in MV1s! Instead of planting new seeds, I transferred some Swiss Chard into pots. These already had some height since they have grown a little bit. They were planted in peat pellets and we transferred them to a concentrated seed starting mix made from coconut coir. This is different than the media we used for the other trials. For the other trials, we used seeded greens which are more of a sandy media. Seed Greens don’t get as muddy as alternative media. Becuase it can soak up water well without getting muddy it is used on a lot of golf courses. All MV1s are sent with the seeded greens.
Here are some pictures of the Swiss Chard:
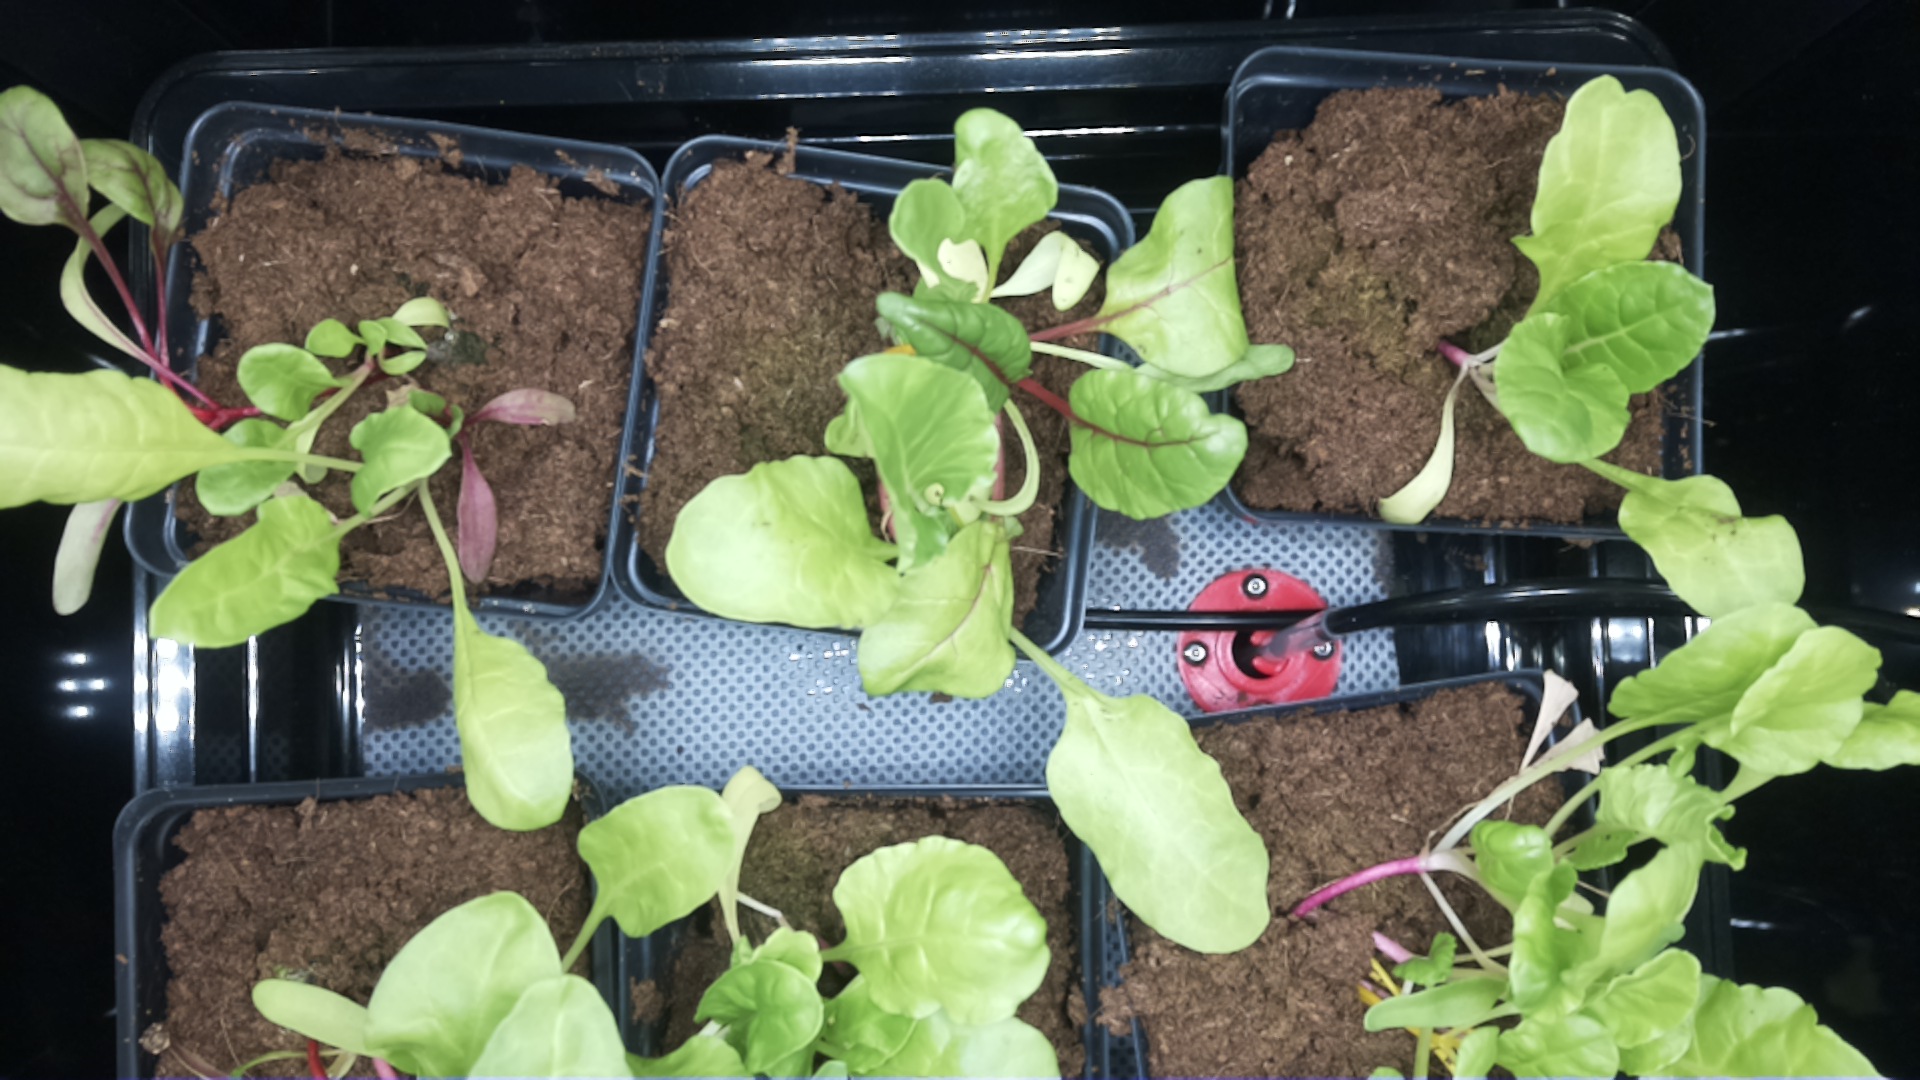
This is some of the Swiss Chard in machine HQ7
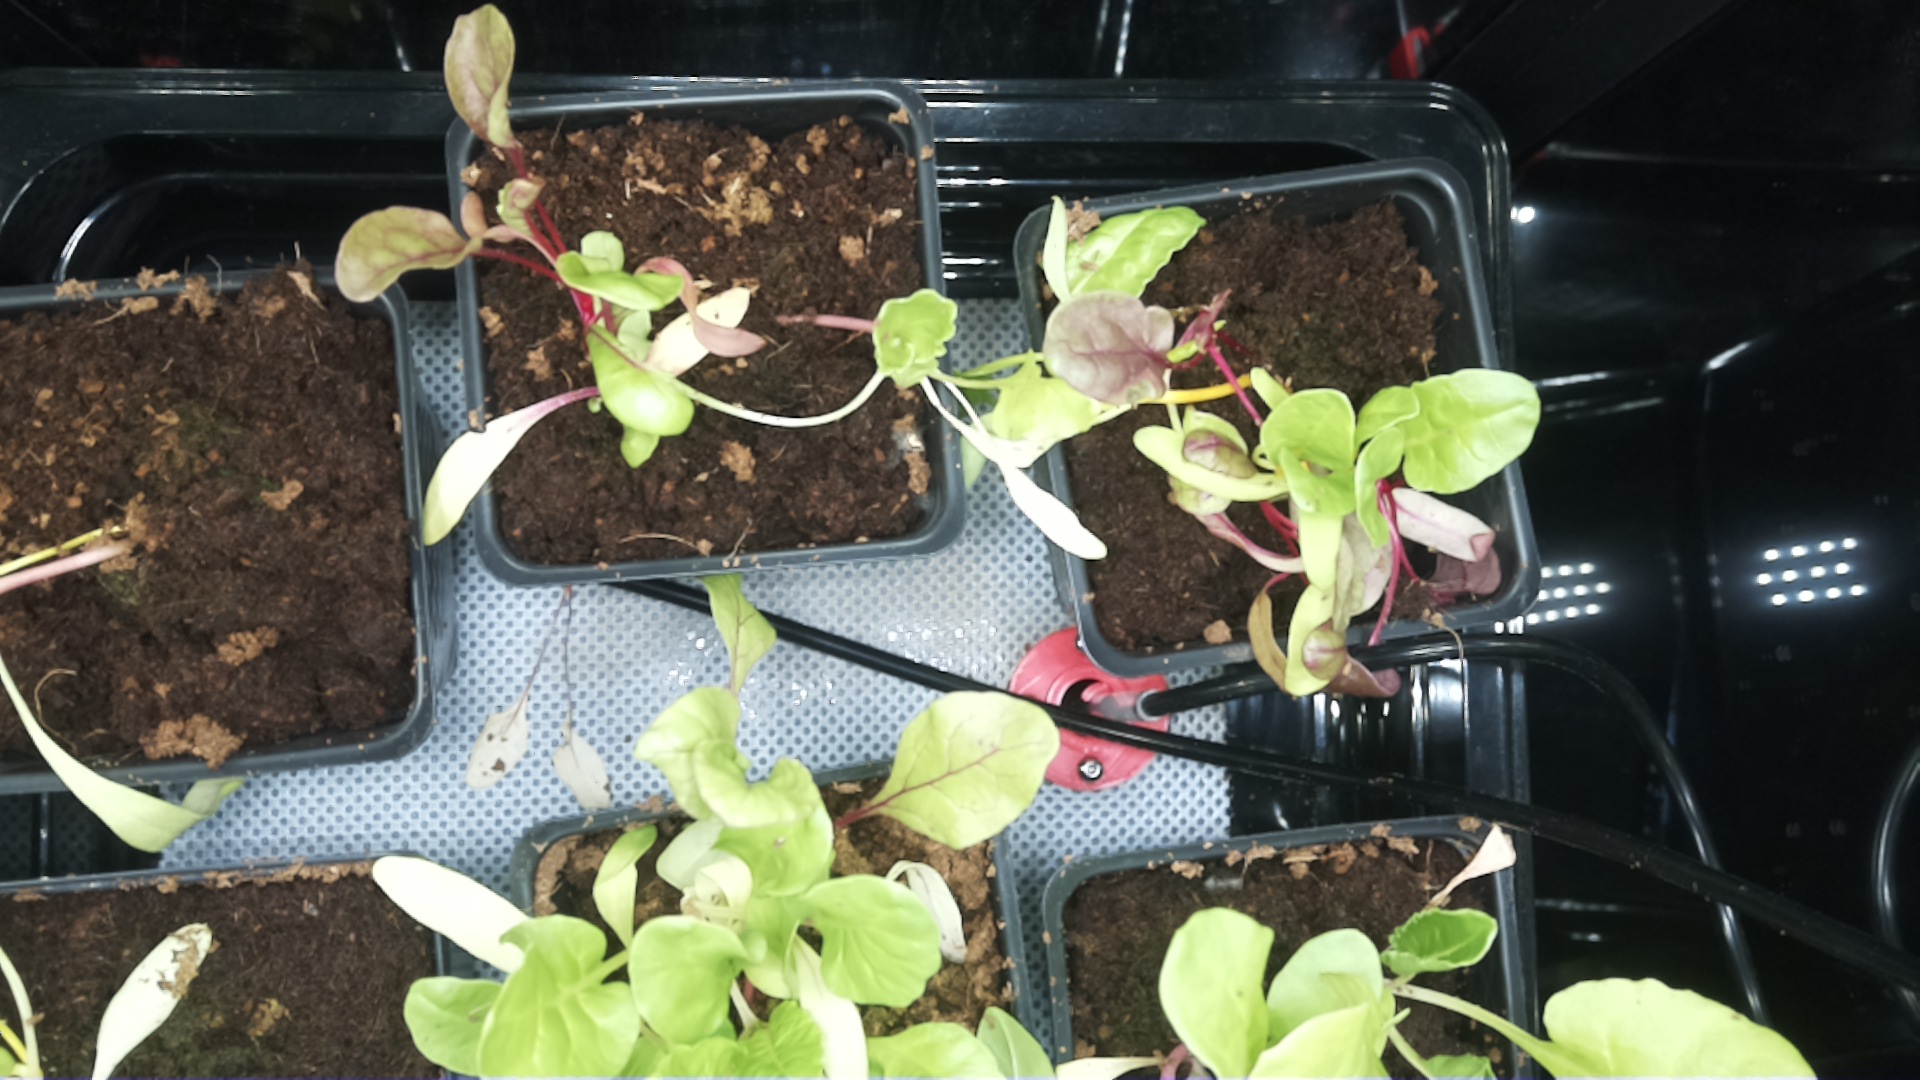

These two are from machine HQ8
Here is a video of the plant’s growth:
This is a video of the plants growth from 6pm to 10am today
I will keep you all updated as the Swiss Chard continues to grow.
2 Likes
Today I trimmed down the plants inside the chambers. Trimming is a maintenance procedure where you remove some of the weaker/smaller plants to ensure the plants aren’t growing on top of each other and clear up space. I also used this opportunity to refill the reservoirs in the chambers.
Before trimming my plants looked like this:

This is the Bok Choy plant before trimming.
This is the Cherry Bell Radishes before trimming.
Here are steps to trim down your plants:
-
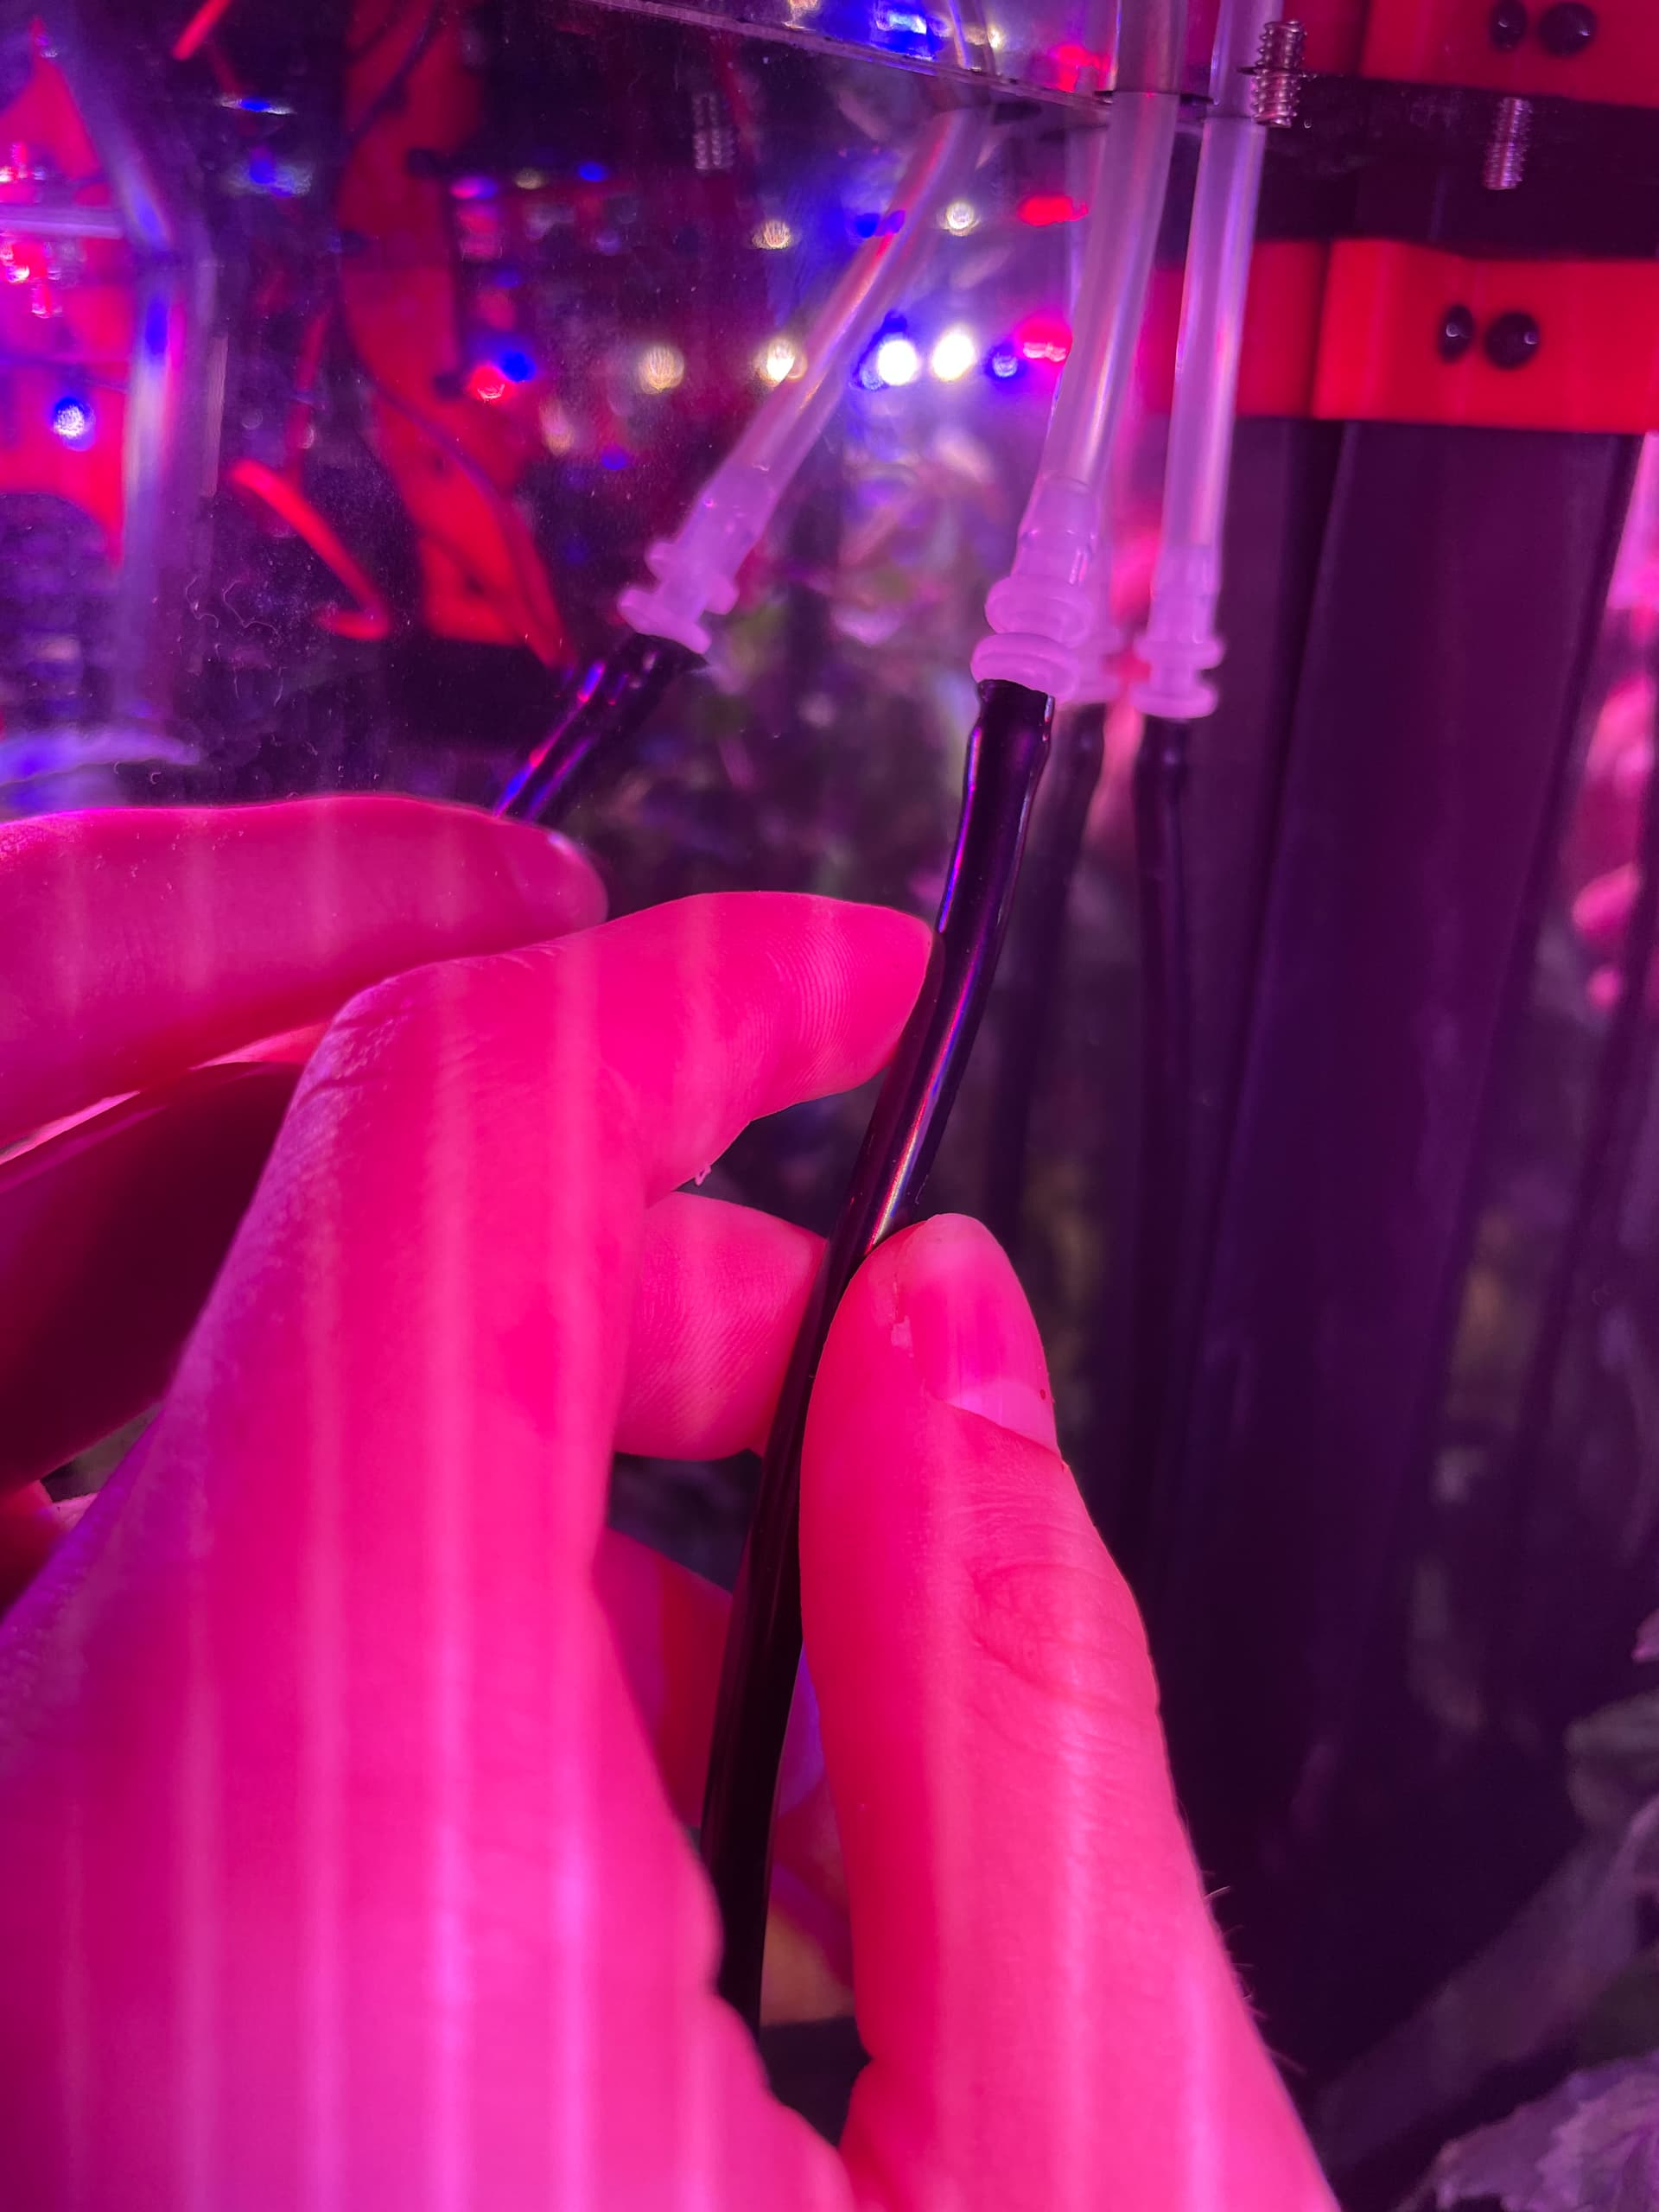
Unplug the two black tubes from the top.
-
Take out your reservoir and carry it over to another table.
-
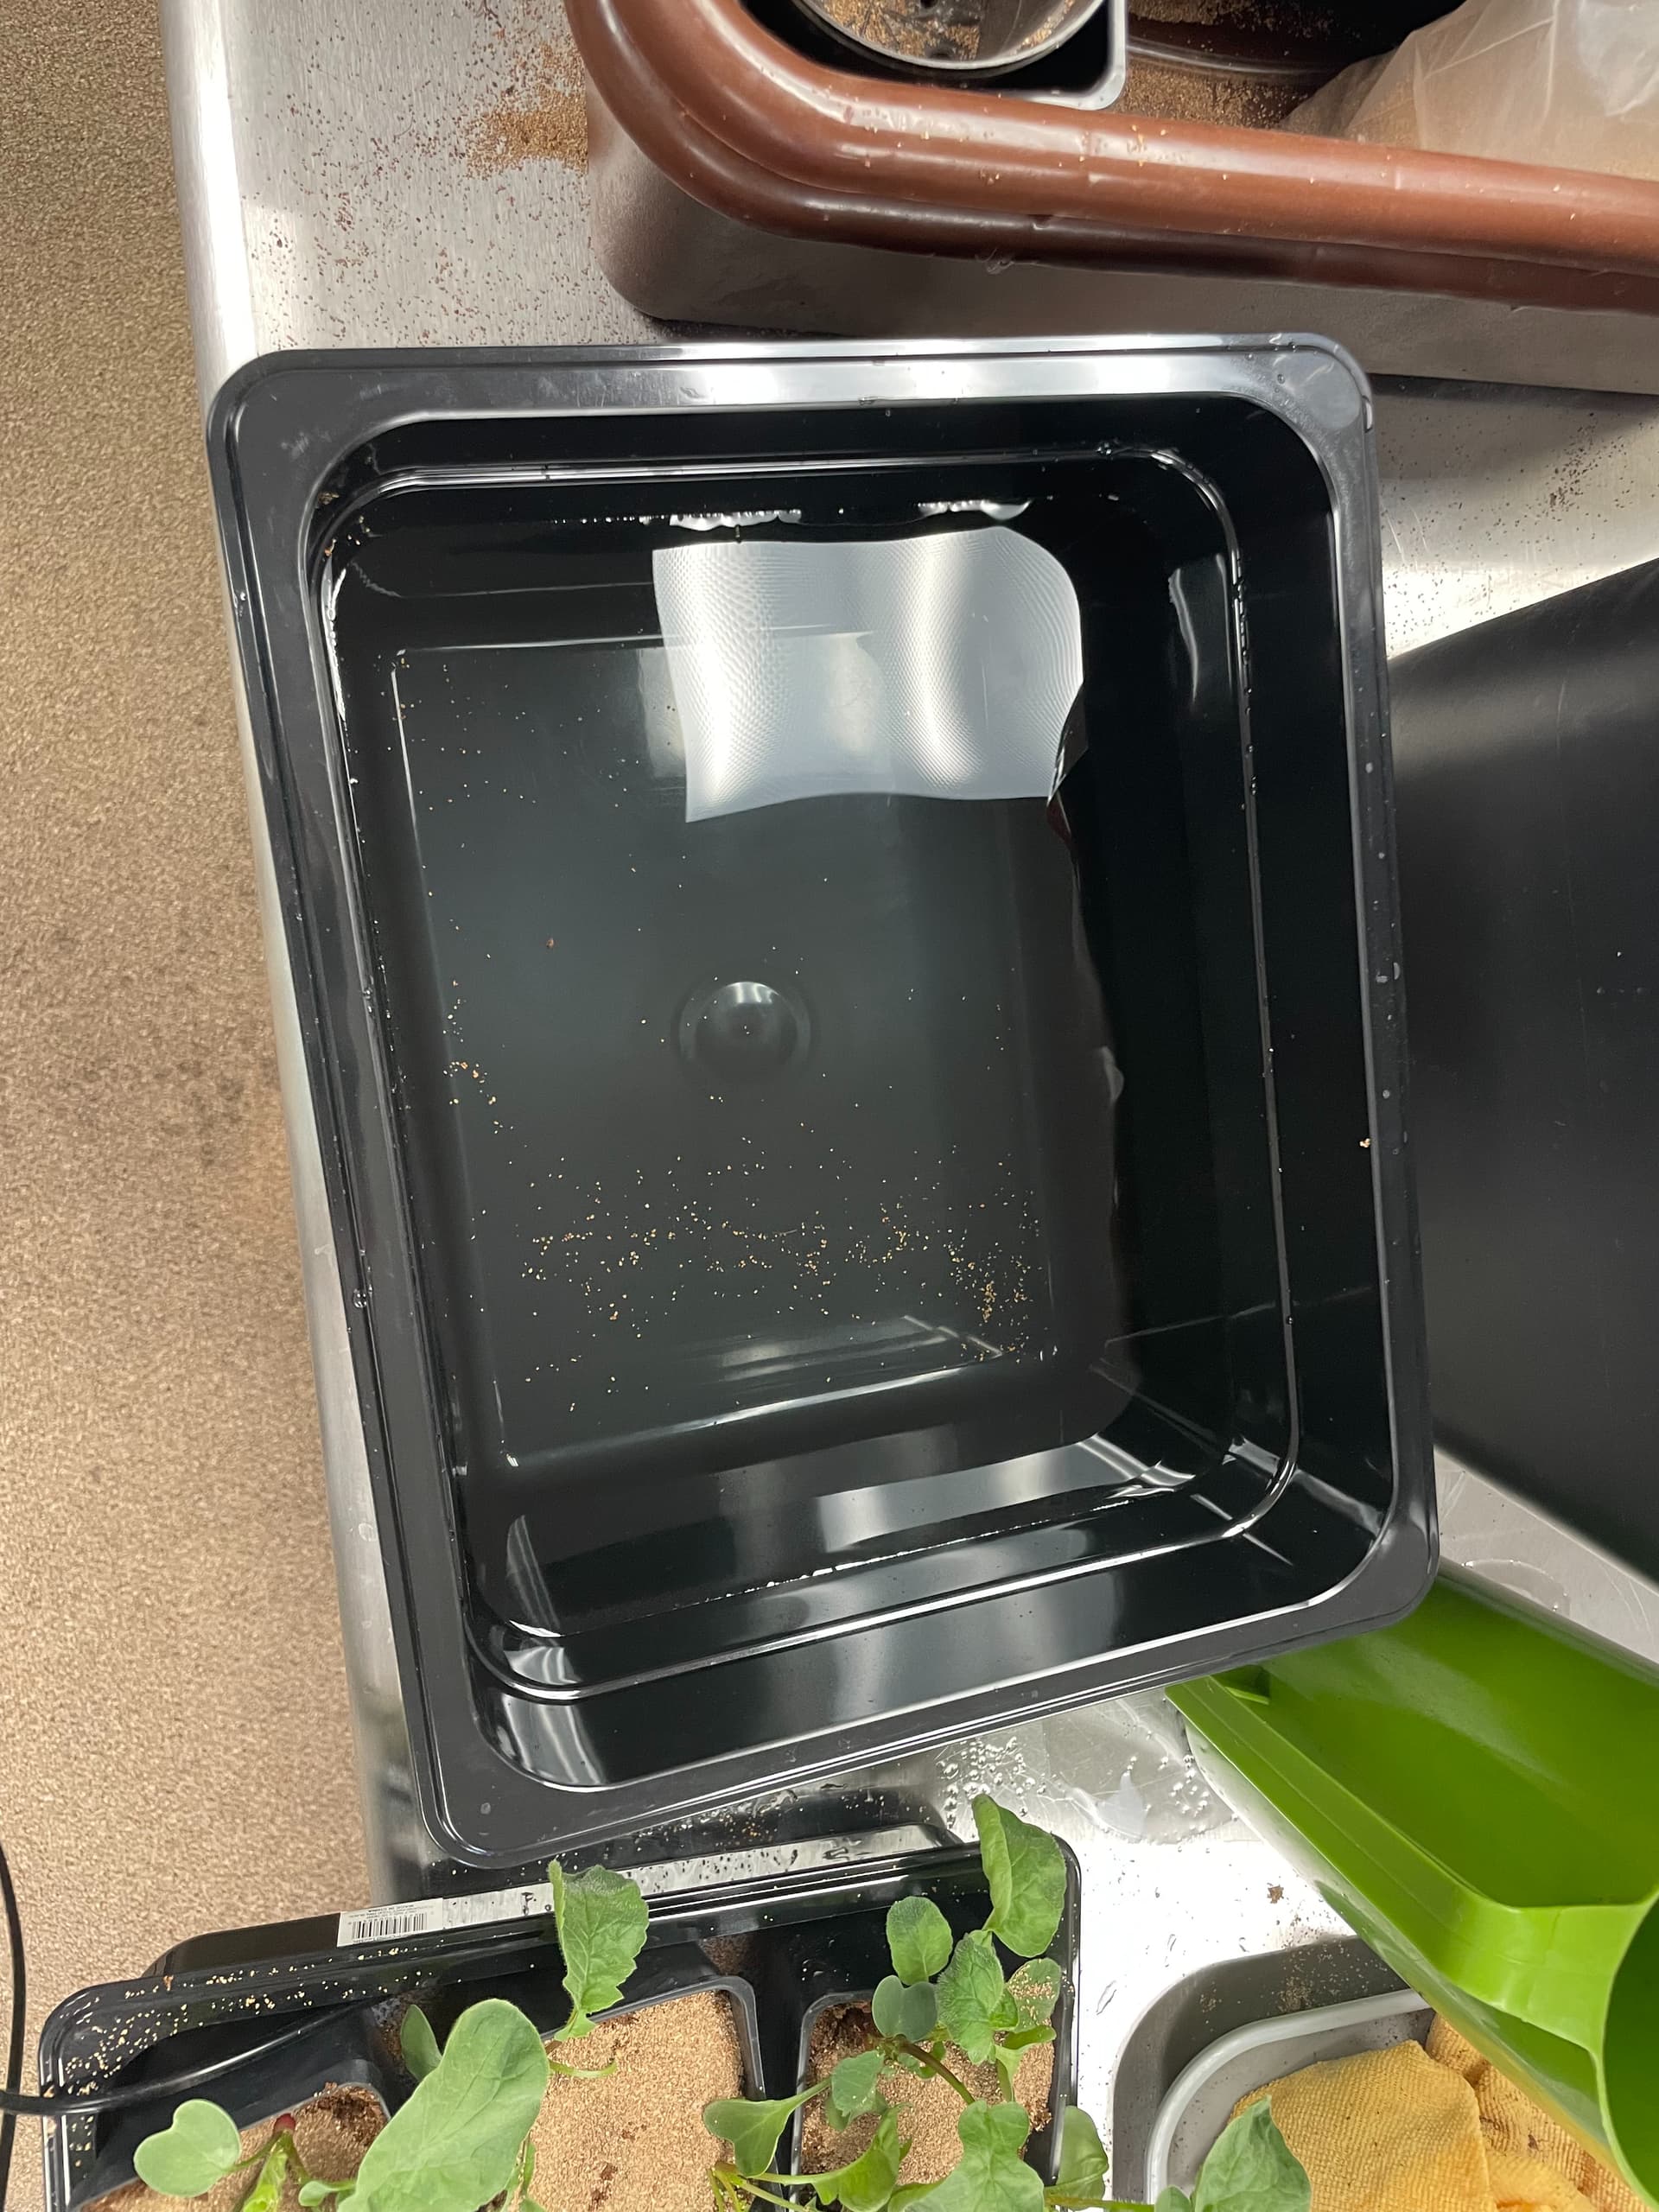
Remove the top tray and dump access water from the reservoir down a sink/drain or into another plant/garden.
This is the best way to position the tray, to not crush the tube. -
Clean and fill the reservoir back up to the indented fill line.
This is a photo of a refilled reservoir. -
Pull out plants that are weaker or smaller. Make sure to pull out the whole plant including all of its roots. Pull plants until you leave two (of the strongest) plants on opposite sides.
This is a photo of a Radish plant fully pulled out with all its roots.
This image shows two plants on opposite sides of the pot. -
Add some additional media on top
These are the pots with new media on top. -
Move the reservoir back into the box
-
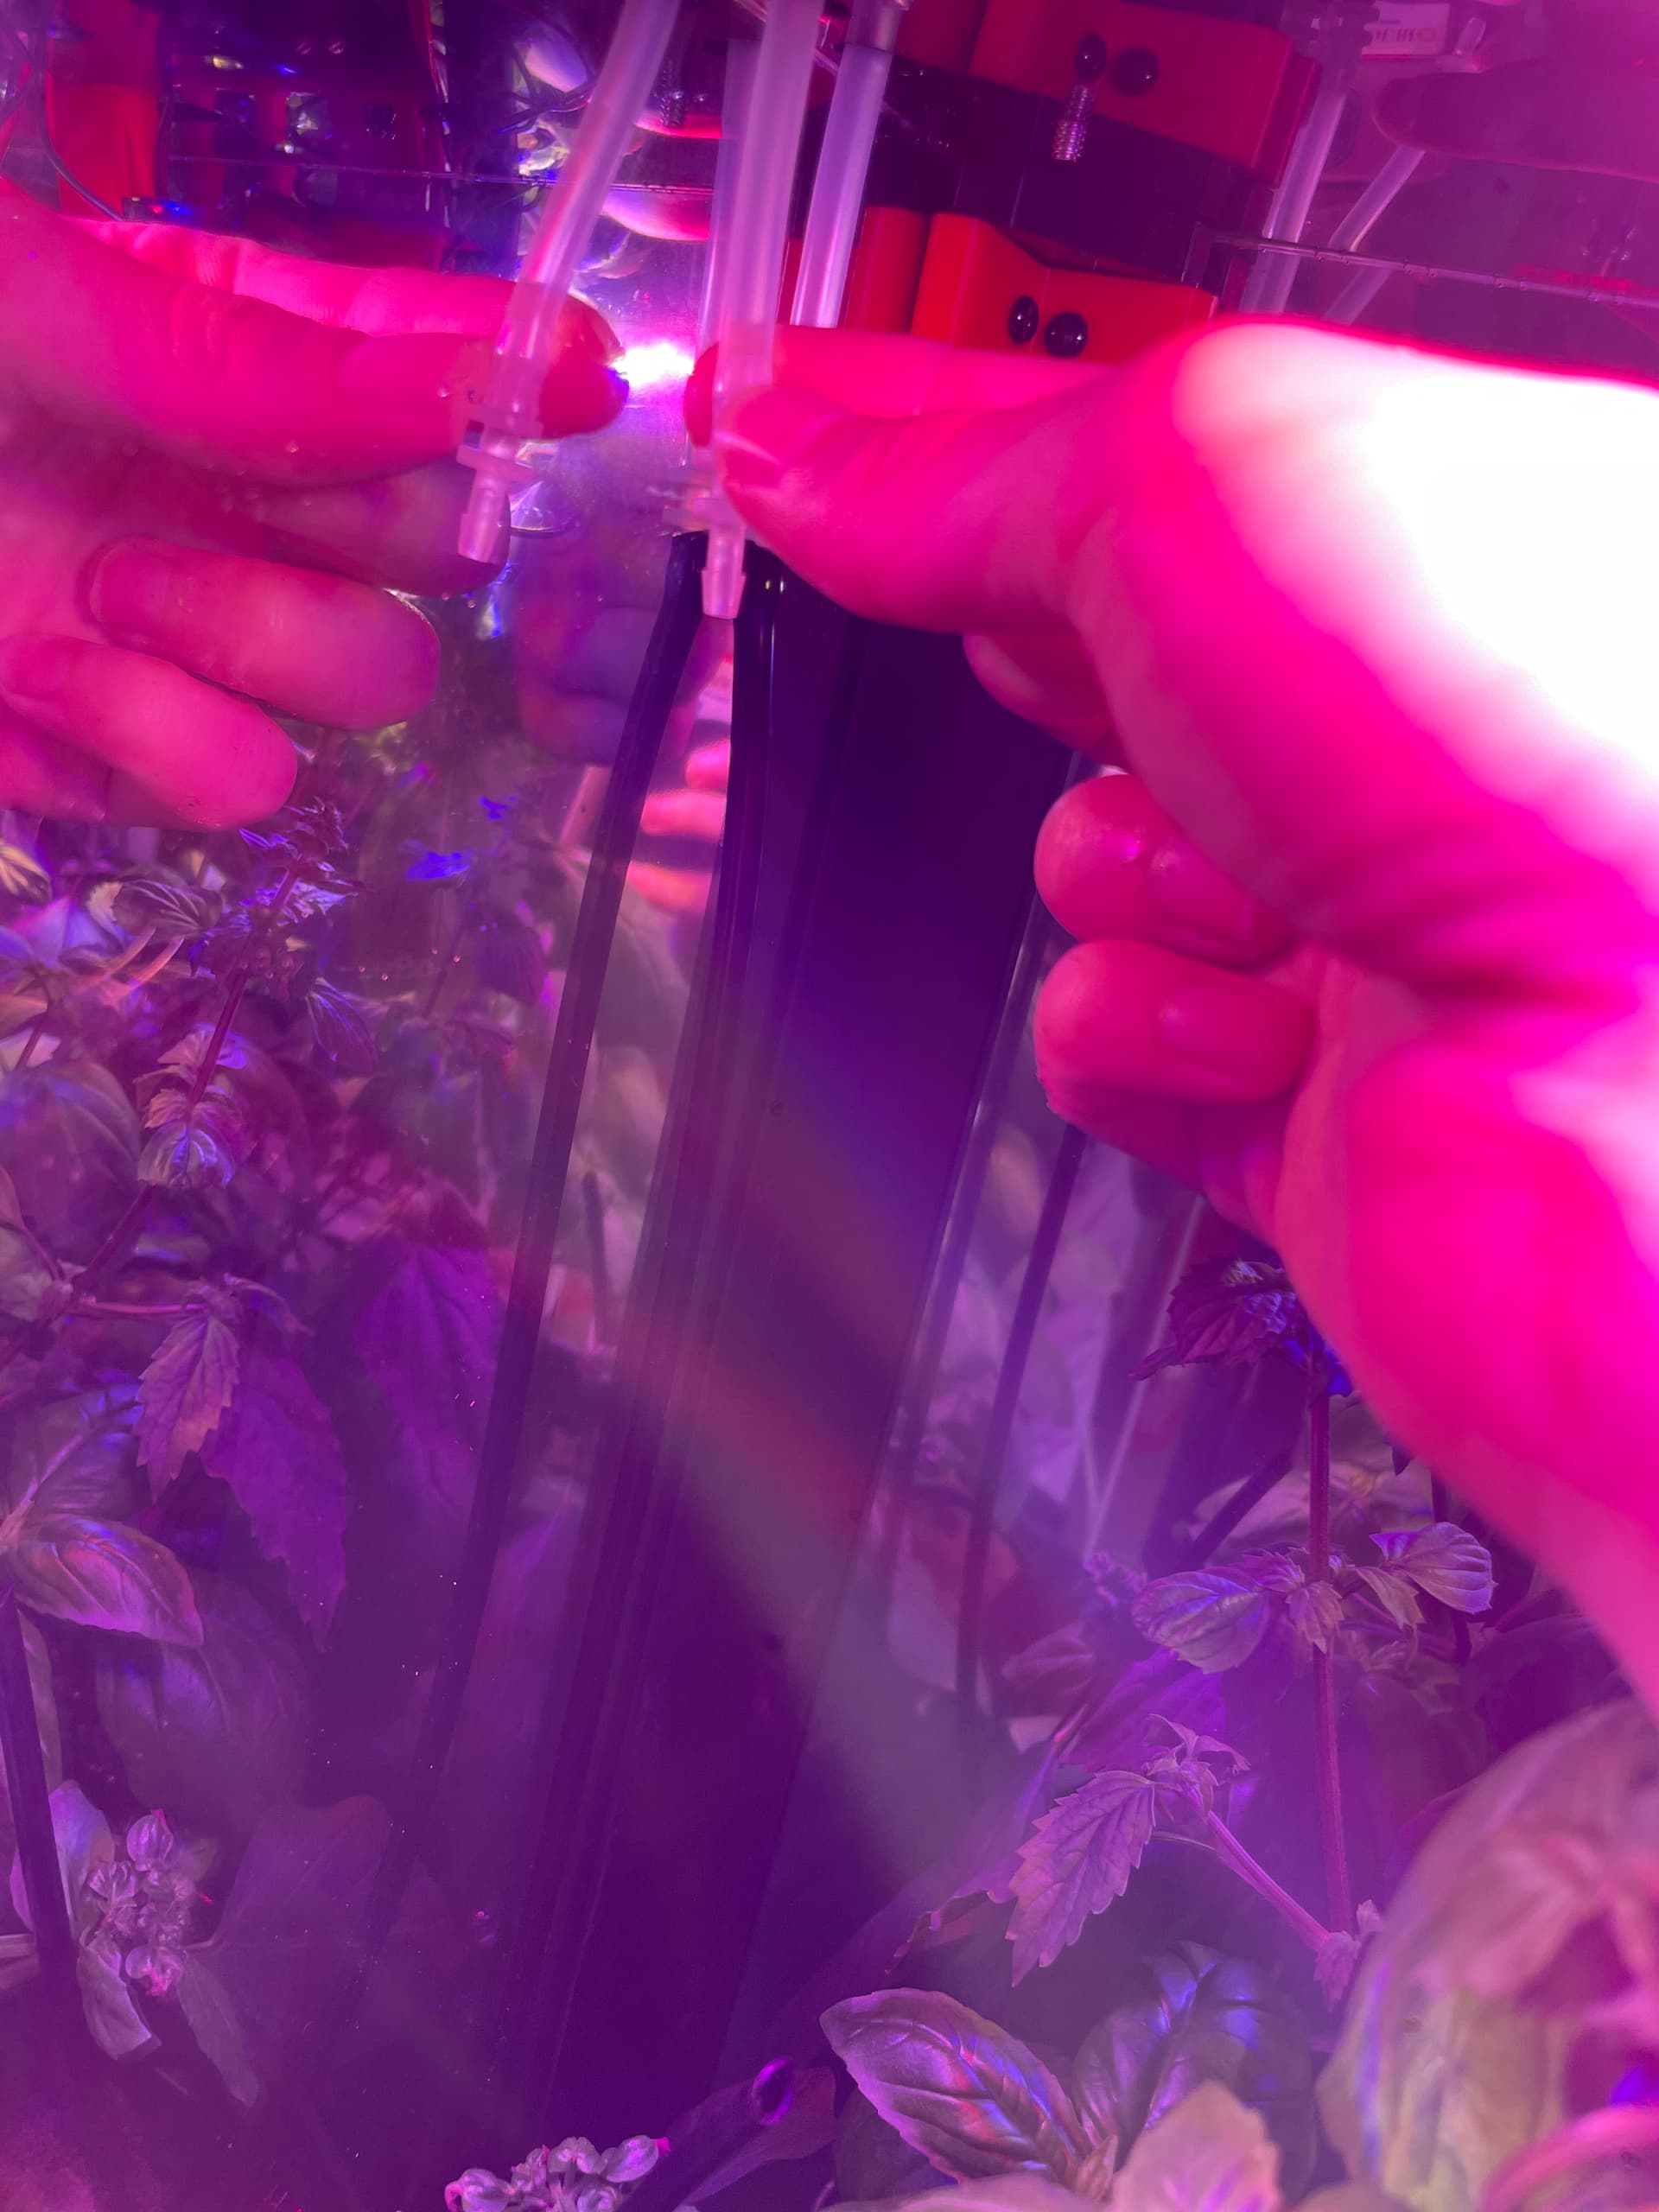
Attach the black end of the Black Tube with the Draining Guide (in the orange hole) to the front tube at the top of the box (the closest one to you). Keep pushing it on until you feel resistance.
This is an image of the black tube in the front tube.


Do the same with the second black tube. Lay the open end in the tray. The tubing should look as it did before you started this process.
This is an image of how your tubing should be set up on the tray.
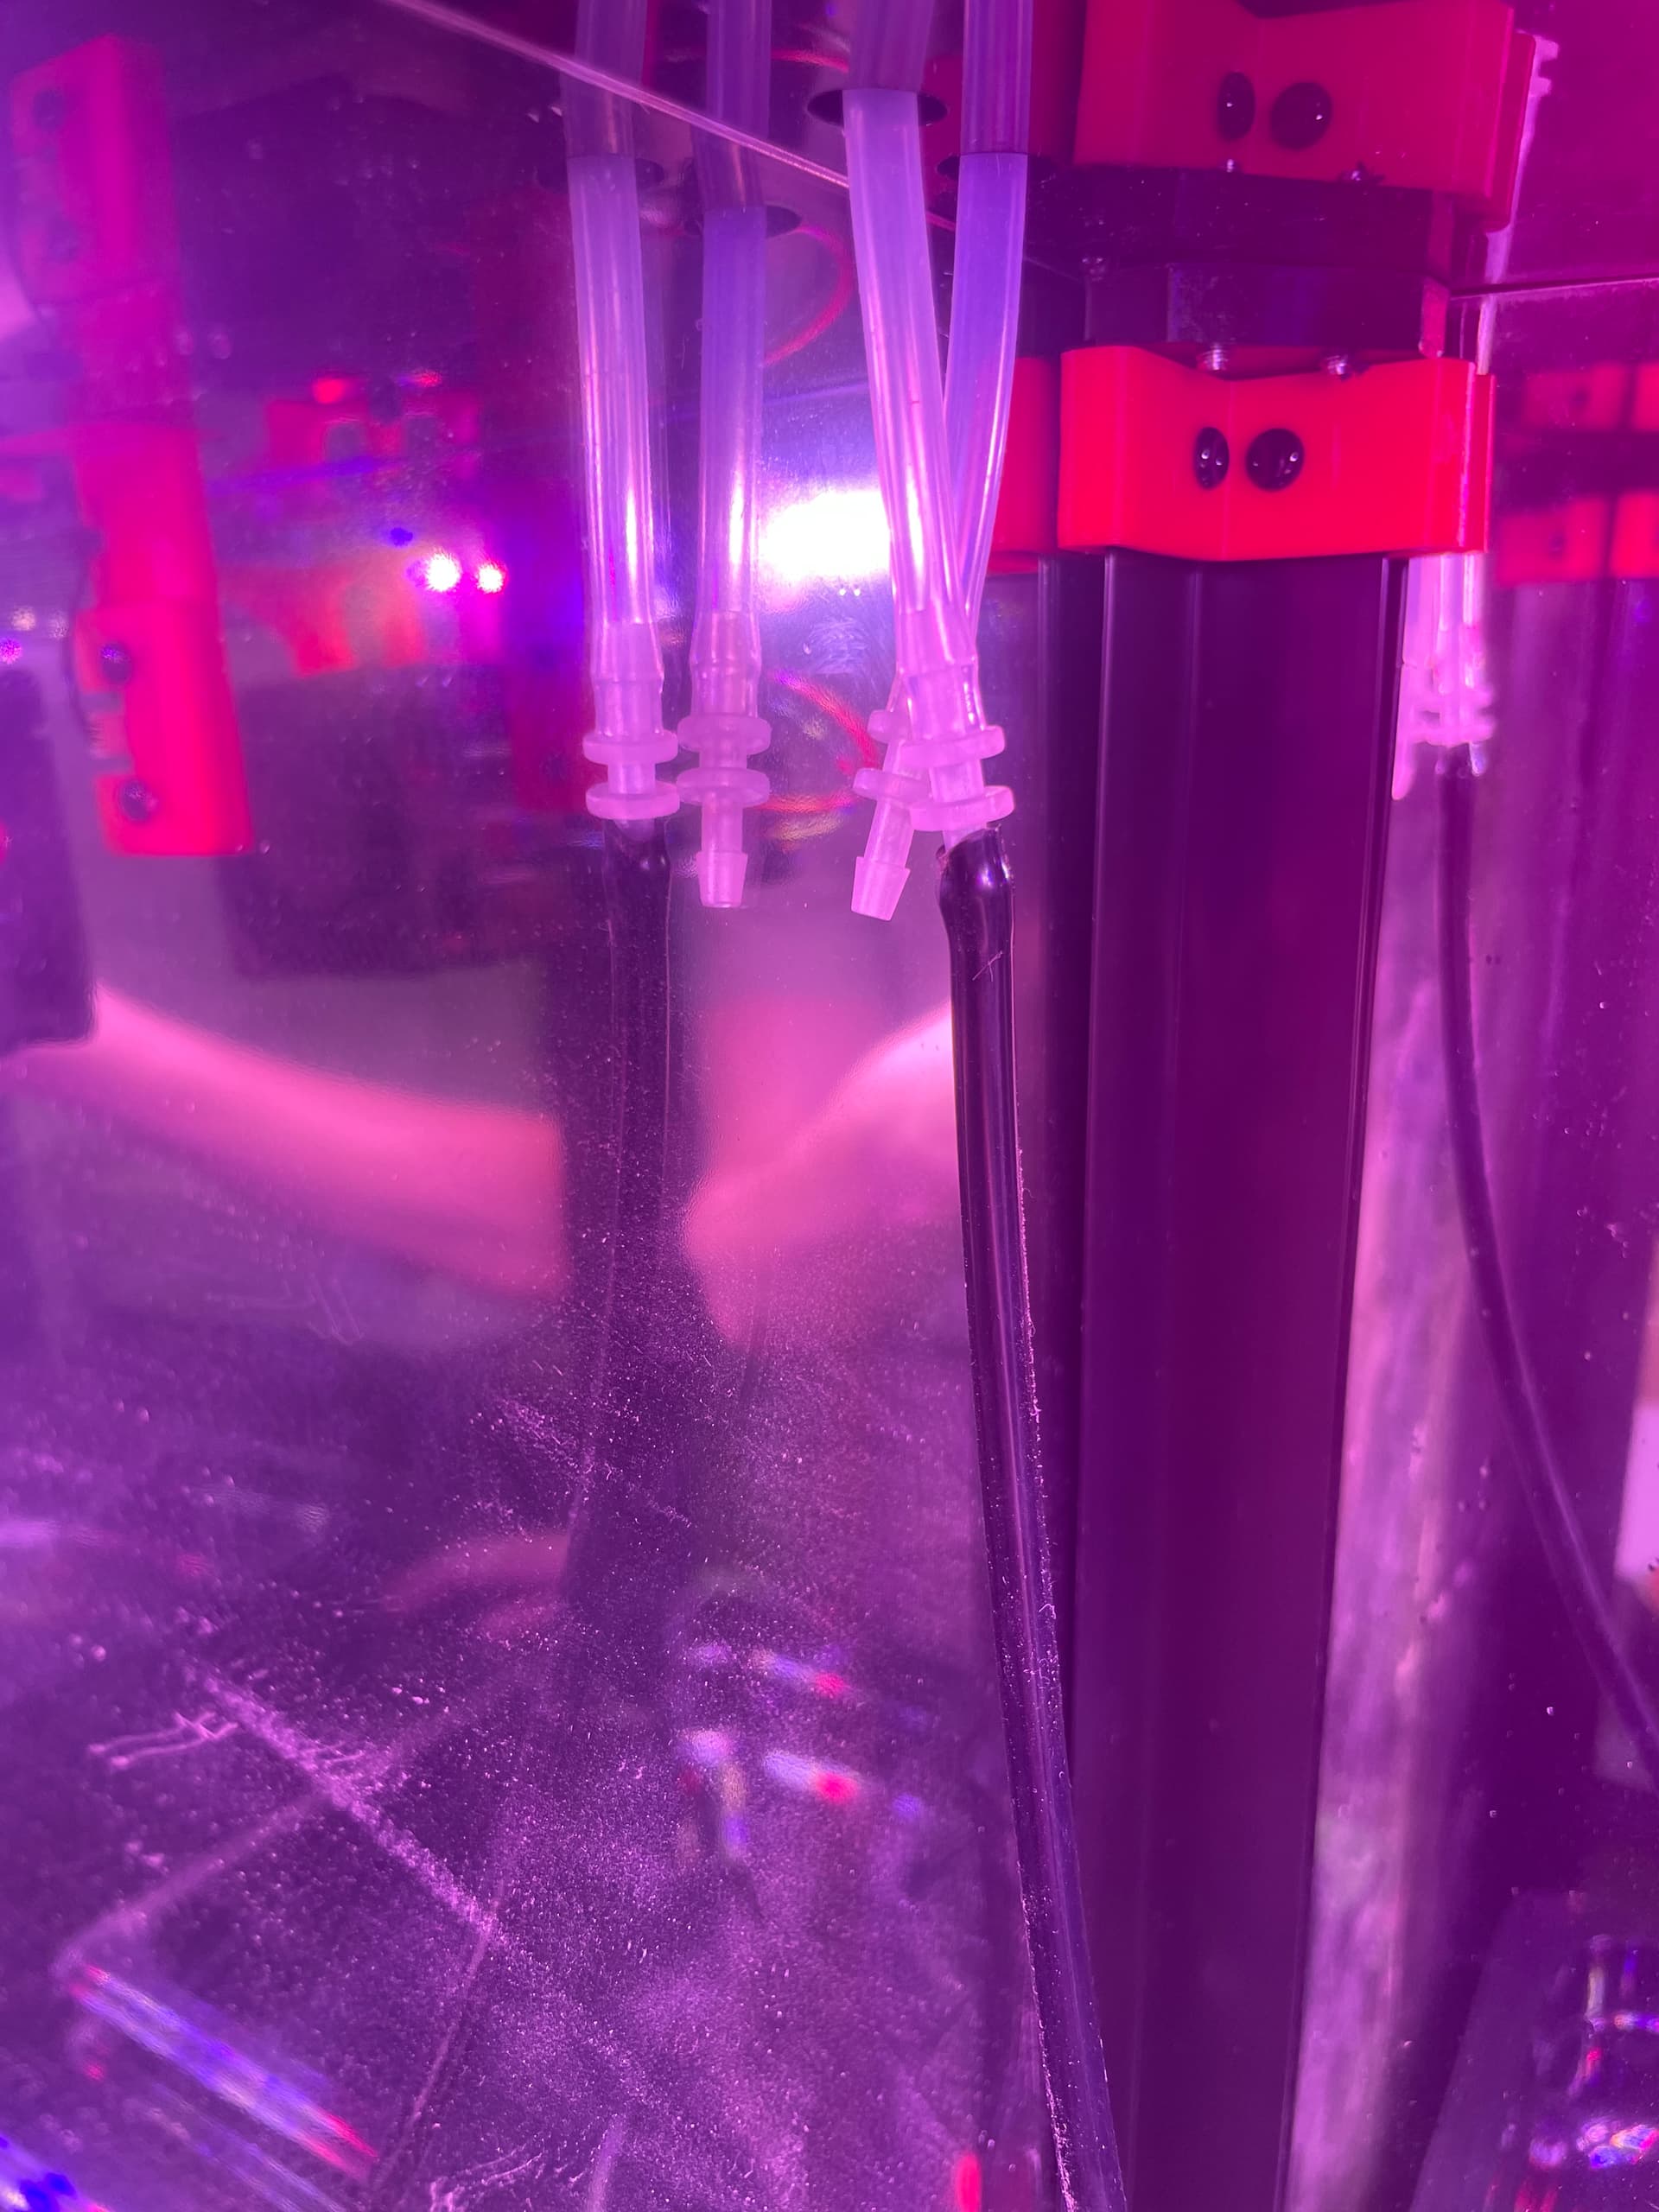
This is an overall view of how the irrigation tubing should look inside the box.
After trimming your unit should look like this:

This photo depicts a unit after trimming. As you can see, there are fewer plants.
2 Likes
Yesterday while trimming, I accidentally broke some plants ( I know, very tragic).

Here is one of the radish plants that were broken
The best way to avoid breaking the plants while trimming is to use scissors.
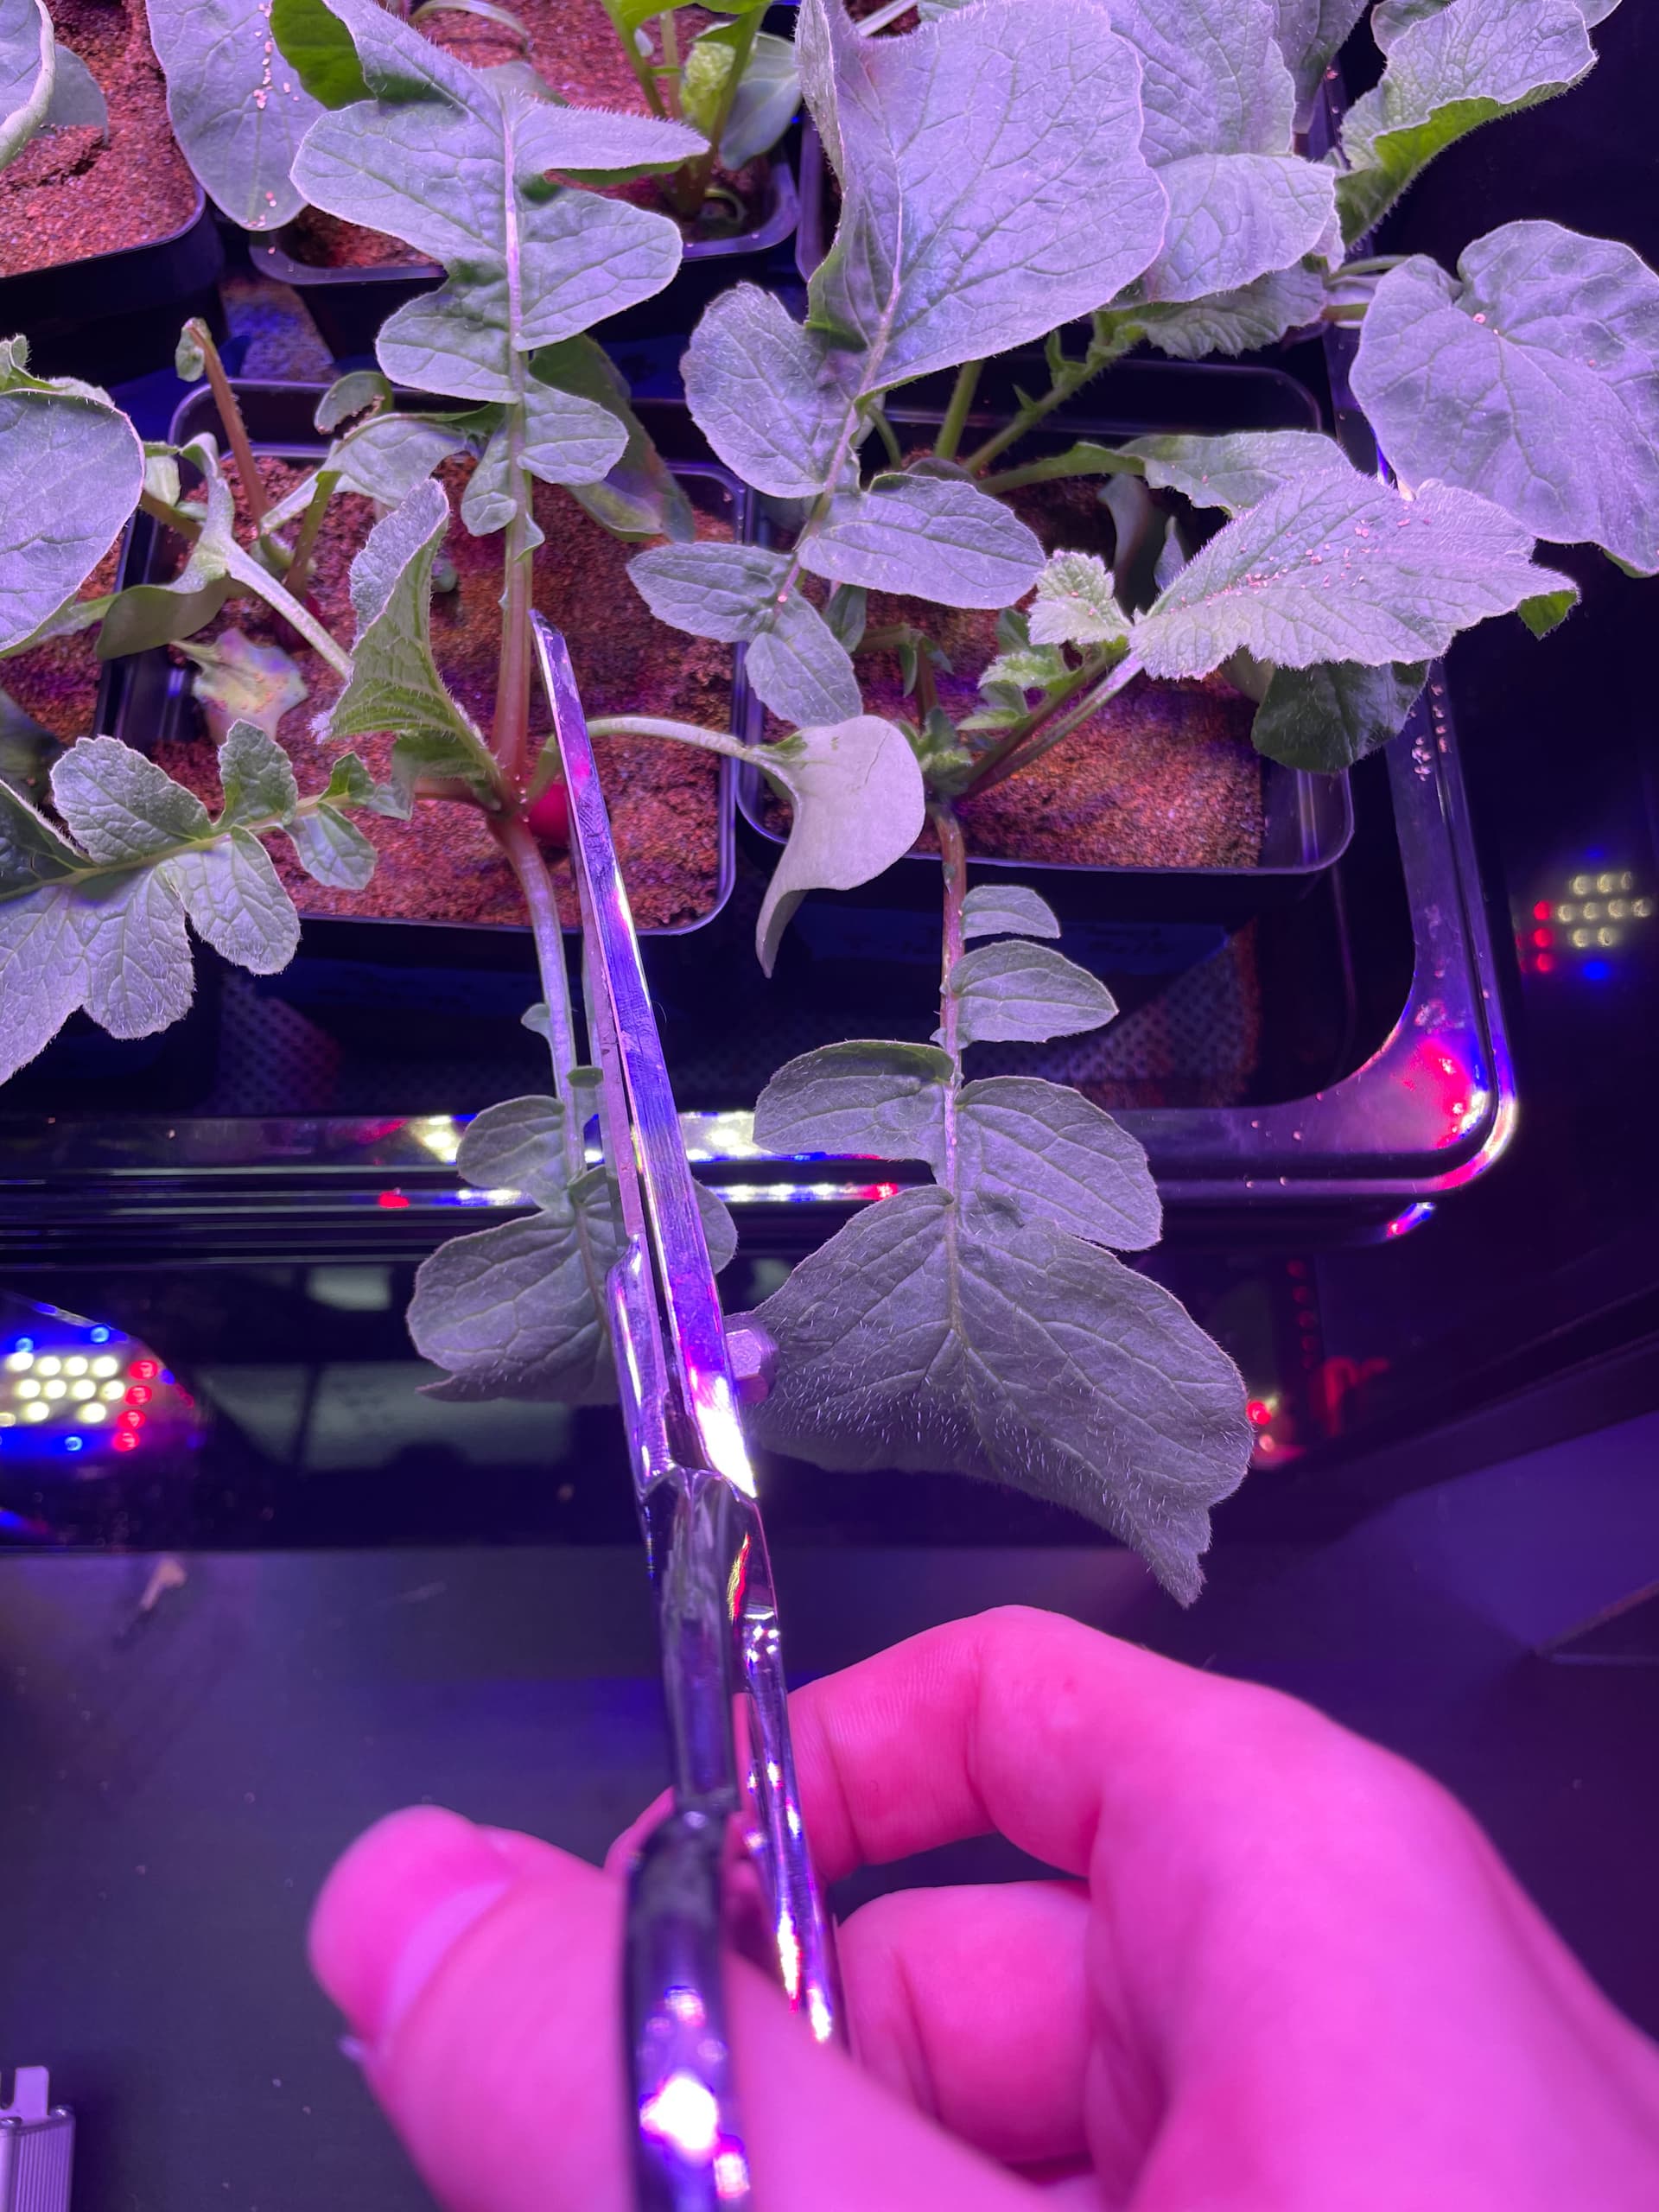
This is an image of me cutting the broken plant. As you can see, I am not cutting too low as to harm any other plants
The downside to cutting the plants while trimming is you leave the roots in the soil. You also lose the ability to replant the pulled plants, but scissors might be easier for beginners who don’t know much about trimming.
The upside to cutting is that you might yield bigger crops because the light is absorbed more directly into the crop you are trying to grow. (for example, the radish of a plant that is cut might be bigger than a radish left uncut because the light is going to the radish itself instead of being cycled down by the leaves).
NASA also uses this technic with their astronauts in space, which I think is pretty cool.
After cutting your plant should look something like this:

This is a picture of one of my radishes after being cut
1 Like
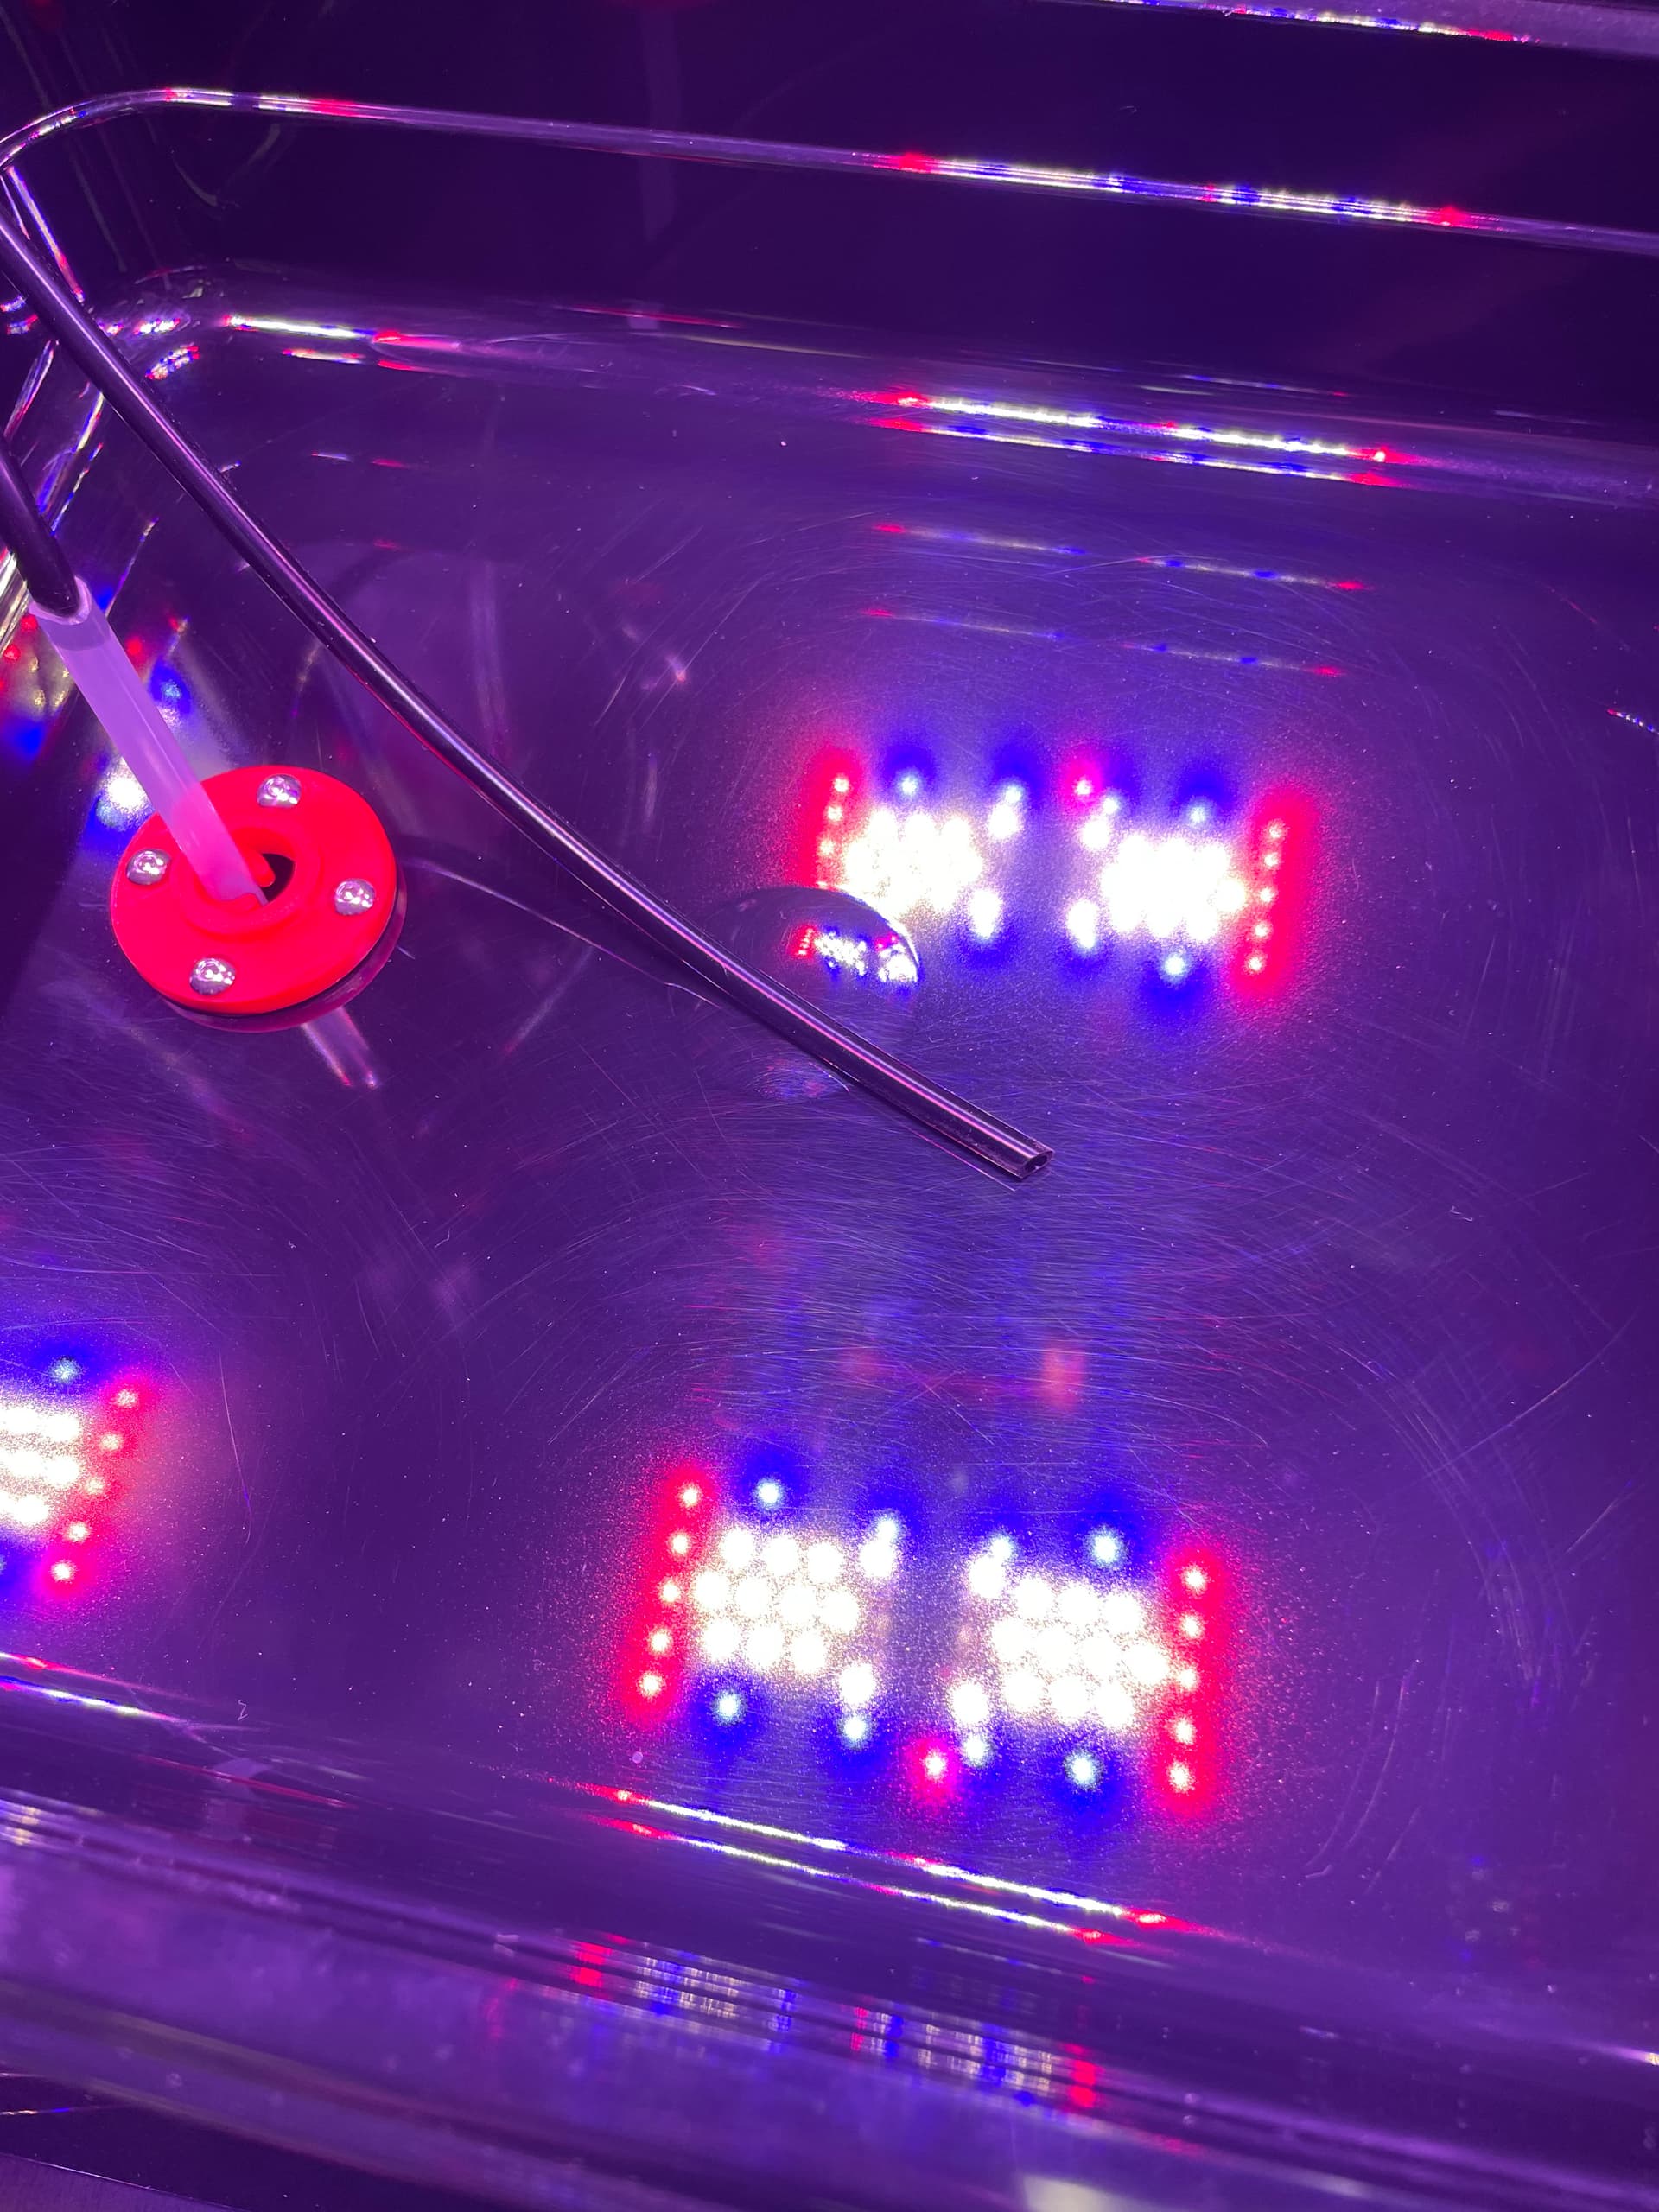
I came in this morning and saw that the tube-feeding water fell out of one of the boxes and was not giving water to the plants. This sometimes happens as the box is running, it sometimes vibrates, or the exhaust fan blows harder. This summer, we are working on a clip to hold the tube in place and prevent it from falling out.

This is a picture of the tube after it has fallen out of the upper tray
It has caused the bok choy to become damaged and now looks like this:
This is a picture of the damaged Bok Choy
The good news is that this doesn’t mean the end for these plants. You can bring them “back to life” by:
- moving the tube back into the tray
- Add more water and flood it by pouring water directly into the tray. You should be able to see the media on top of the pots getting wet.
Over the next few days continue to monitor them, but now that the tube is back in place, the plants should be watered regularly. About 48 hours later, the plants should be good as new. Stay tuned for an update as my Bok Choy becomes more healthy (fingers crossed)
2 Likes
I have amazing news. The Bok Choy has recovered much faster than expected. It is back to full health. Here is a gif of the recovery over the past 24 hours:

This depicts the recovery of the Bok Choy plant.
We expected more leaves to die but were only about one or two that didn’t recover. This led us to believe the Bok Choy will have a similar yield to before.
2 Likes
Today we noticed that one of our machines (HQ-08) was not logging data. We saw this was happening because the box blinked red five times. This signifies the box cannot log data correctly because a sensor is not plugged in. When we went and found this:

This is the machines temperature and humidity sensor not plugged in
To fix this, you should:
- Check the wiring and ensure that everything is plugged in
- Plug things back in
Another warning that the box gives by blinking blue five times. This means the box cannot connect to the cloud and log data.
To fix this, you should:
- Make sure the box is connected to an ethernet
- If not connected to ethernet, plug the box into the ethernet
- Reboot the whole machine by unplugging and replugging the power source
If you are still having trouble with any issues I suggest starting a new forum thread or replying to one already made about the issue that you are having.
I will be sure to keep you all updated as more issues arise with my MV1 trials.
2 Likes
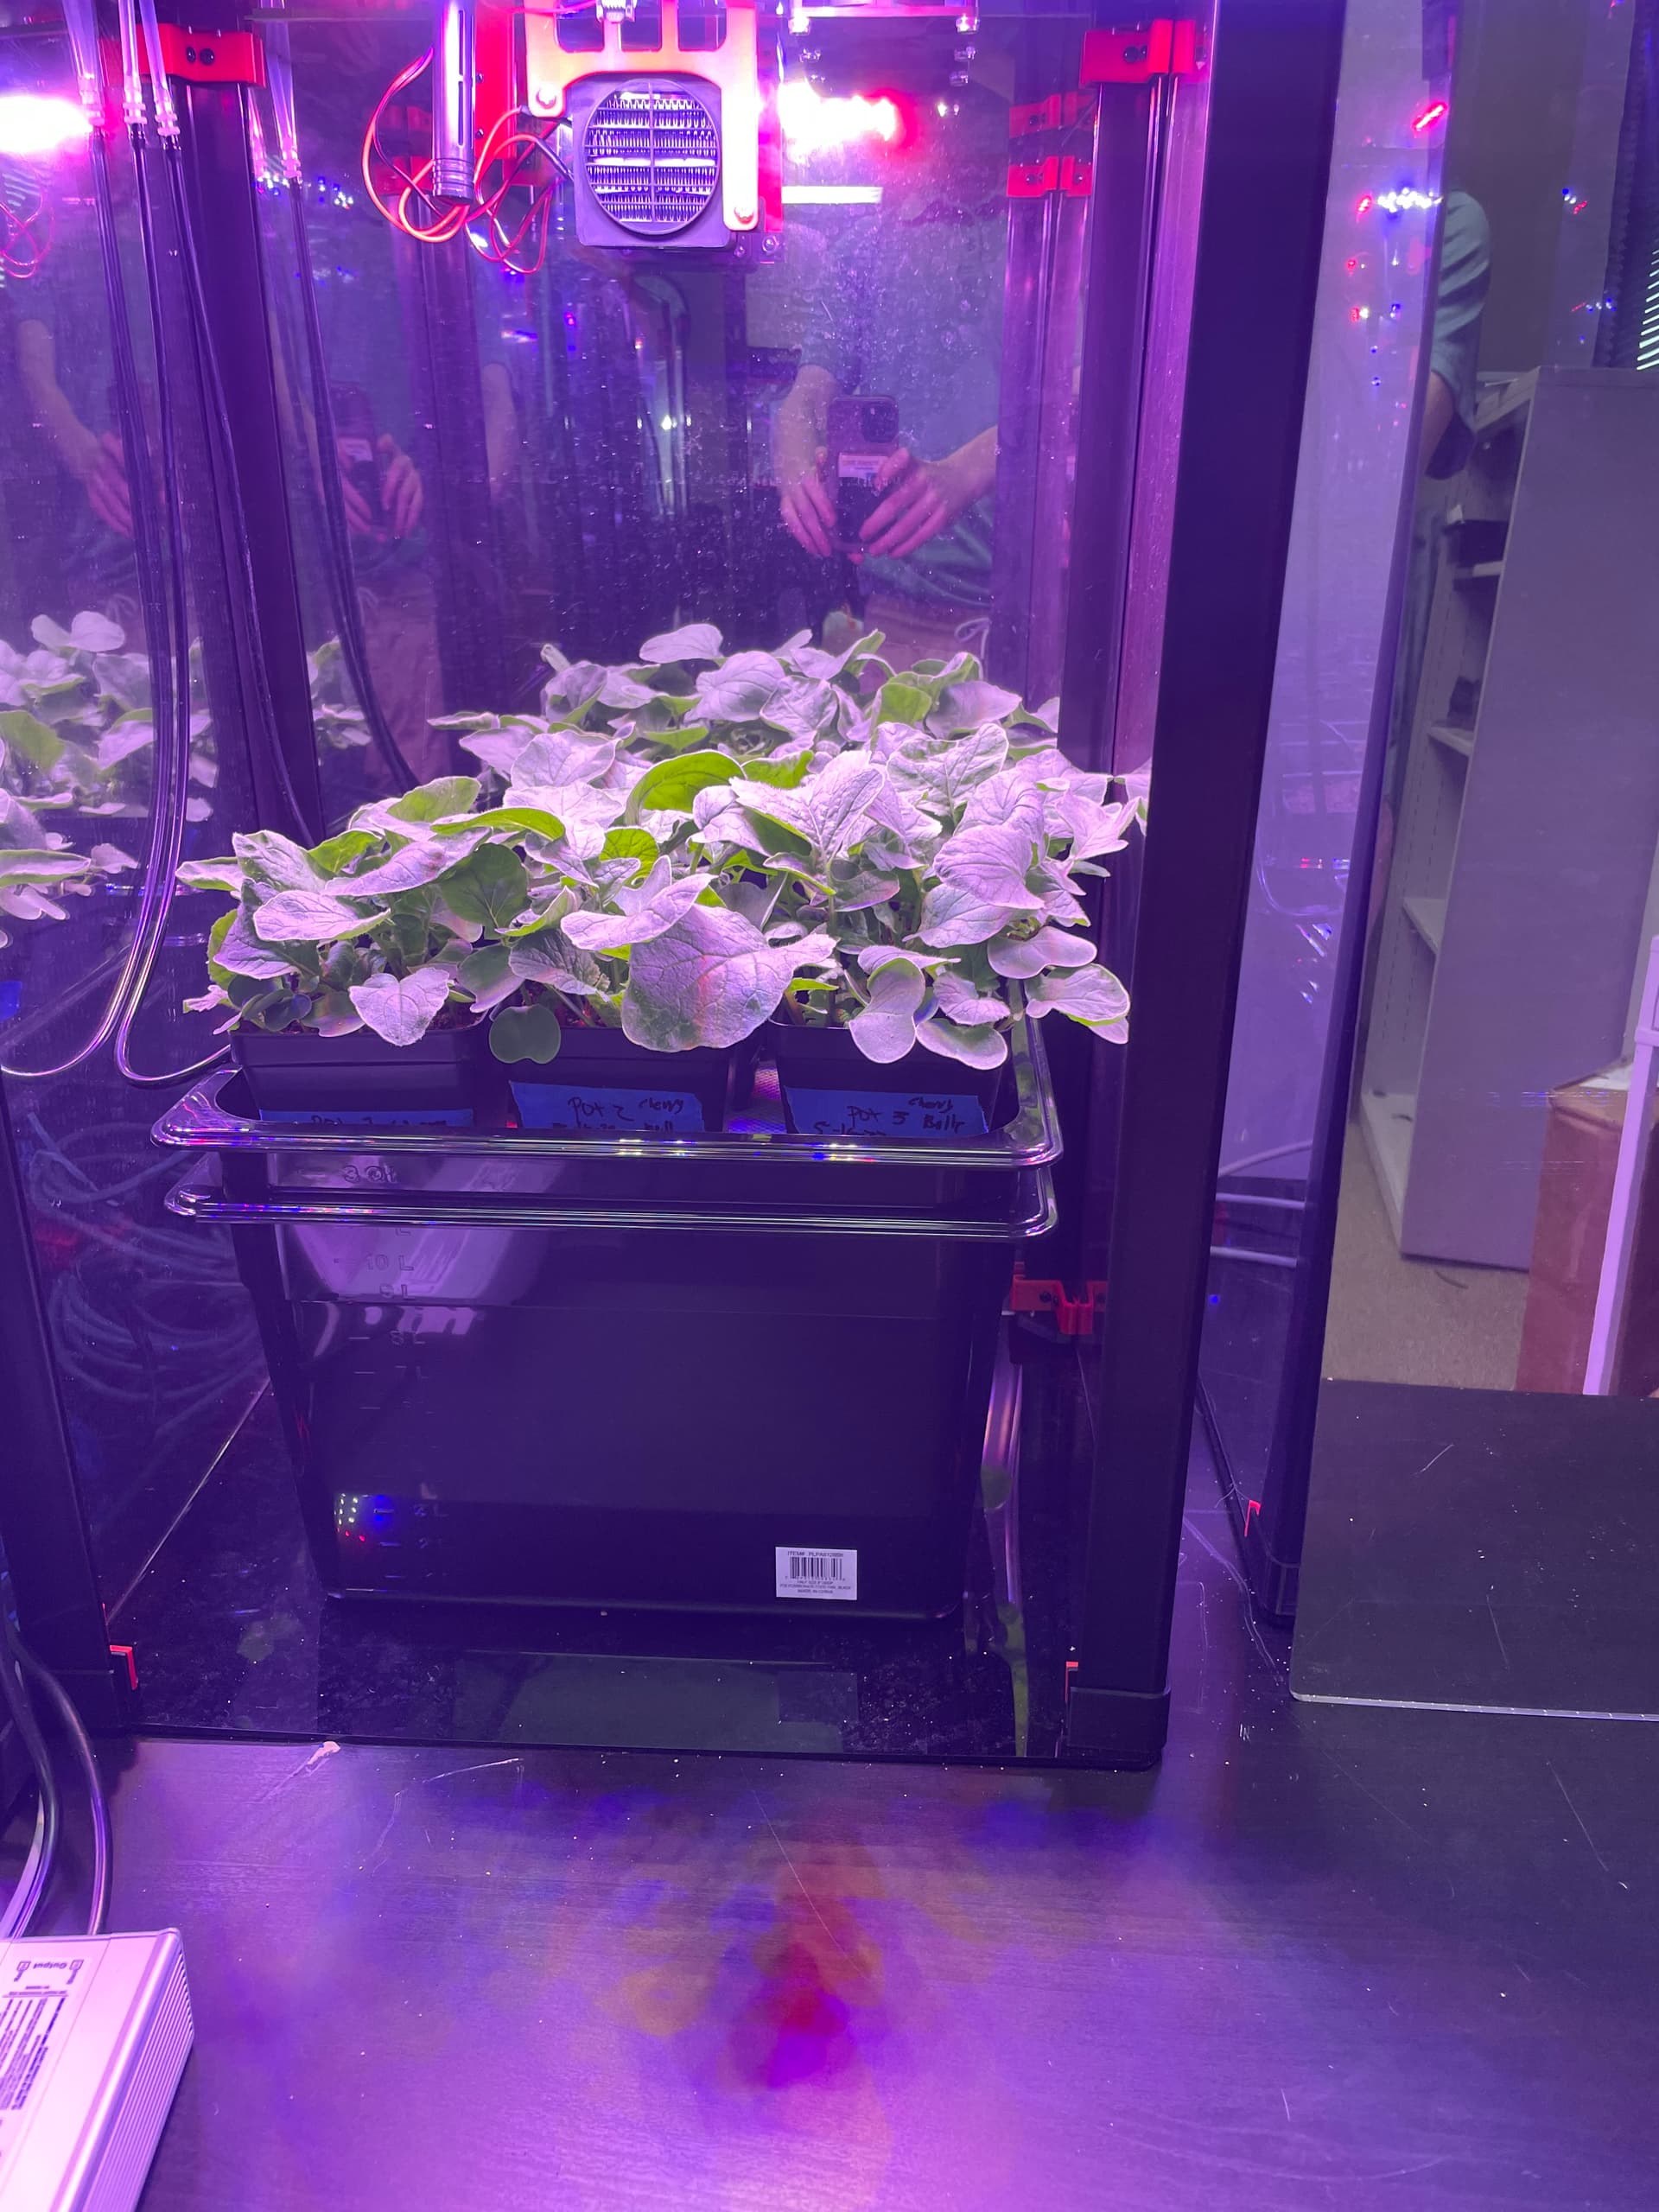
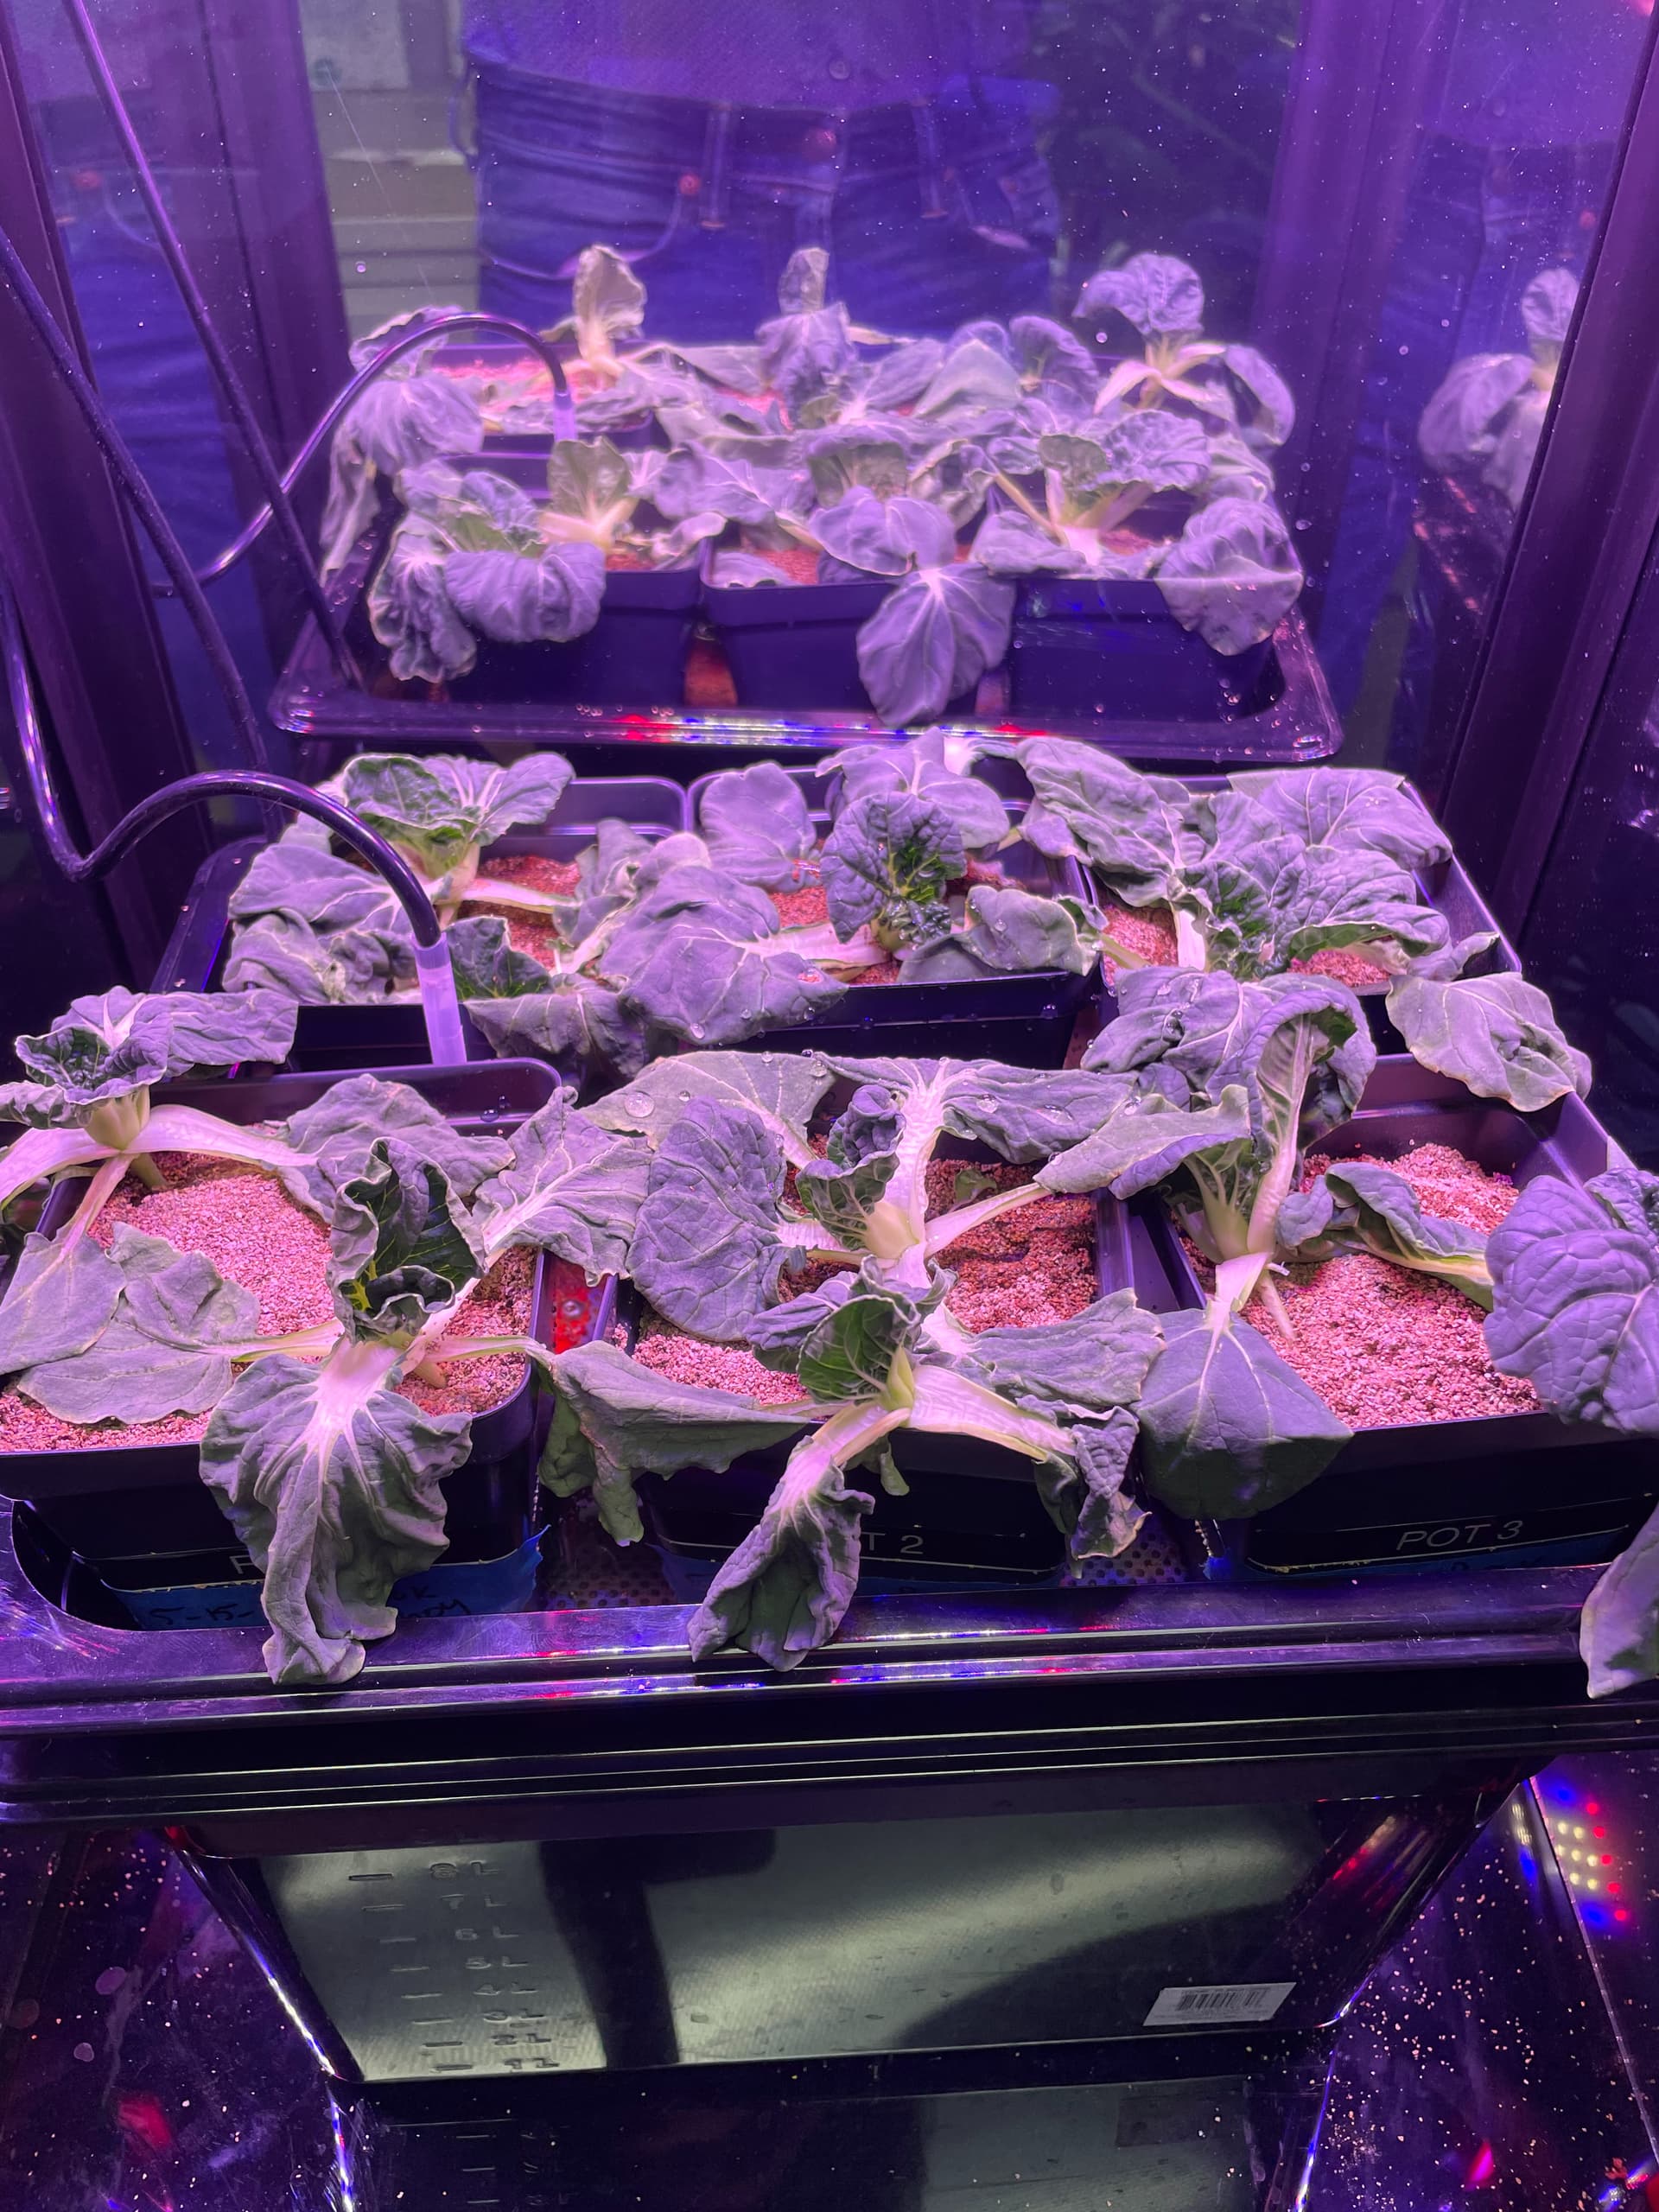
Two units in my trails (HQ-07 and HQ-08) are being run differently.
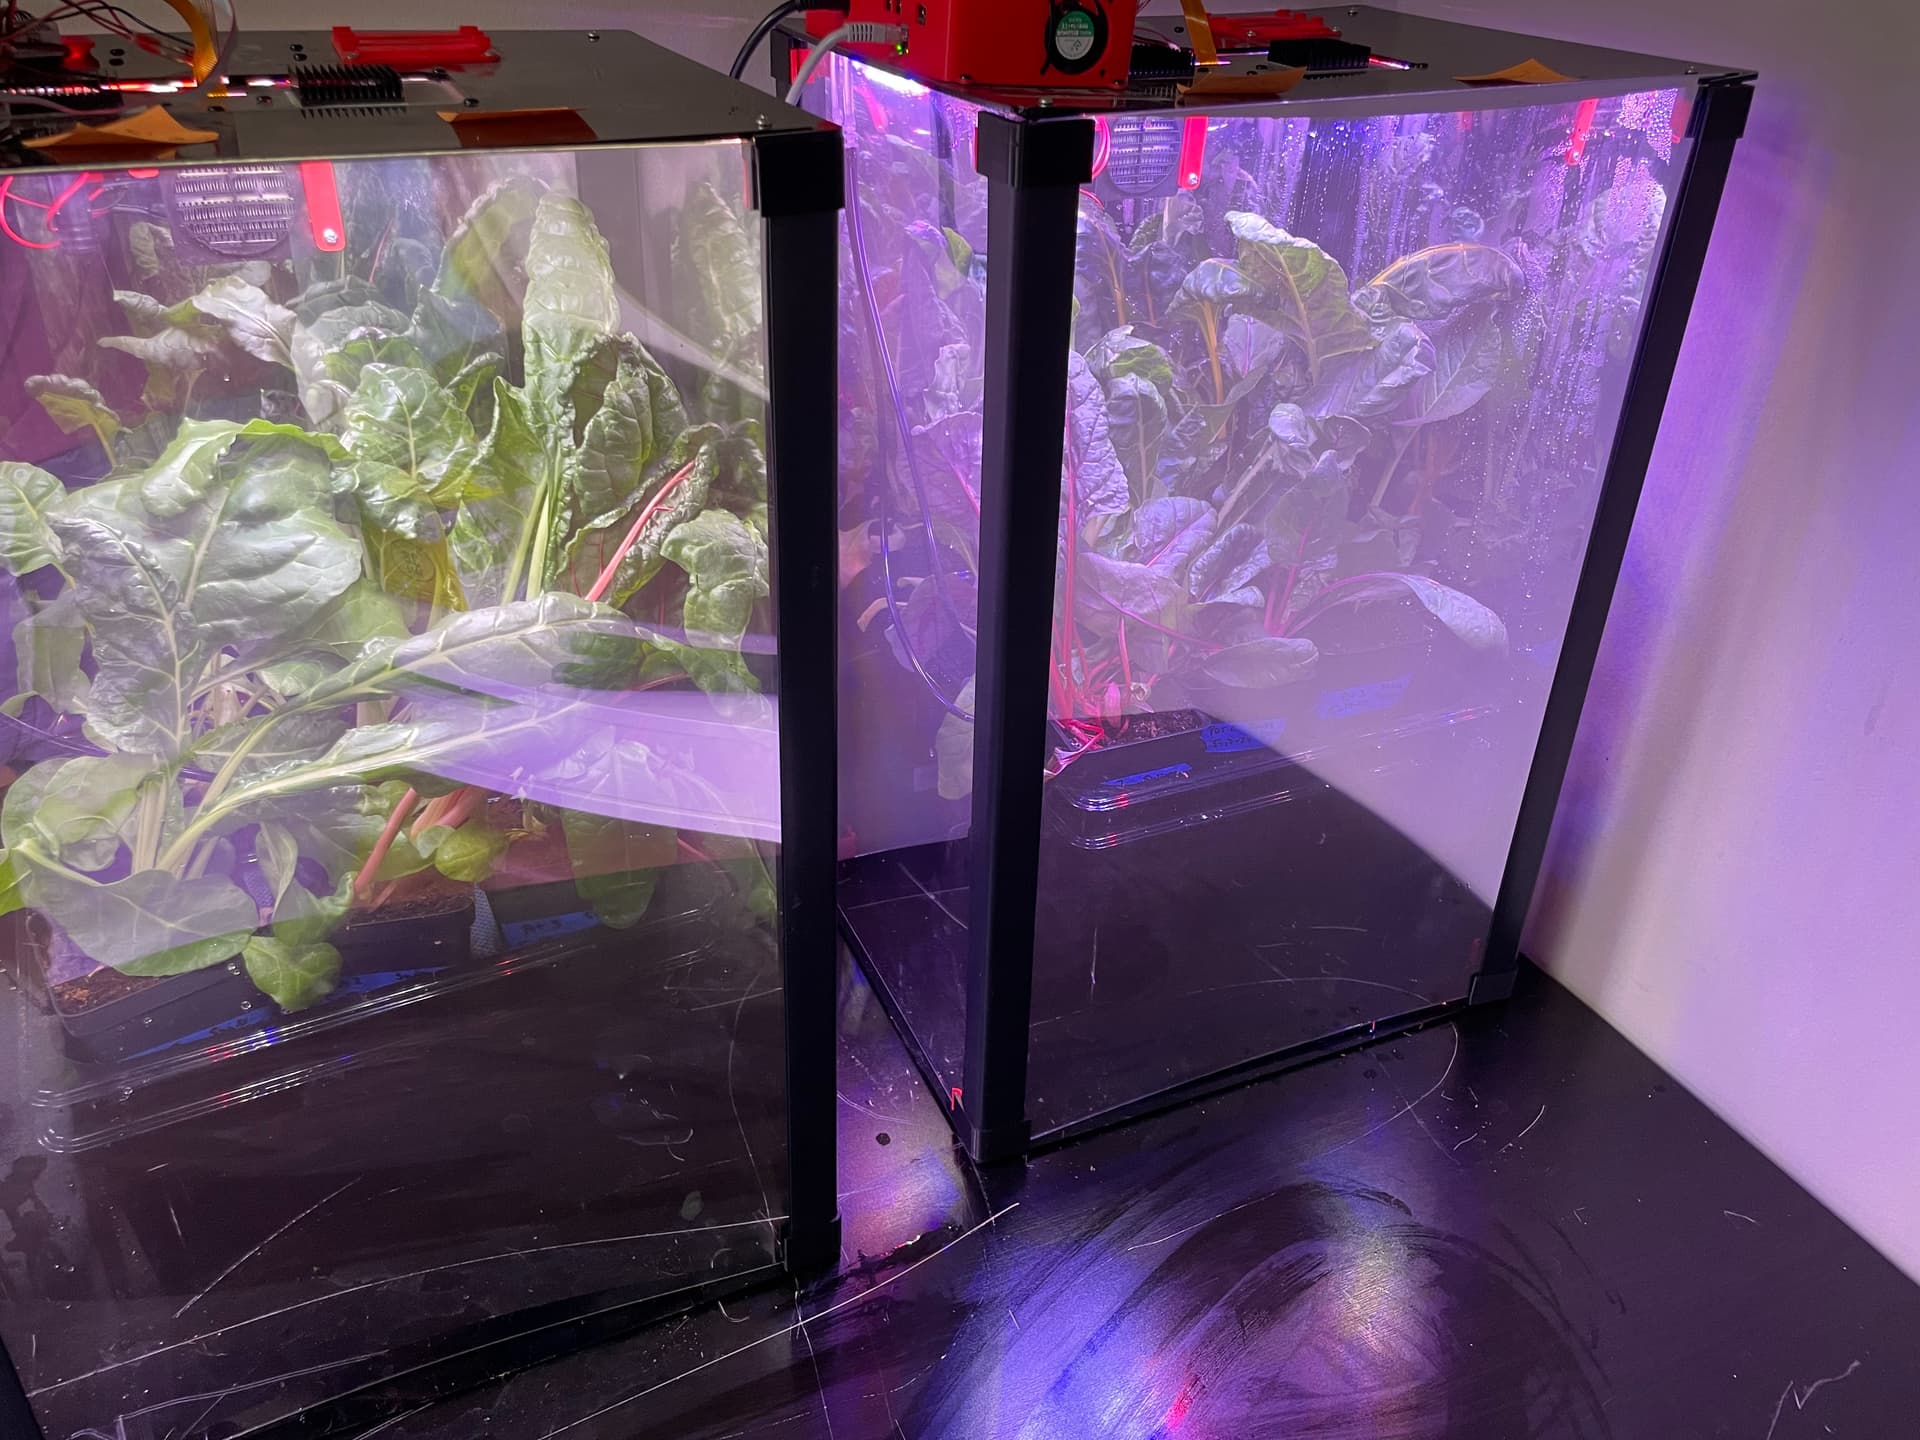
This is an image of the two units. They are growing Swiss Chard.
We put nutrients in the water and used coconut coir (shredded coconut husk) as the media.
Today I checked the PH and Total Dissolved Solids (TDS) of the nutrients to make sure it is what they need to be healthy. I first checked what nutrient levels Swiss Chard should be. To do this: I looked at a crop Ph, cF, and PPM Information Sheet.
You can get the charts similar to the one I used from this link:
First, I checked the reservoir’s Total Dissolved Solids (TDS):
-
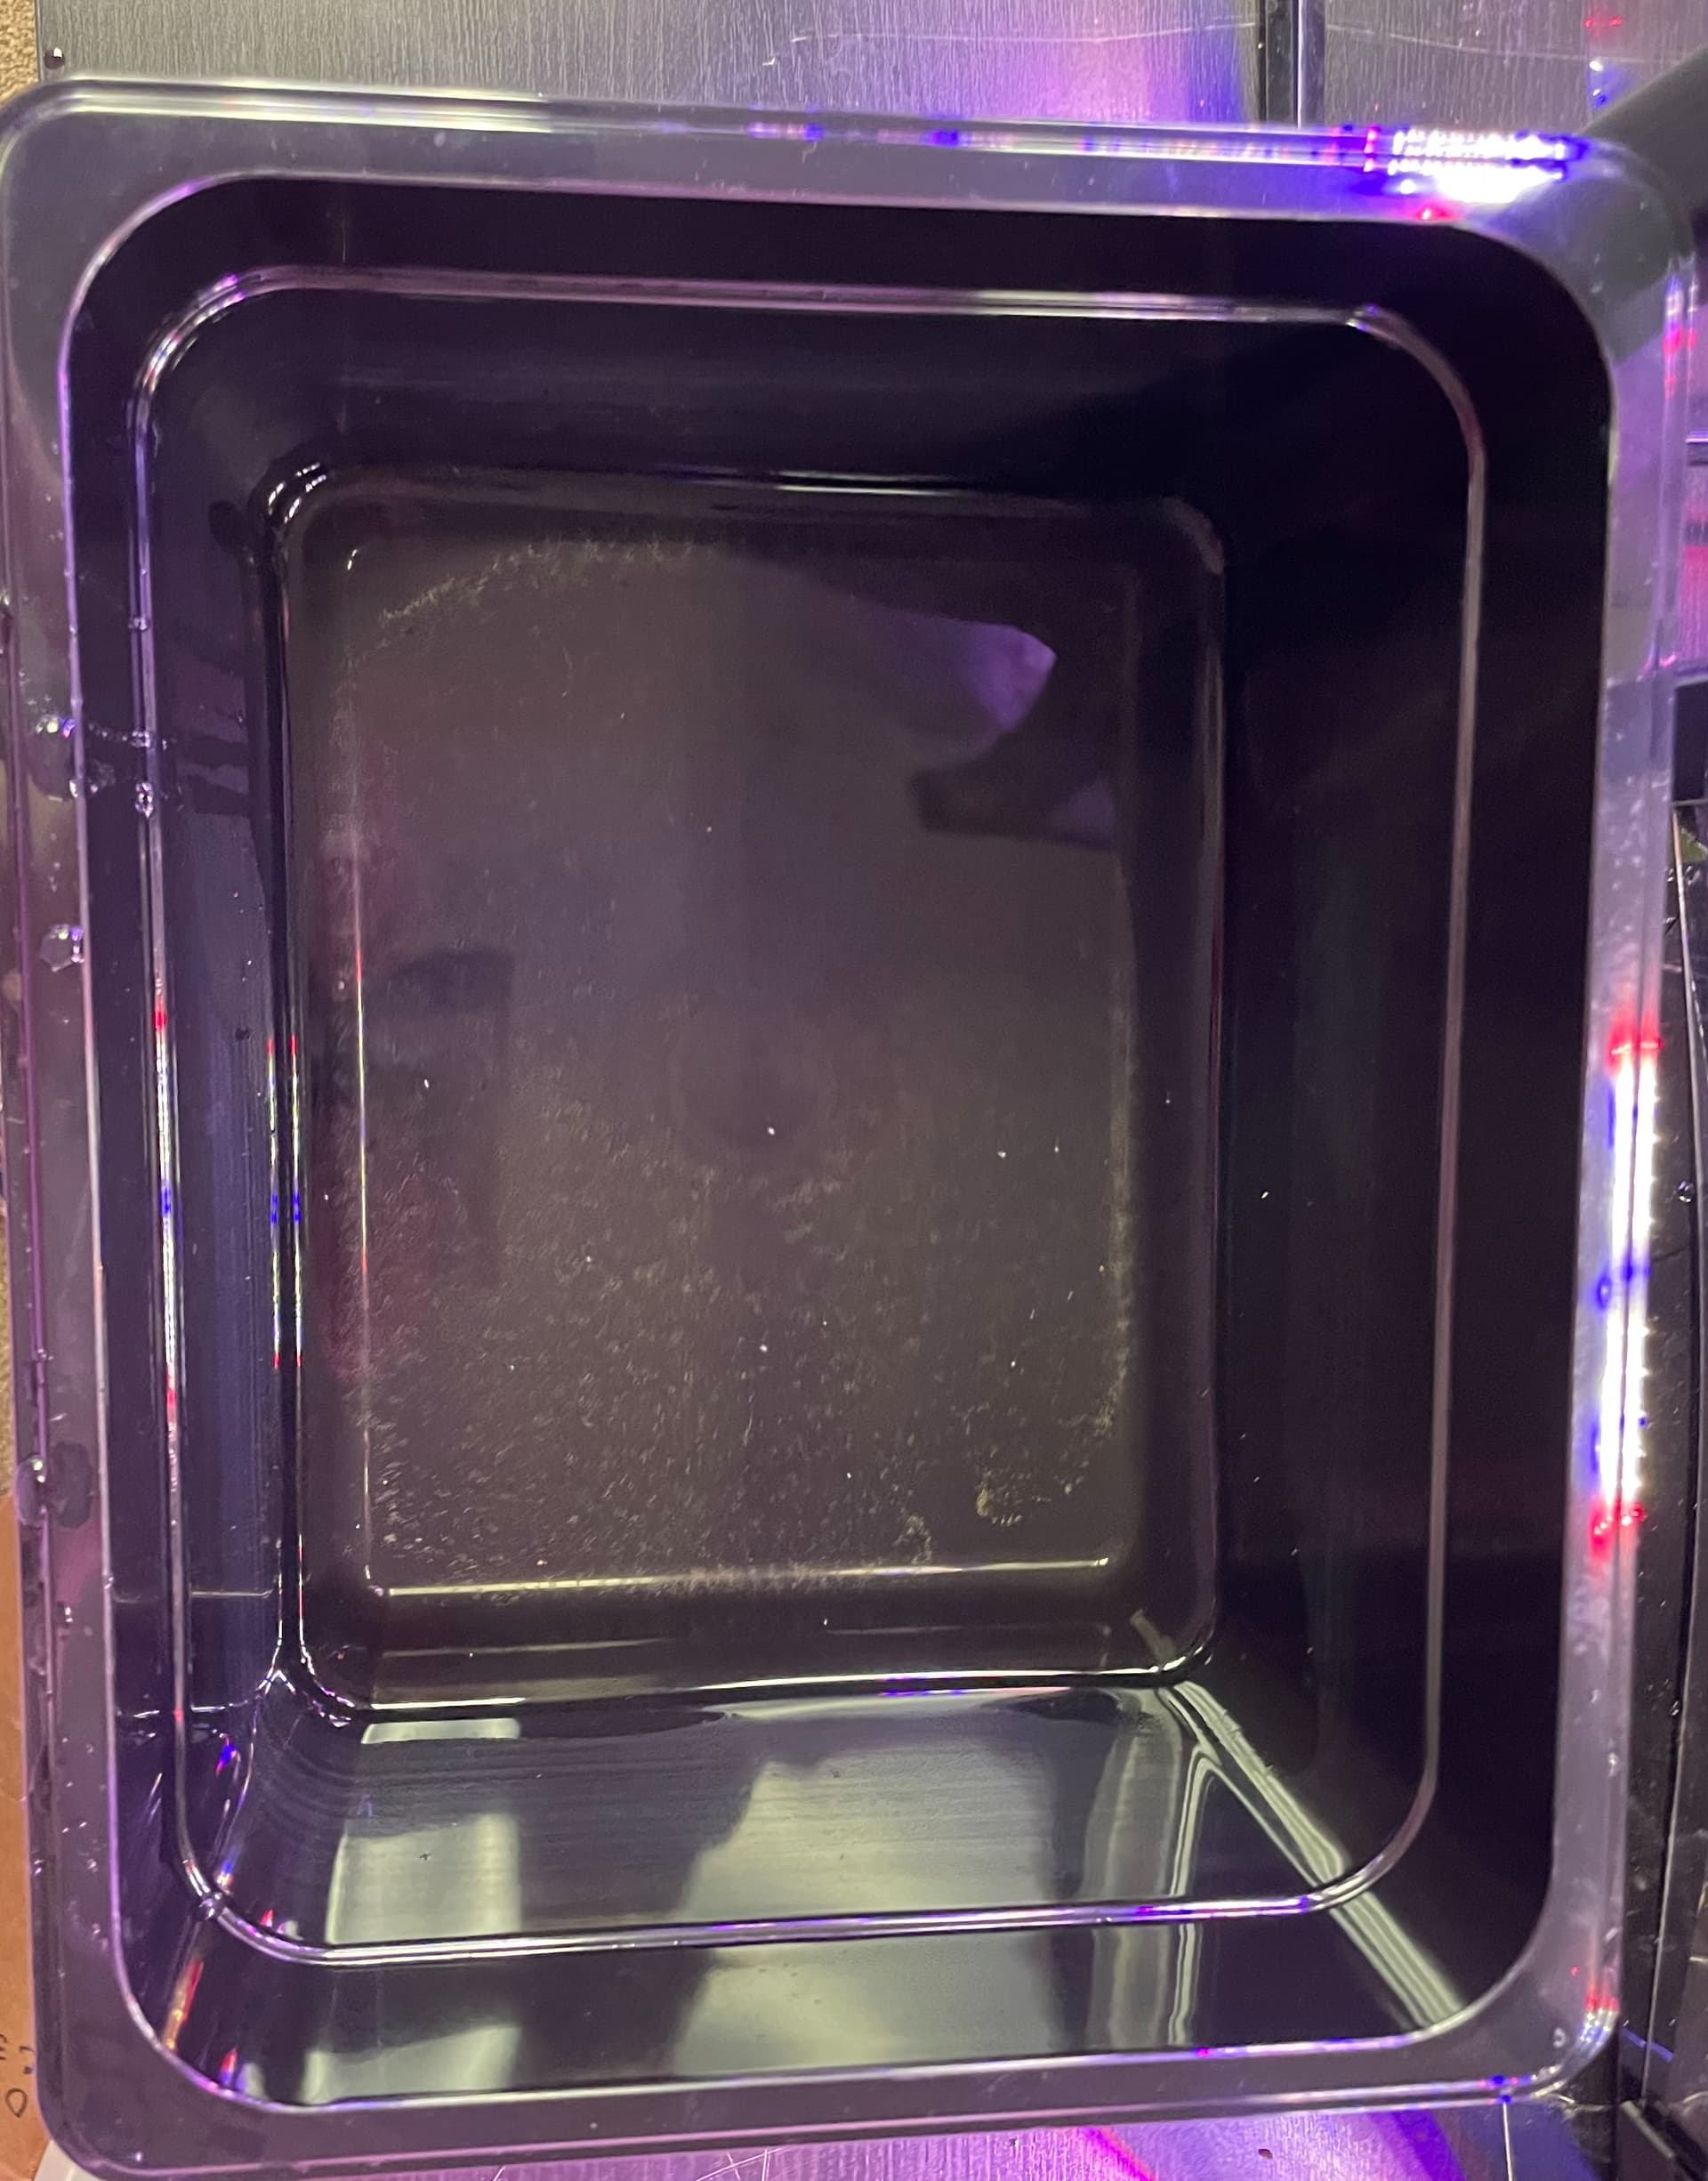
I took the reservoir out of the unit
This is an image of the reservoir once removed from the unit. -
I then checked the TDS using a TDS meter. To use the meter, submerge the open part in the water, and it will give you a reading for “Parts Per Million” (PPM). It tells you the concentration of your nutrients in the water. For Swiss Chard, I needed a PPM of about 1000.
This is an image of the TDS I used.
This is an image of the TDS reading the PPM inside the reservoir. Notice I kept it still to get an accurate reading. -
From there, I added more water to refill the reservoir and added more nutrients.
This is an image of the nutrients that I used.
This is the nutrients being added into the reservoir.


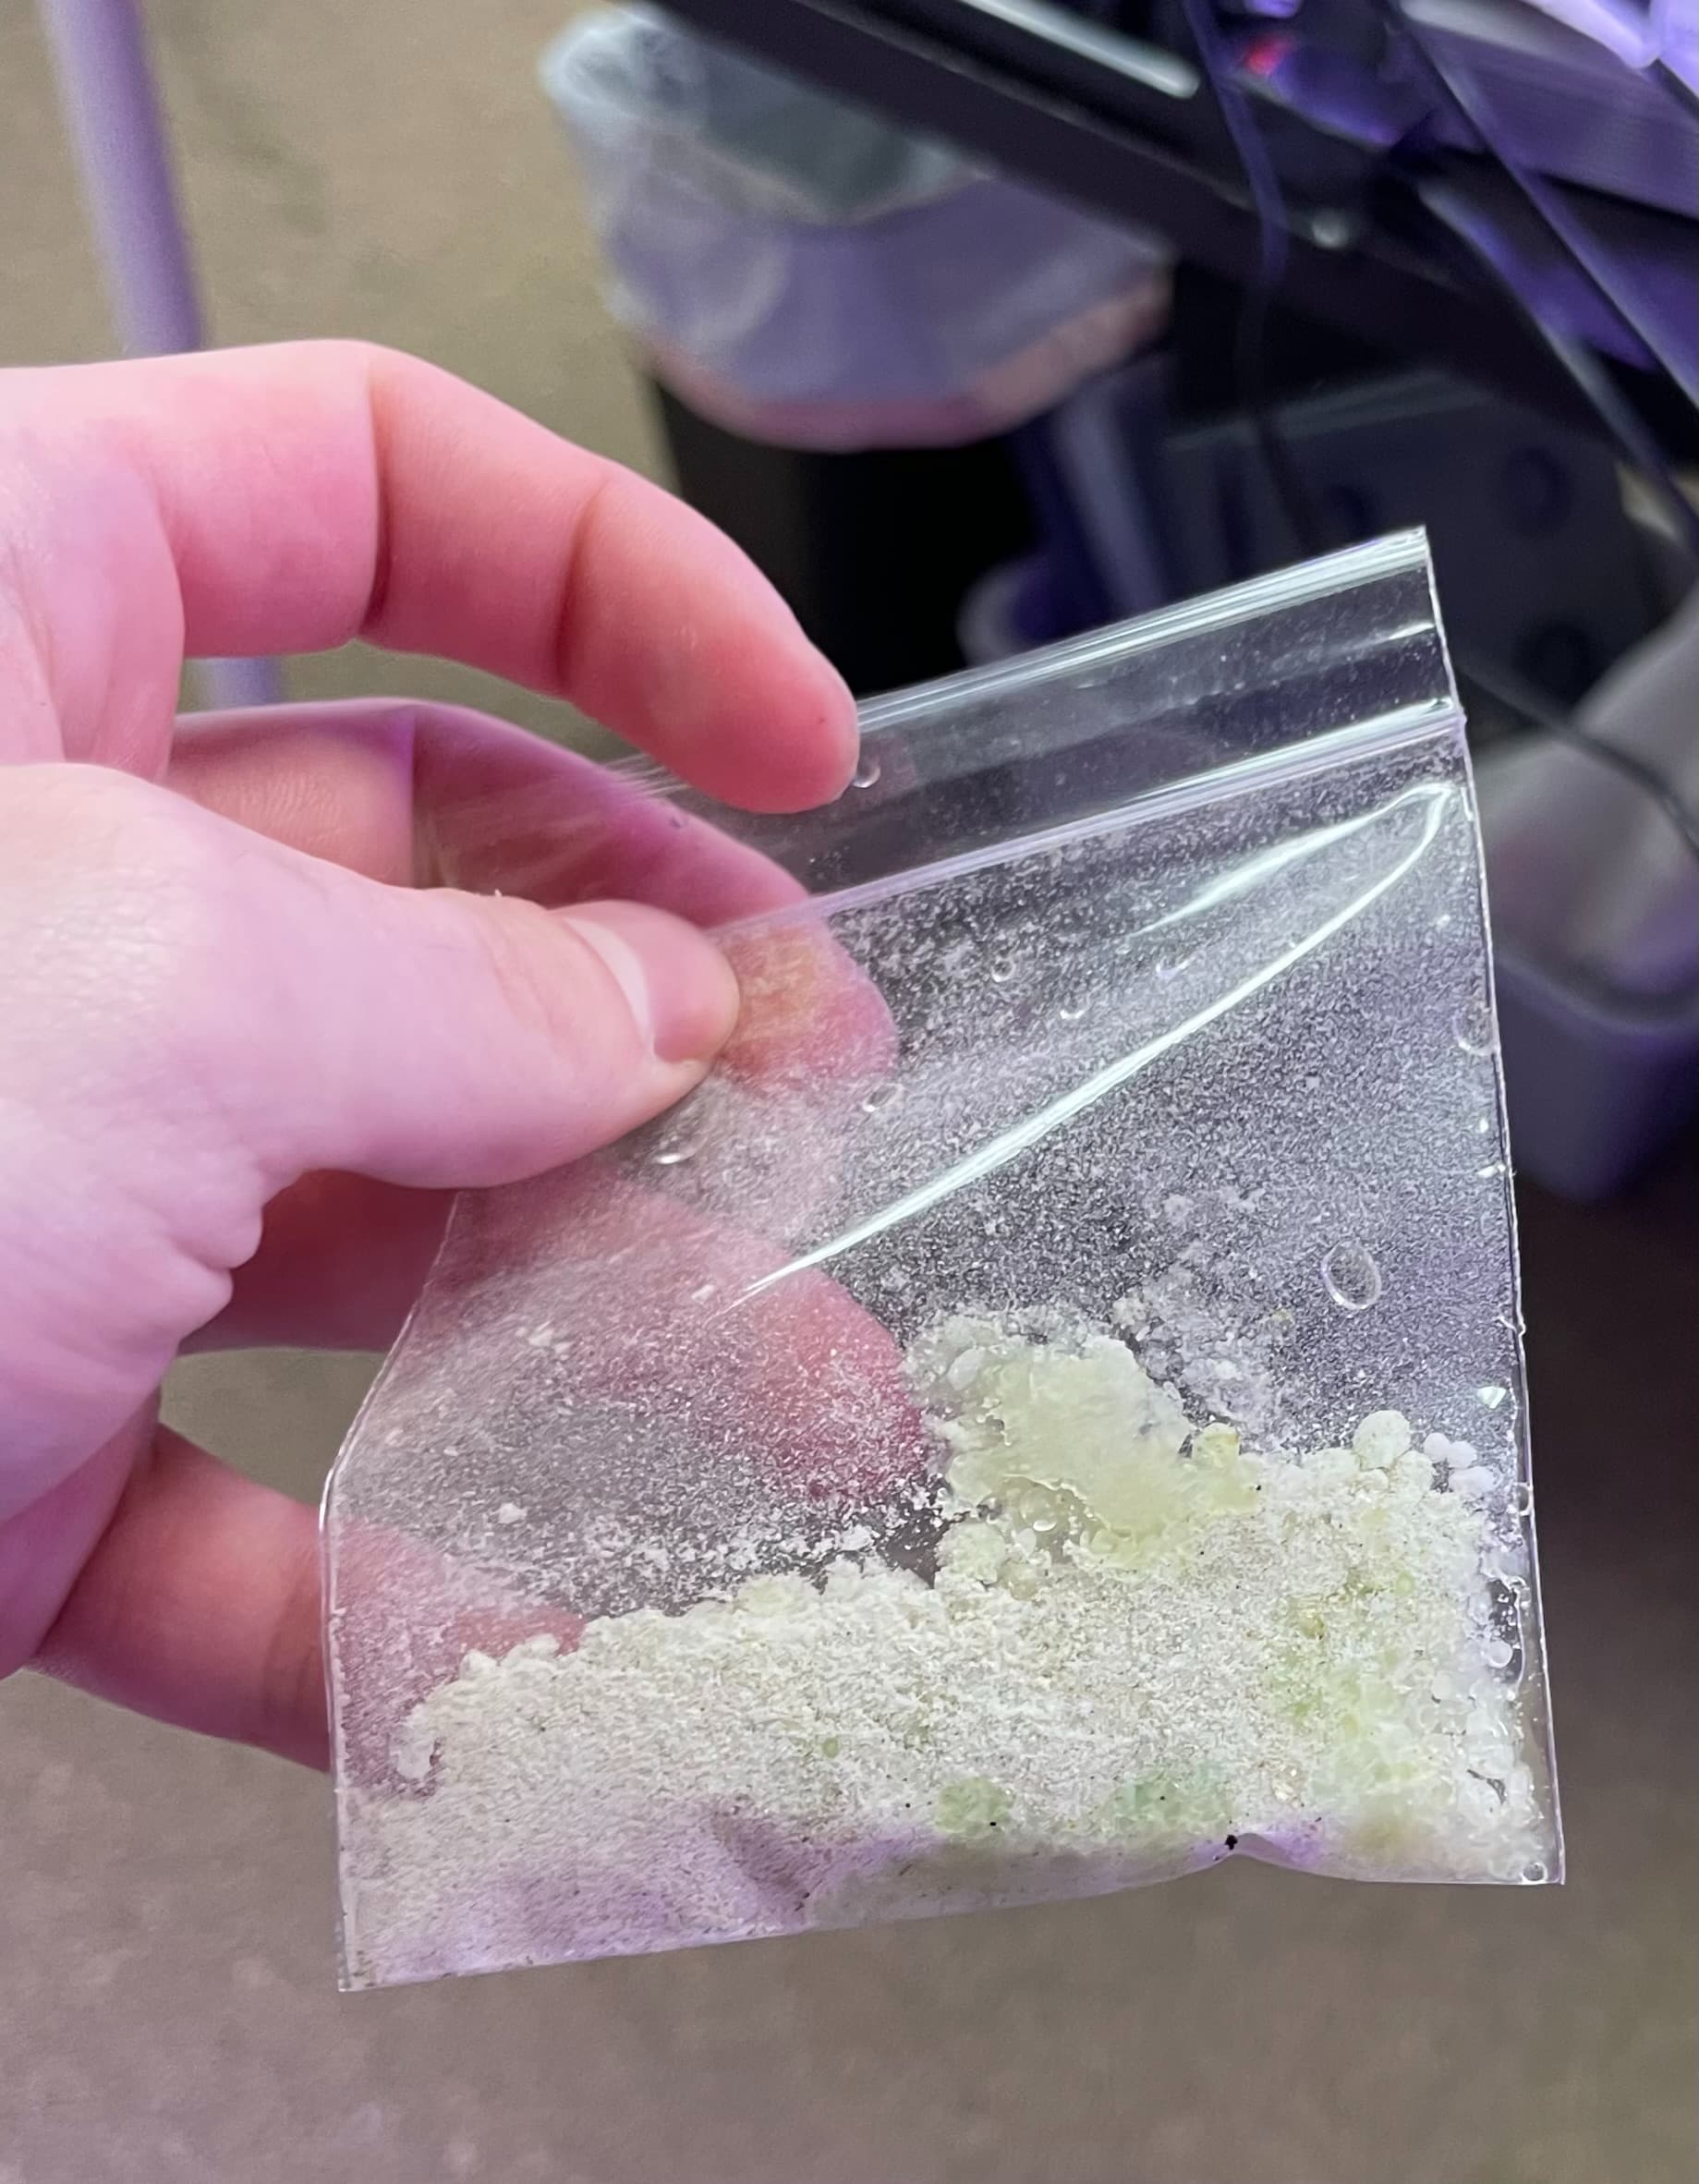
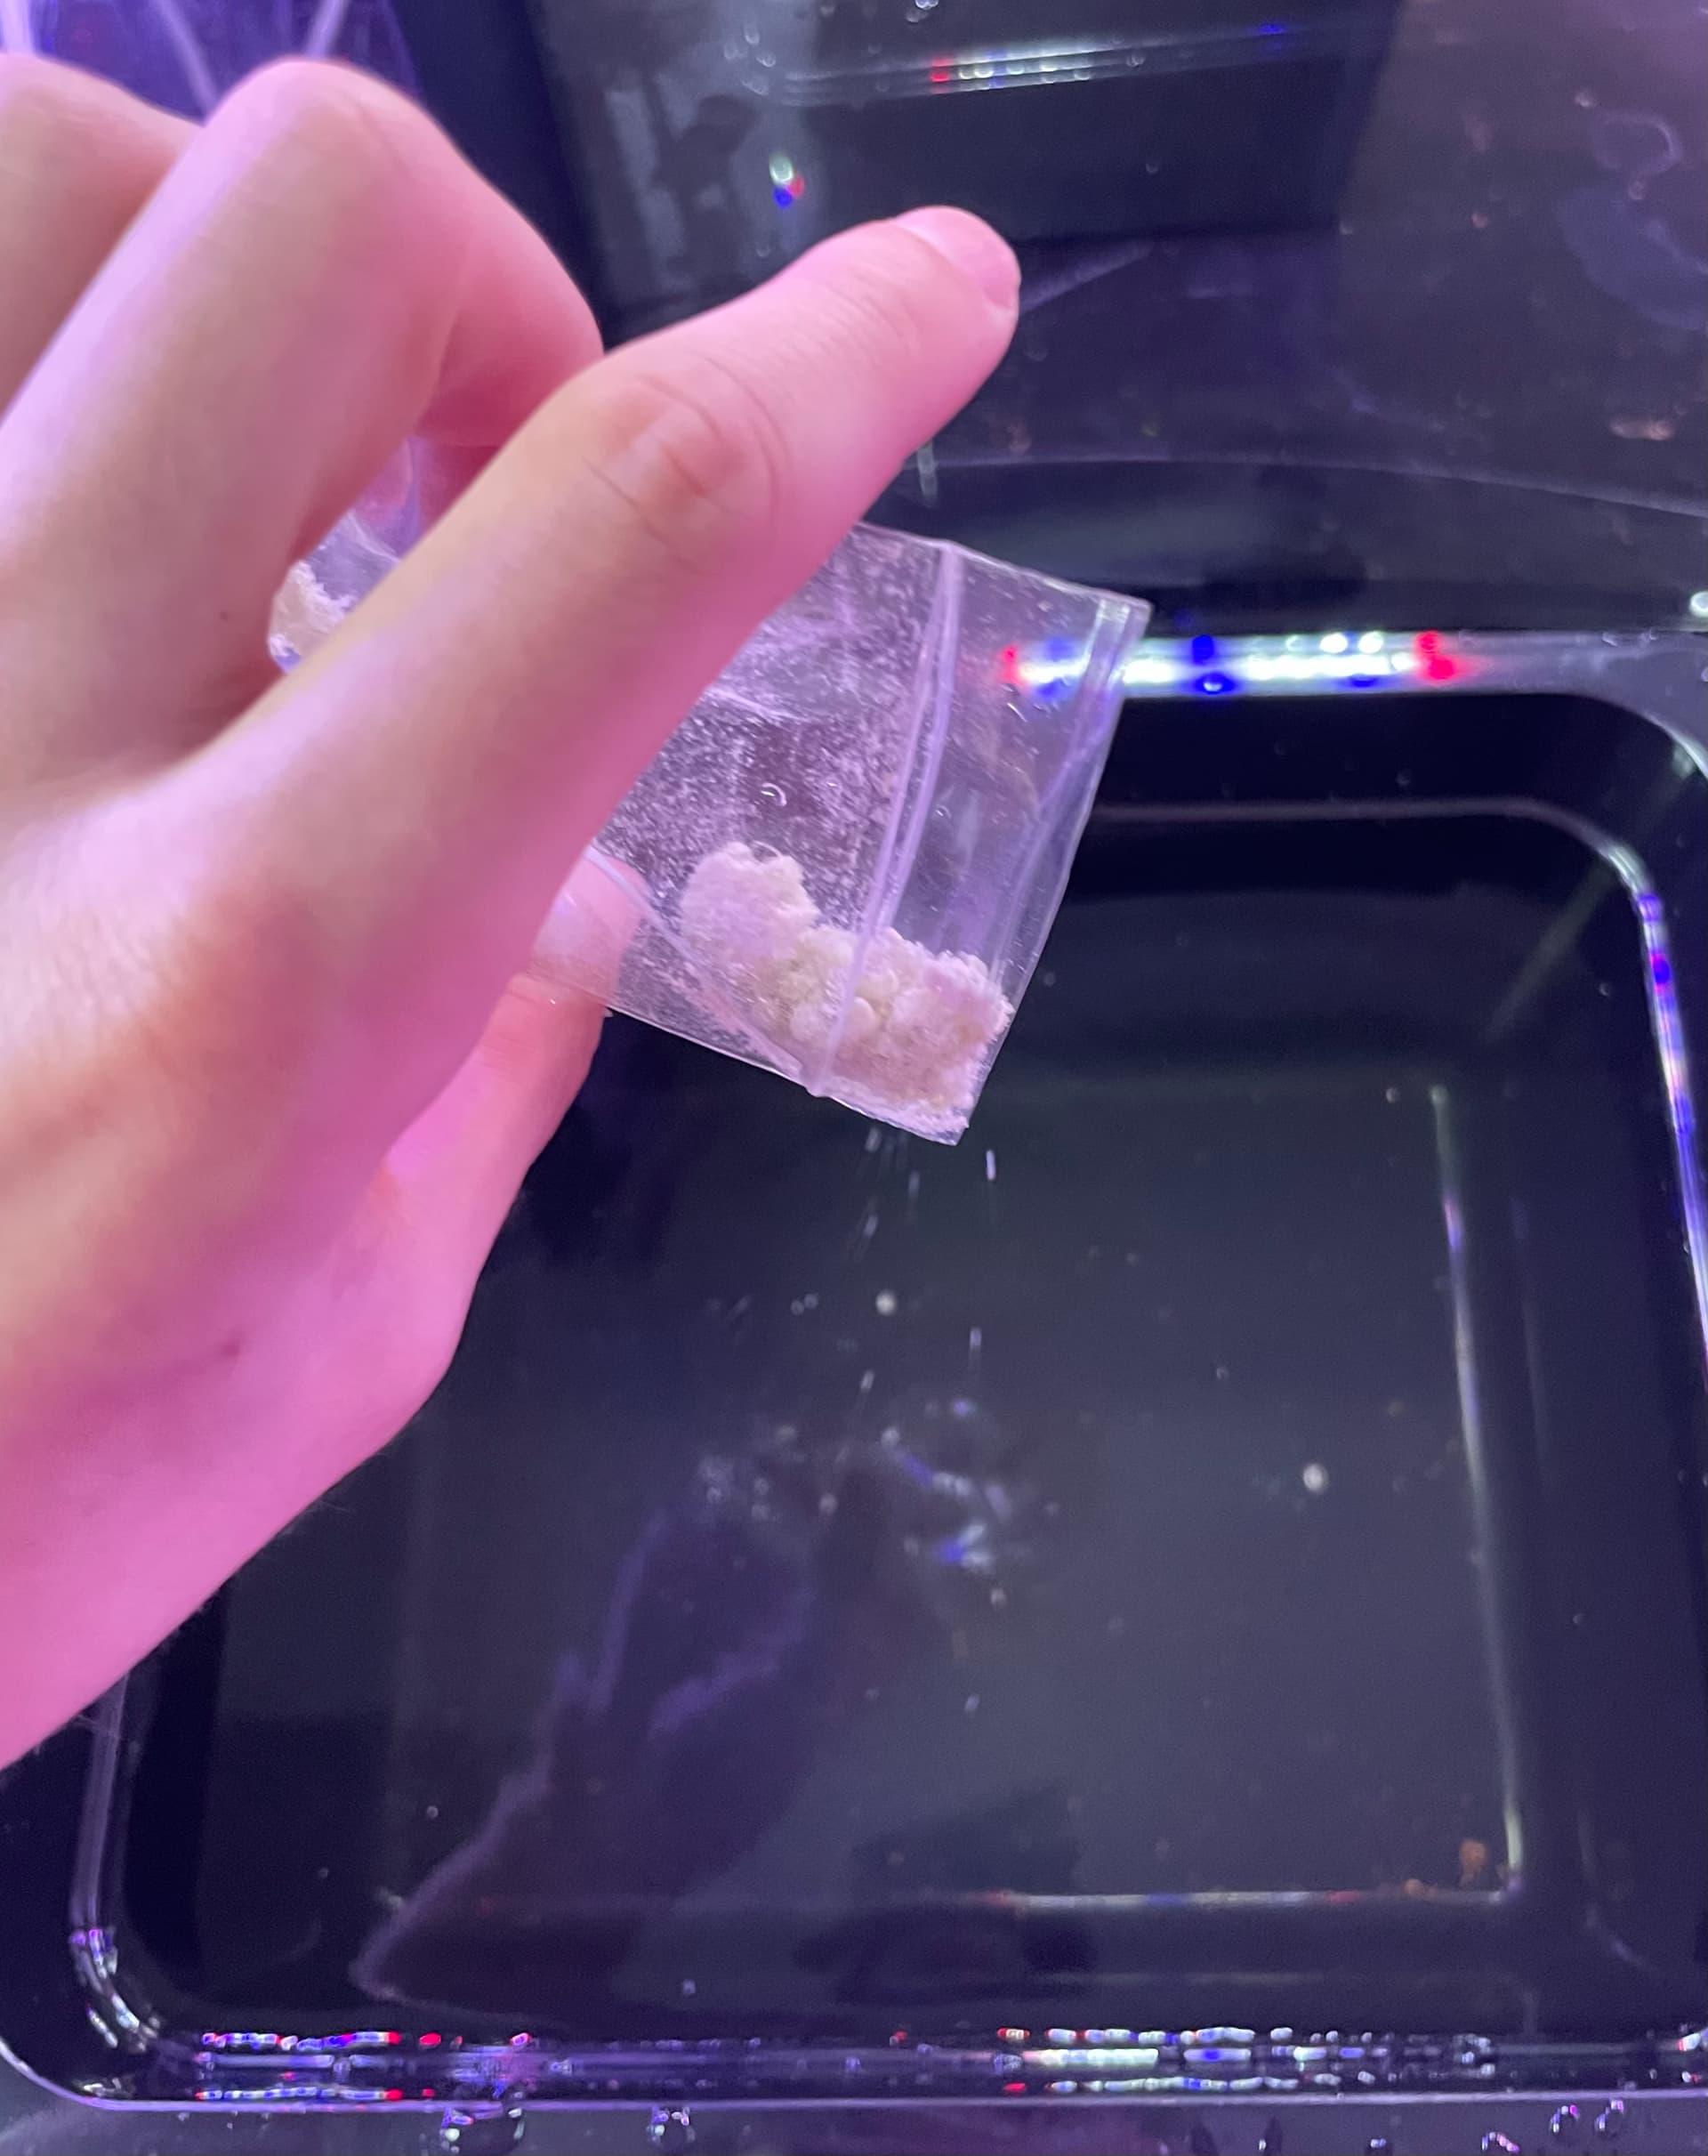
Sometimes the nutrients sink to the bottom instead of dissolving. It is often helpful to stir up the reservoir.
- Next, I reinserted the TDS meter and got a reading. I repeated adding nutrients and reading the TDS meter until I got the appropriate PPM.
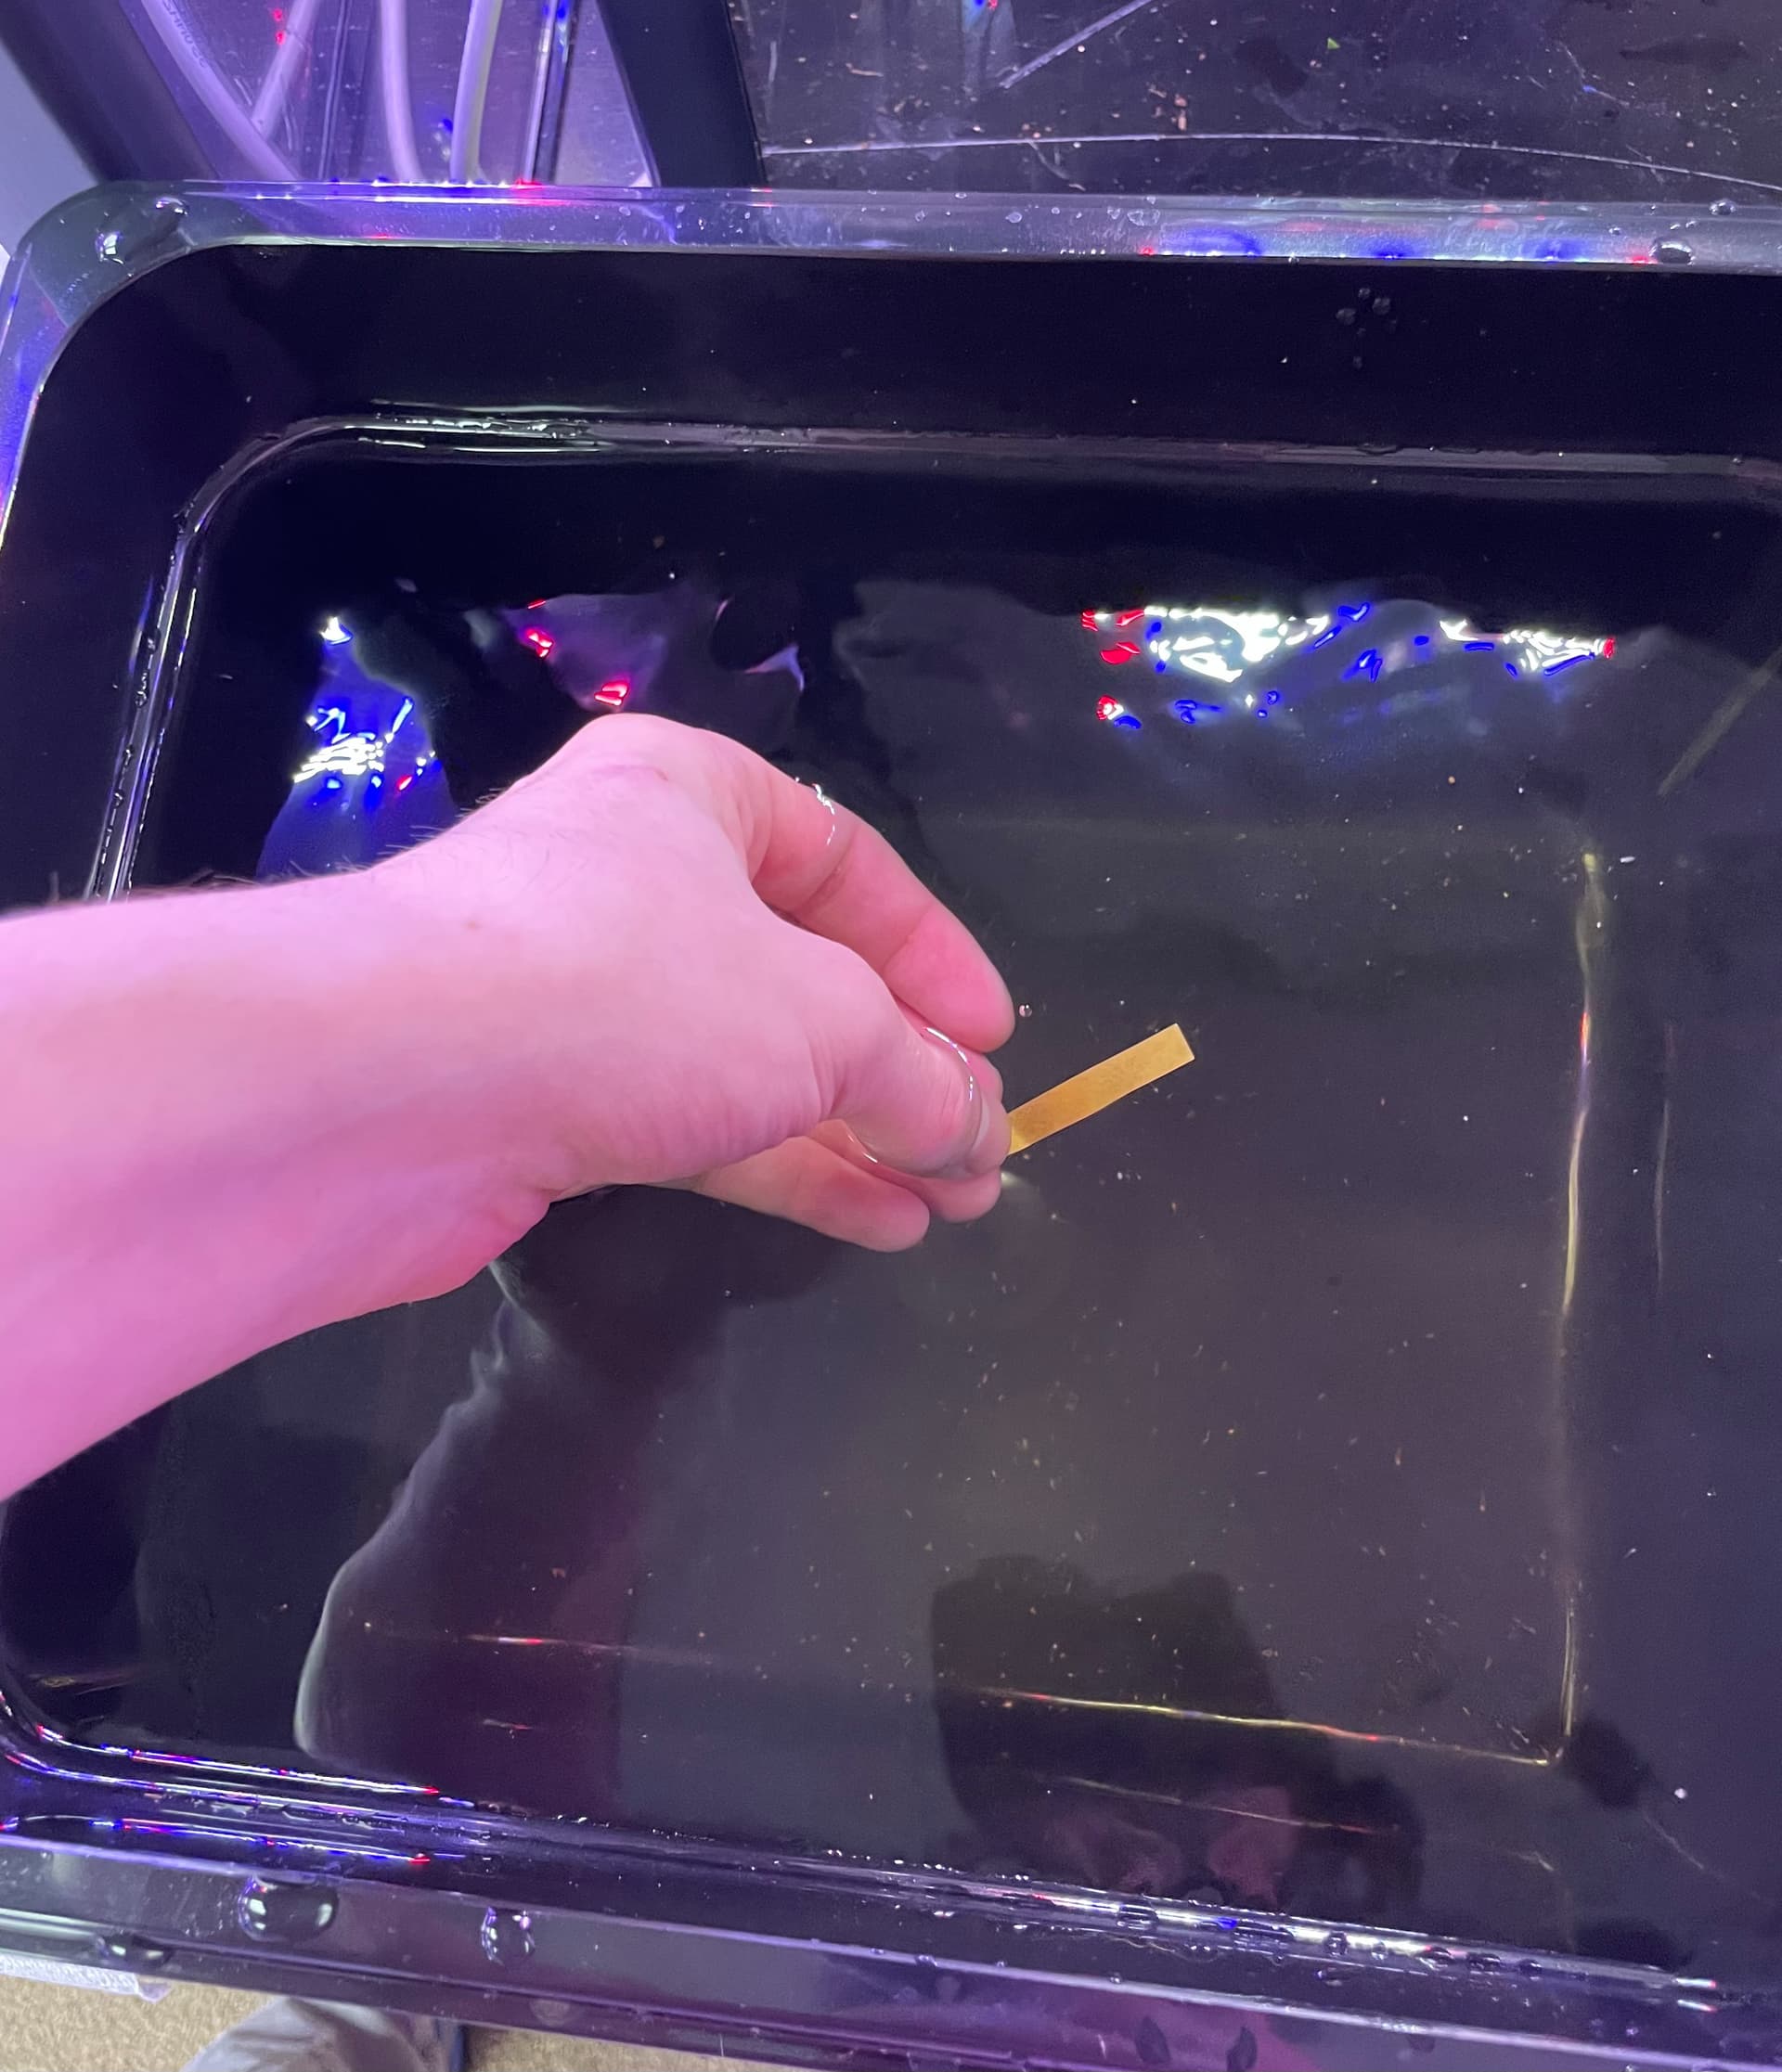
After I checked the TDS, I checked the PH of the reservoir. The PH that is needed for Swiss Chard is 7.
-
I first removed a PH slip from the container and swirled it in the water.
This is the PH slip in water. -
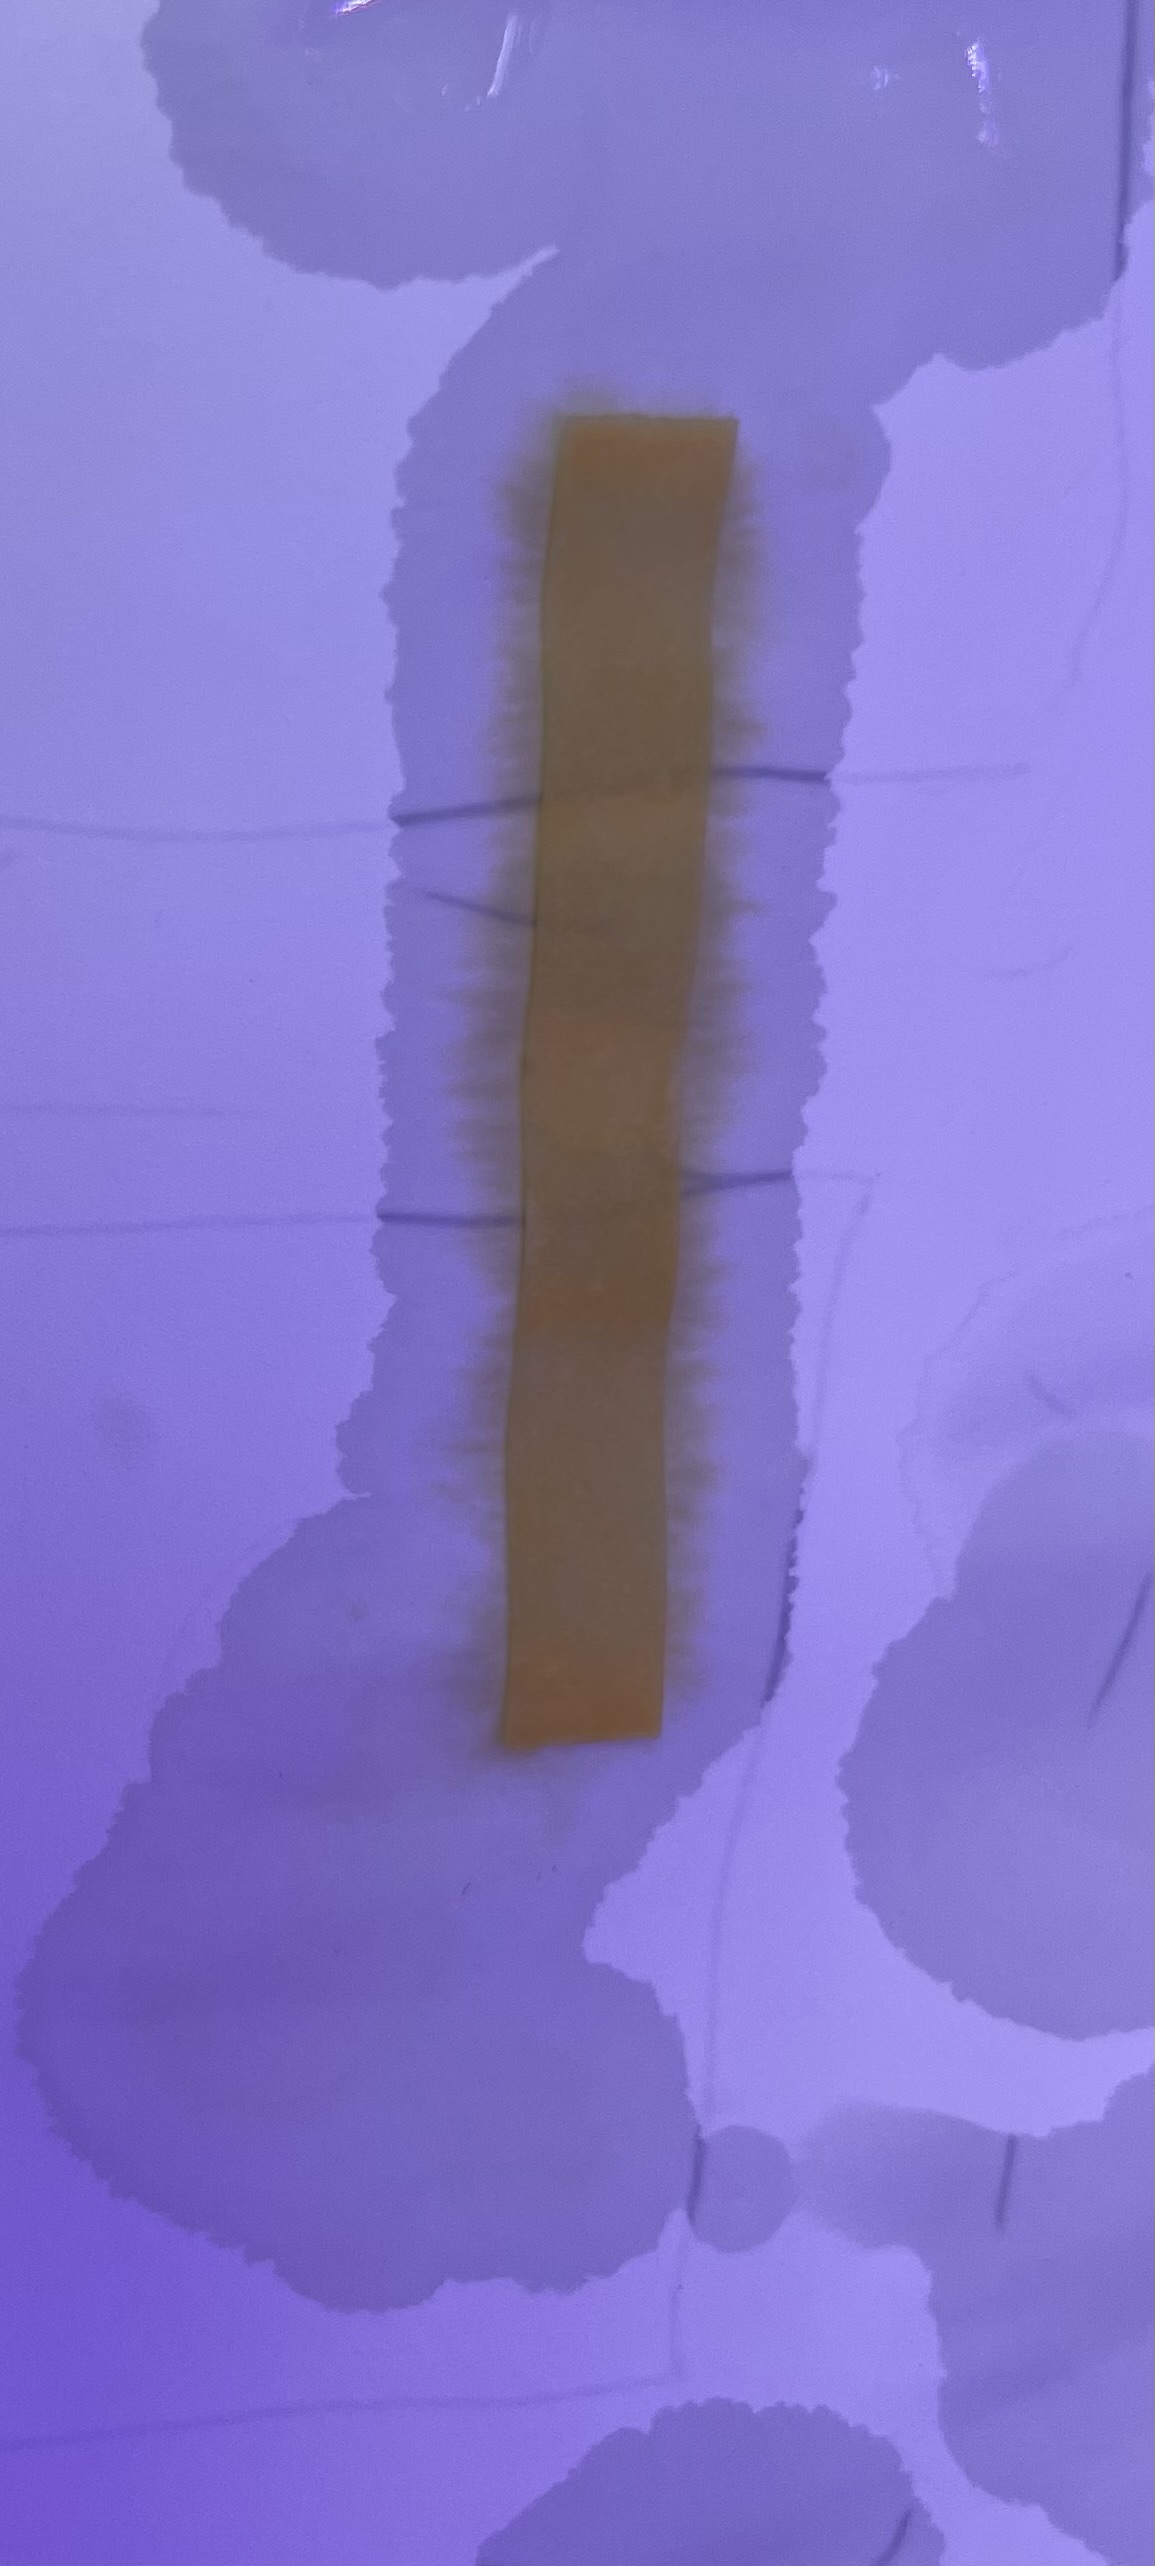
I then laid the strip out on paper and let it dry. Once it was dry, I checked the PH color guide the package of slips gave me and saw we had a neutral PH.
This is an image of the PH slip on paper. This was used as the official reading of the PH of the reservoir.
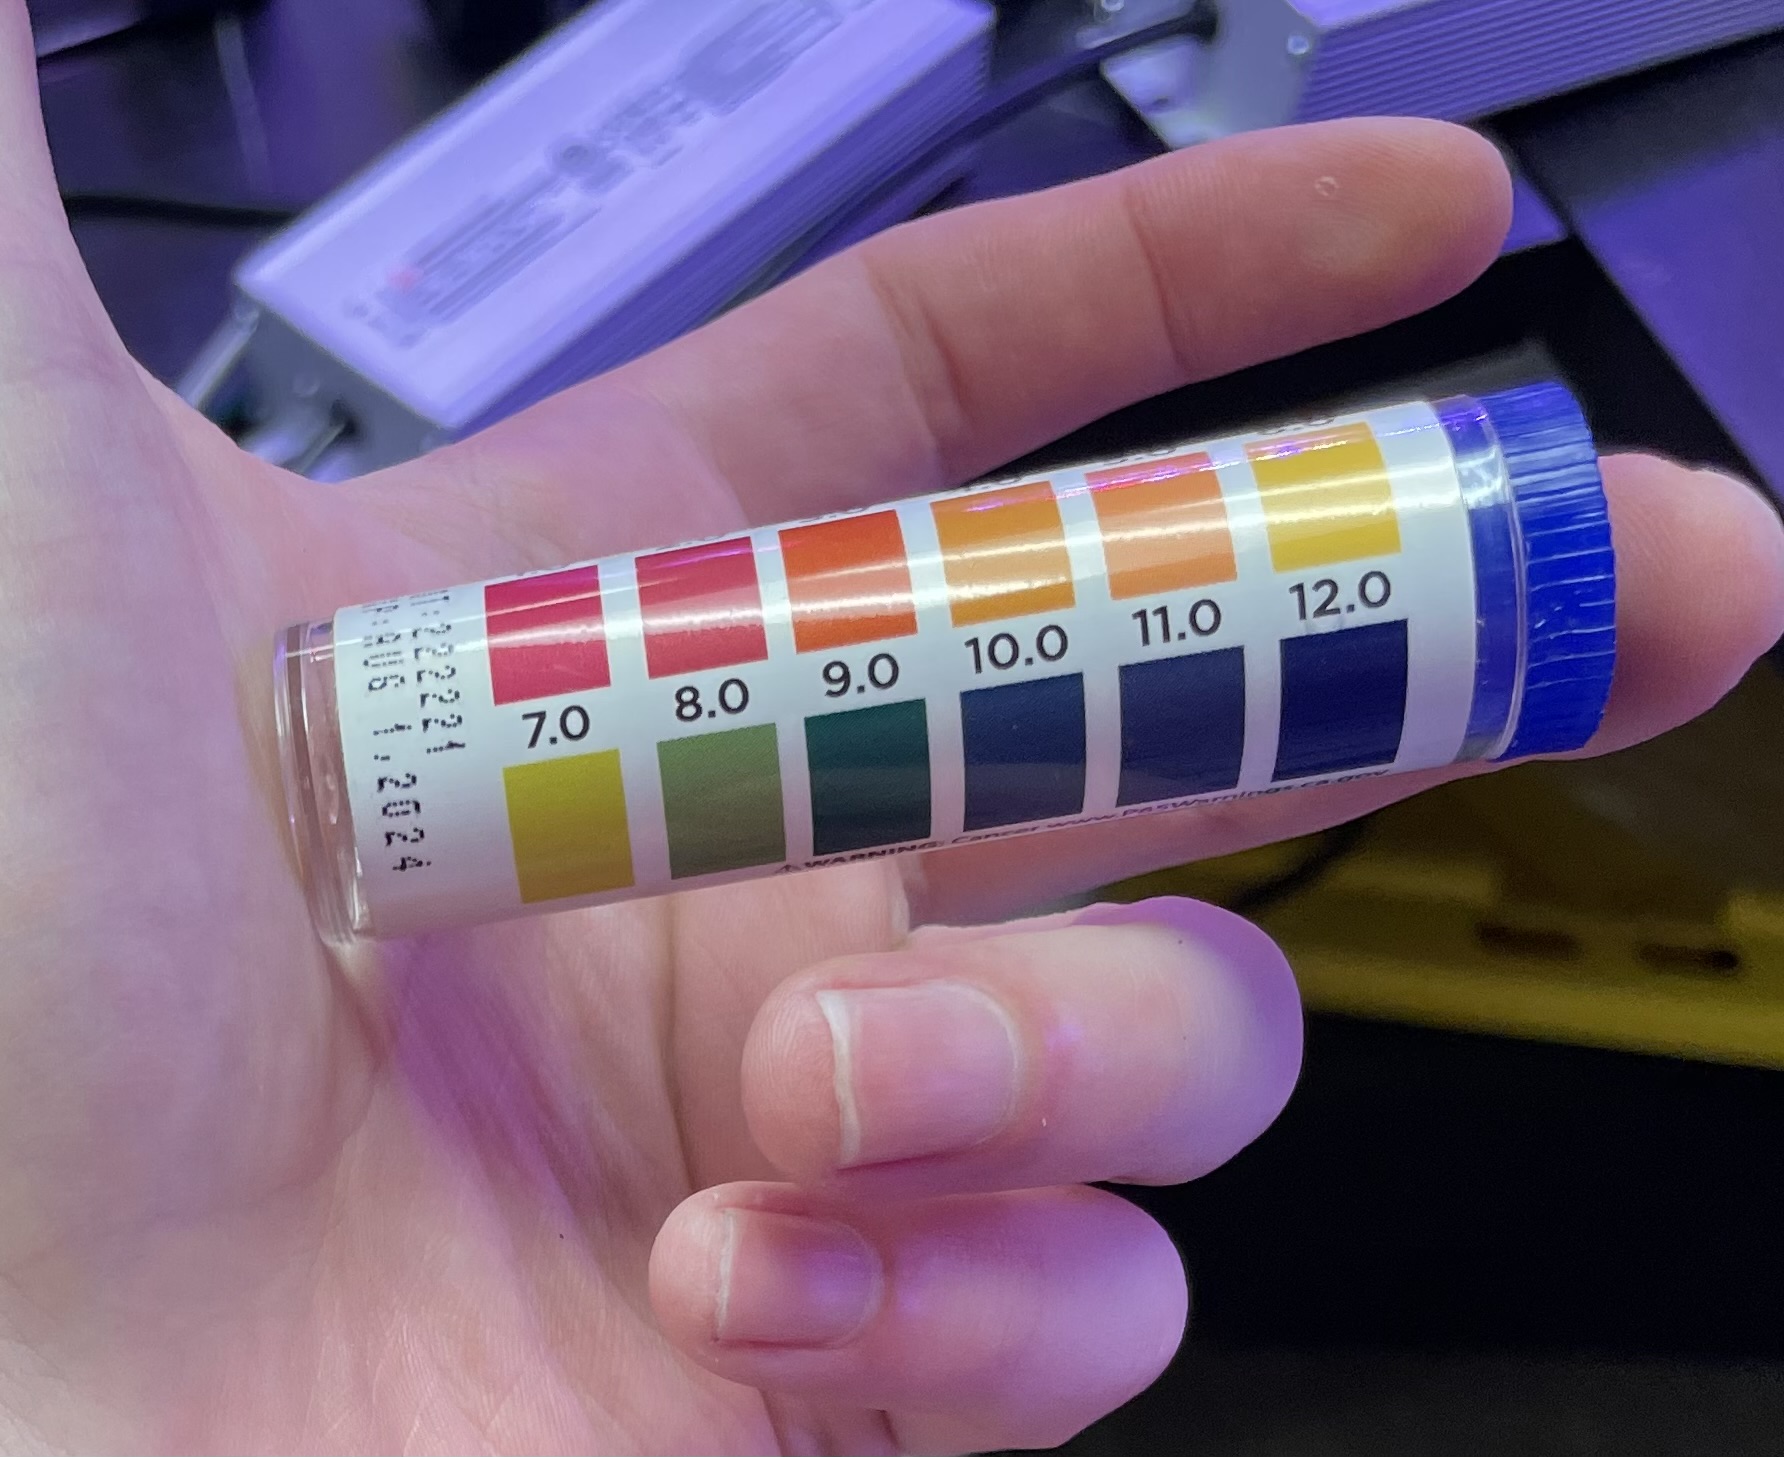
This depicts the color guide. The number is above the color associated with it, so a PH of 7 will give a yellow color.
2 Likes
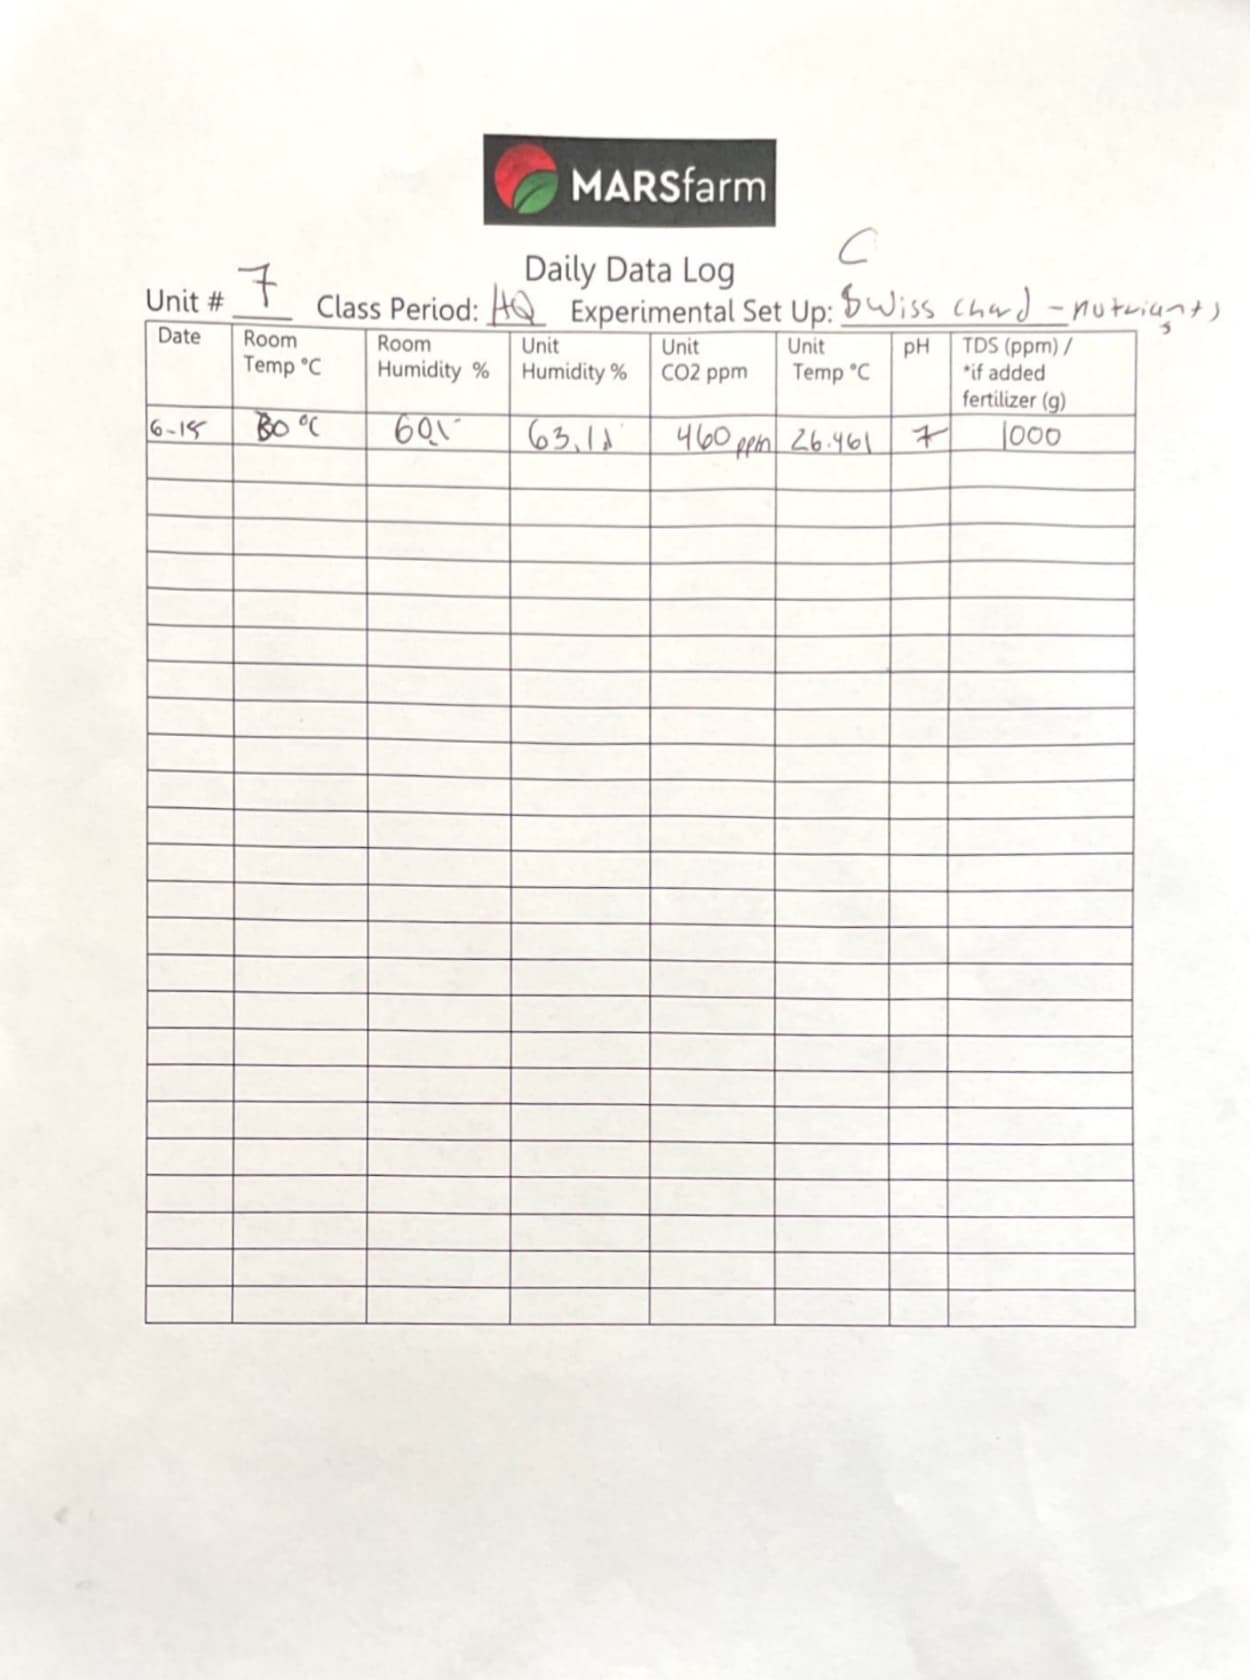
I started my mourning by recording humidity, temperature, Co2, and pH for all trials I am running.
I used this record-keeping log (thank you, @regina.smart):
Here are some of my findings:

This is MV1-0043. It is growing Compact, Cinnamon, and Persian Basil. I set it up with a Bok Choy recipe to create the conditions in the box.
This is MV1-HQ7. It is growing Swiss Chard. This is a different trial than the others. It has some added nutrients and uses coconut coir (shredded coconut husk) as the growing media. I set it up with a Bok Choy recipe to create the conditions in the box.
I have noticed a couple of things as my experiments have been going on:
- Bok Choy and Cherry Bell Radishes are doing the best growing
This is an image of Bok Choy from the unit
This is an image of Cherry Bell Radishes from the unit - Basil took a little longer to grow but has shot up recently.
*This is an image of the Basil from the unit - It is much more humid in the units with Swiss Chard than in others

I will continue to share observations as my plants continue to grow, and if you have any other data recording methods feel free to share them here.
2 Likes
Plants are very resilient and as long as they have not reached the permanent wilting point they usually recover. I love this gif that shows the increase in turgor pressure!
1 Like
I refilled the reservoirs today and was shocked at how much my plants have grown since I planted them about four weeks ago. Here are some images of the progress:

This is MV1-0038. It is growing Bok Choy.
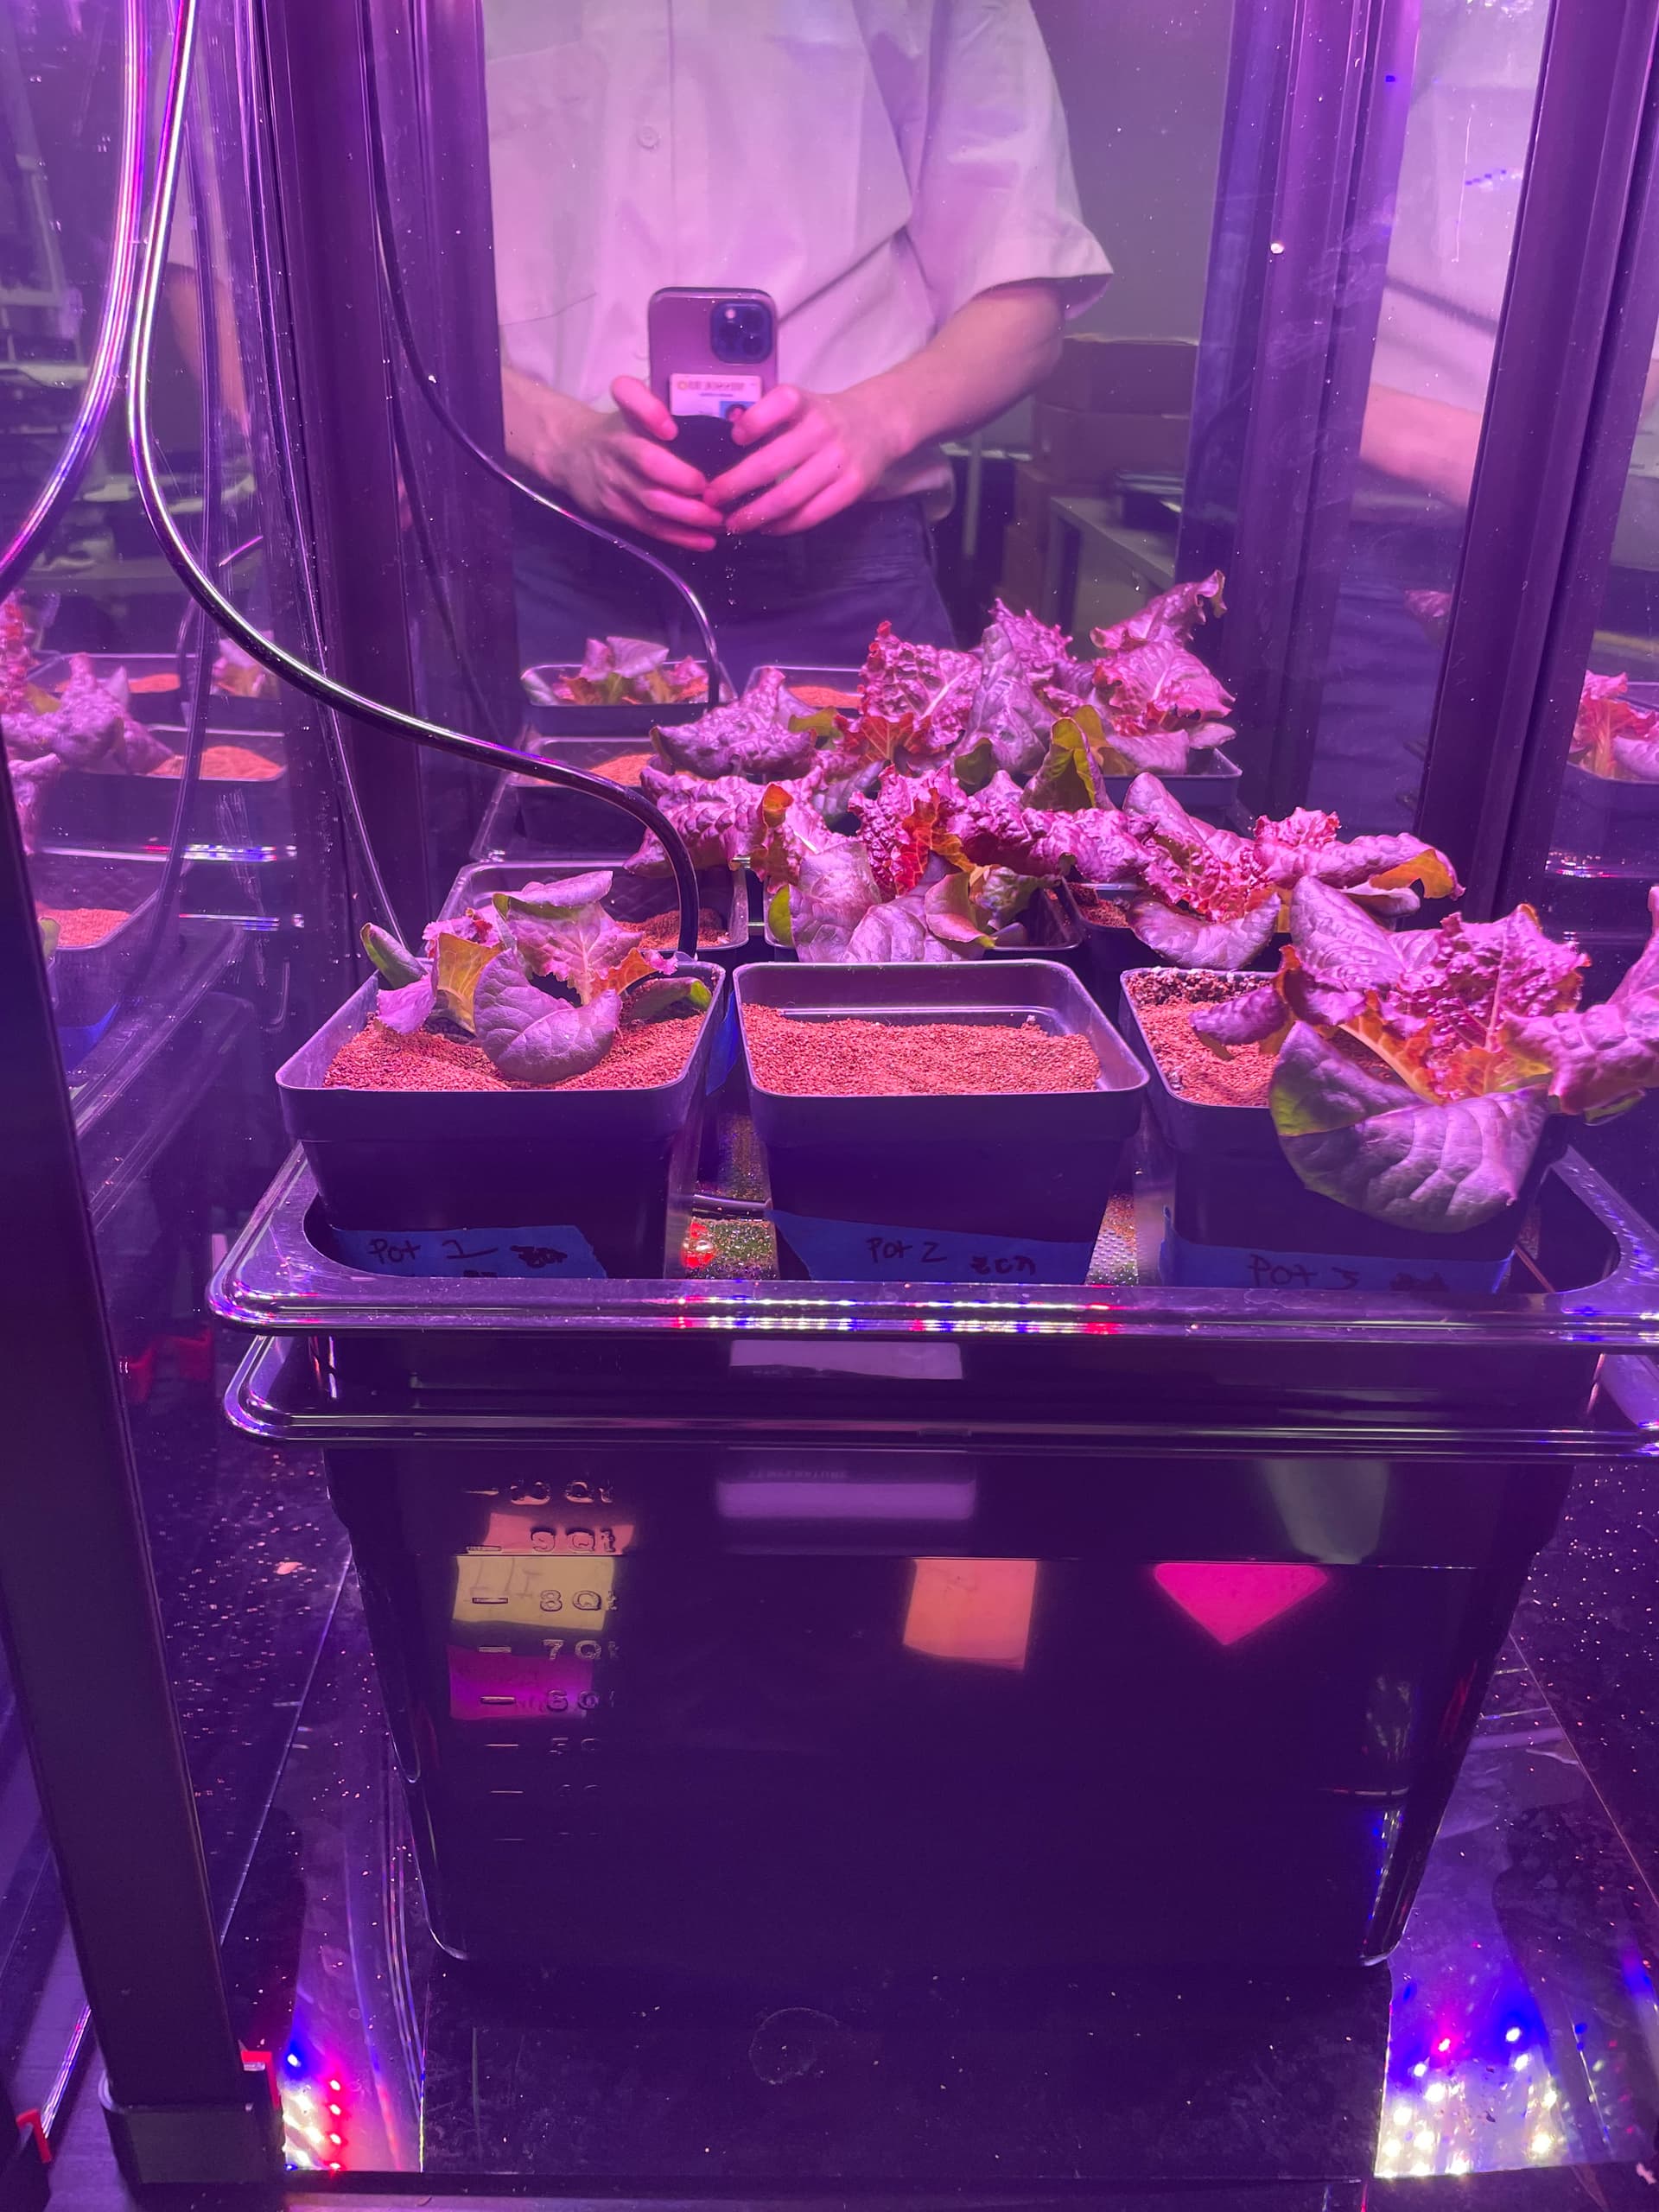
This is MV1-0039. It is growing Red Romaine. Originally this unit was growing Zinnias, but we used some bad seeds. We pivoted and planted some more Red Romaine Lettuce.

This is MV1-0040. It is also growing Red Romaine.

This is MV1-0041. It is also growing Peas. This unit had a similar fate to MV1-0039. It was growing Black Seeded Simpson, but the seeds were not good. These shot up over the last couple of days, which was cool to see.

This is MV1-0042. It is growing Cherry Bell Radishes. They are almost ready for harvest. You can see some poking through (so cool).
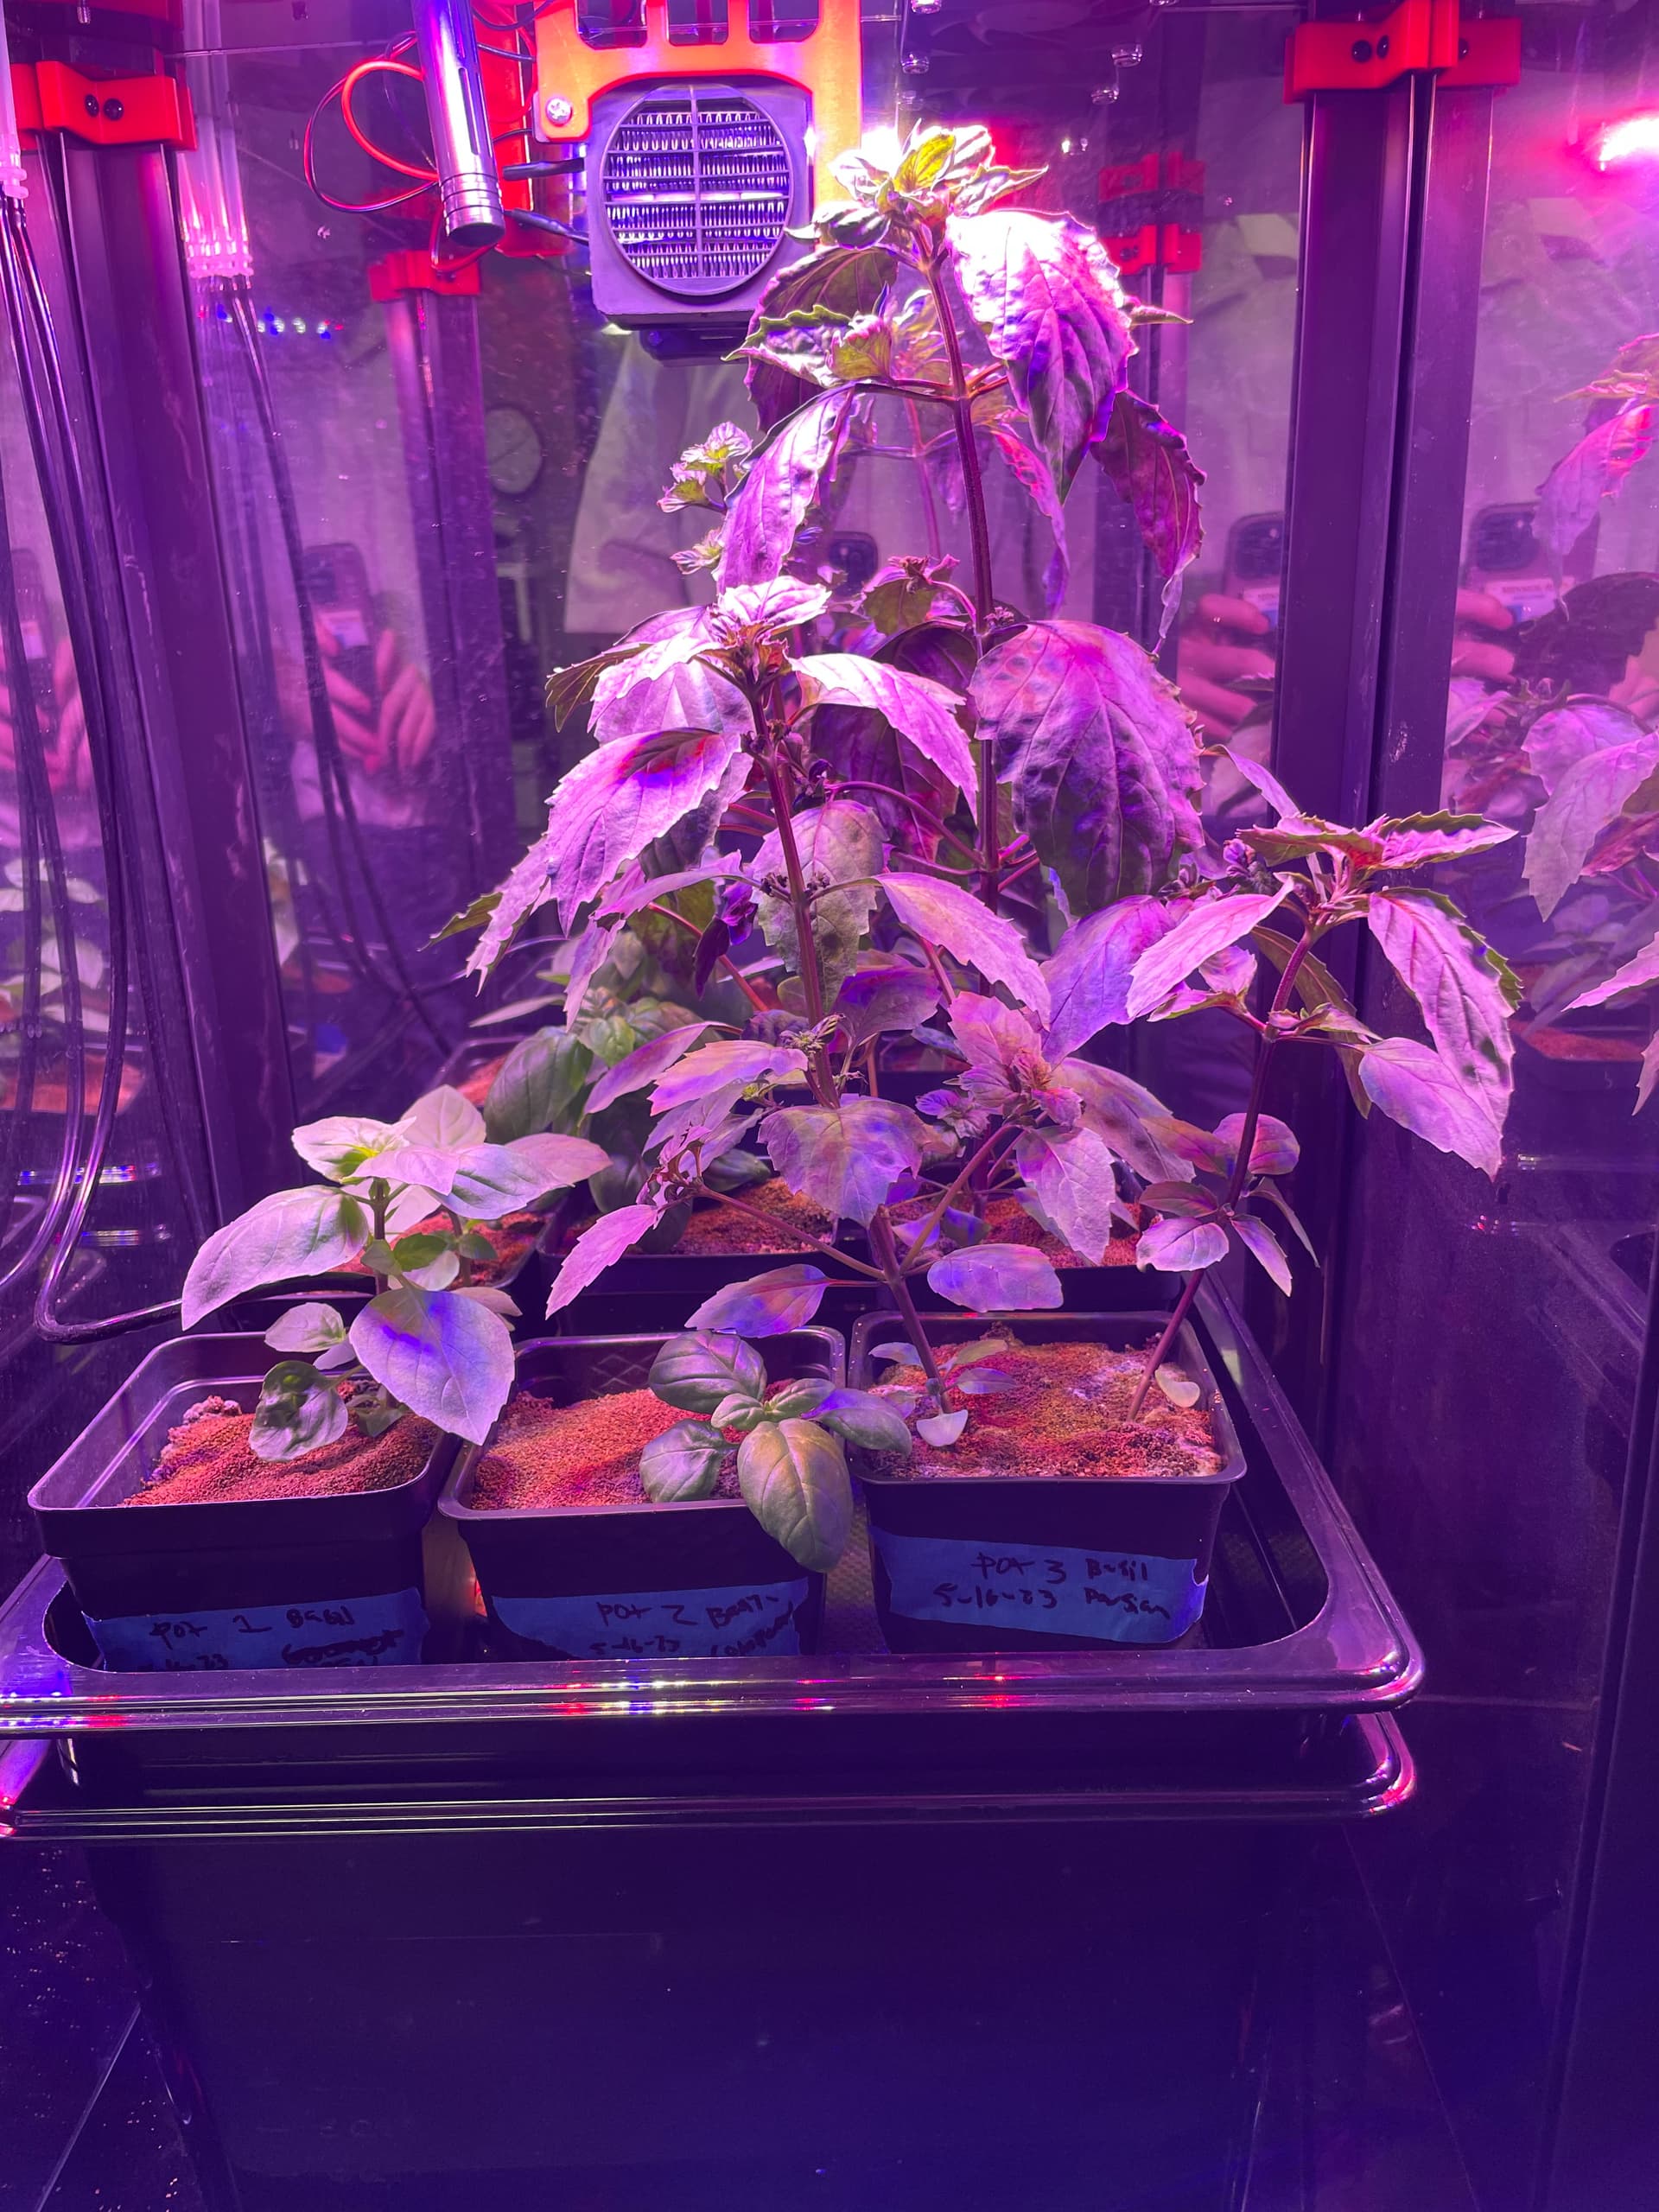

Both MV1-0043 & MV1-0044 are growing Cinnamon, Compact, and Persian Basil.
This is MV1-HQ7. It is growing Swiss Chard.
Not pictured is MV1-HQ8. It is growing Swiss Chard (same as MV1-HQ7). It has a problem with its exhaust fan, so the plants are experiencing very high humidity. It was hard to get a good picture. Stay tuned for more info about MV1-HQ8.
Pro tip: As your plants grow, push the reservoir away from the door. Especially for leafy plants, they sometimes get when opening or closing the door and break. I have unfortunately done this and had to trim down plants.
I am amazed by how fast these plants have grown, and I cannot wait to share more growth with you all.
I have exciting news. Yesterday I harvested some plants ![]() ! It took much less time for the plants to grow (about six weeks). Here are the steps I used to harvest my plants:
! It took much less time for the plants to grow (about six weeks). Here are the steps I used to harvest my plants:
-
Unhook the front tube from the top of the box.
This image depicts the tube you need to remove. It is the tube that is also attached to the drainage guide that is inserted into the lower reservoir.
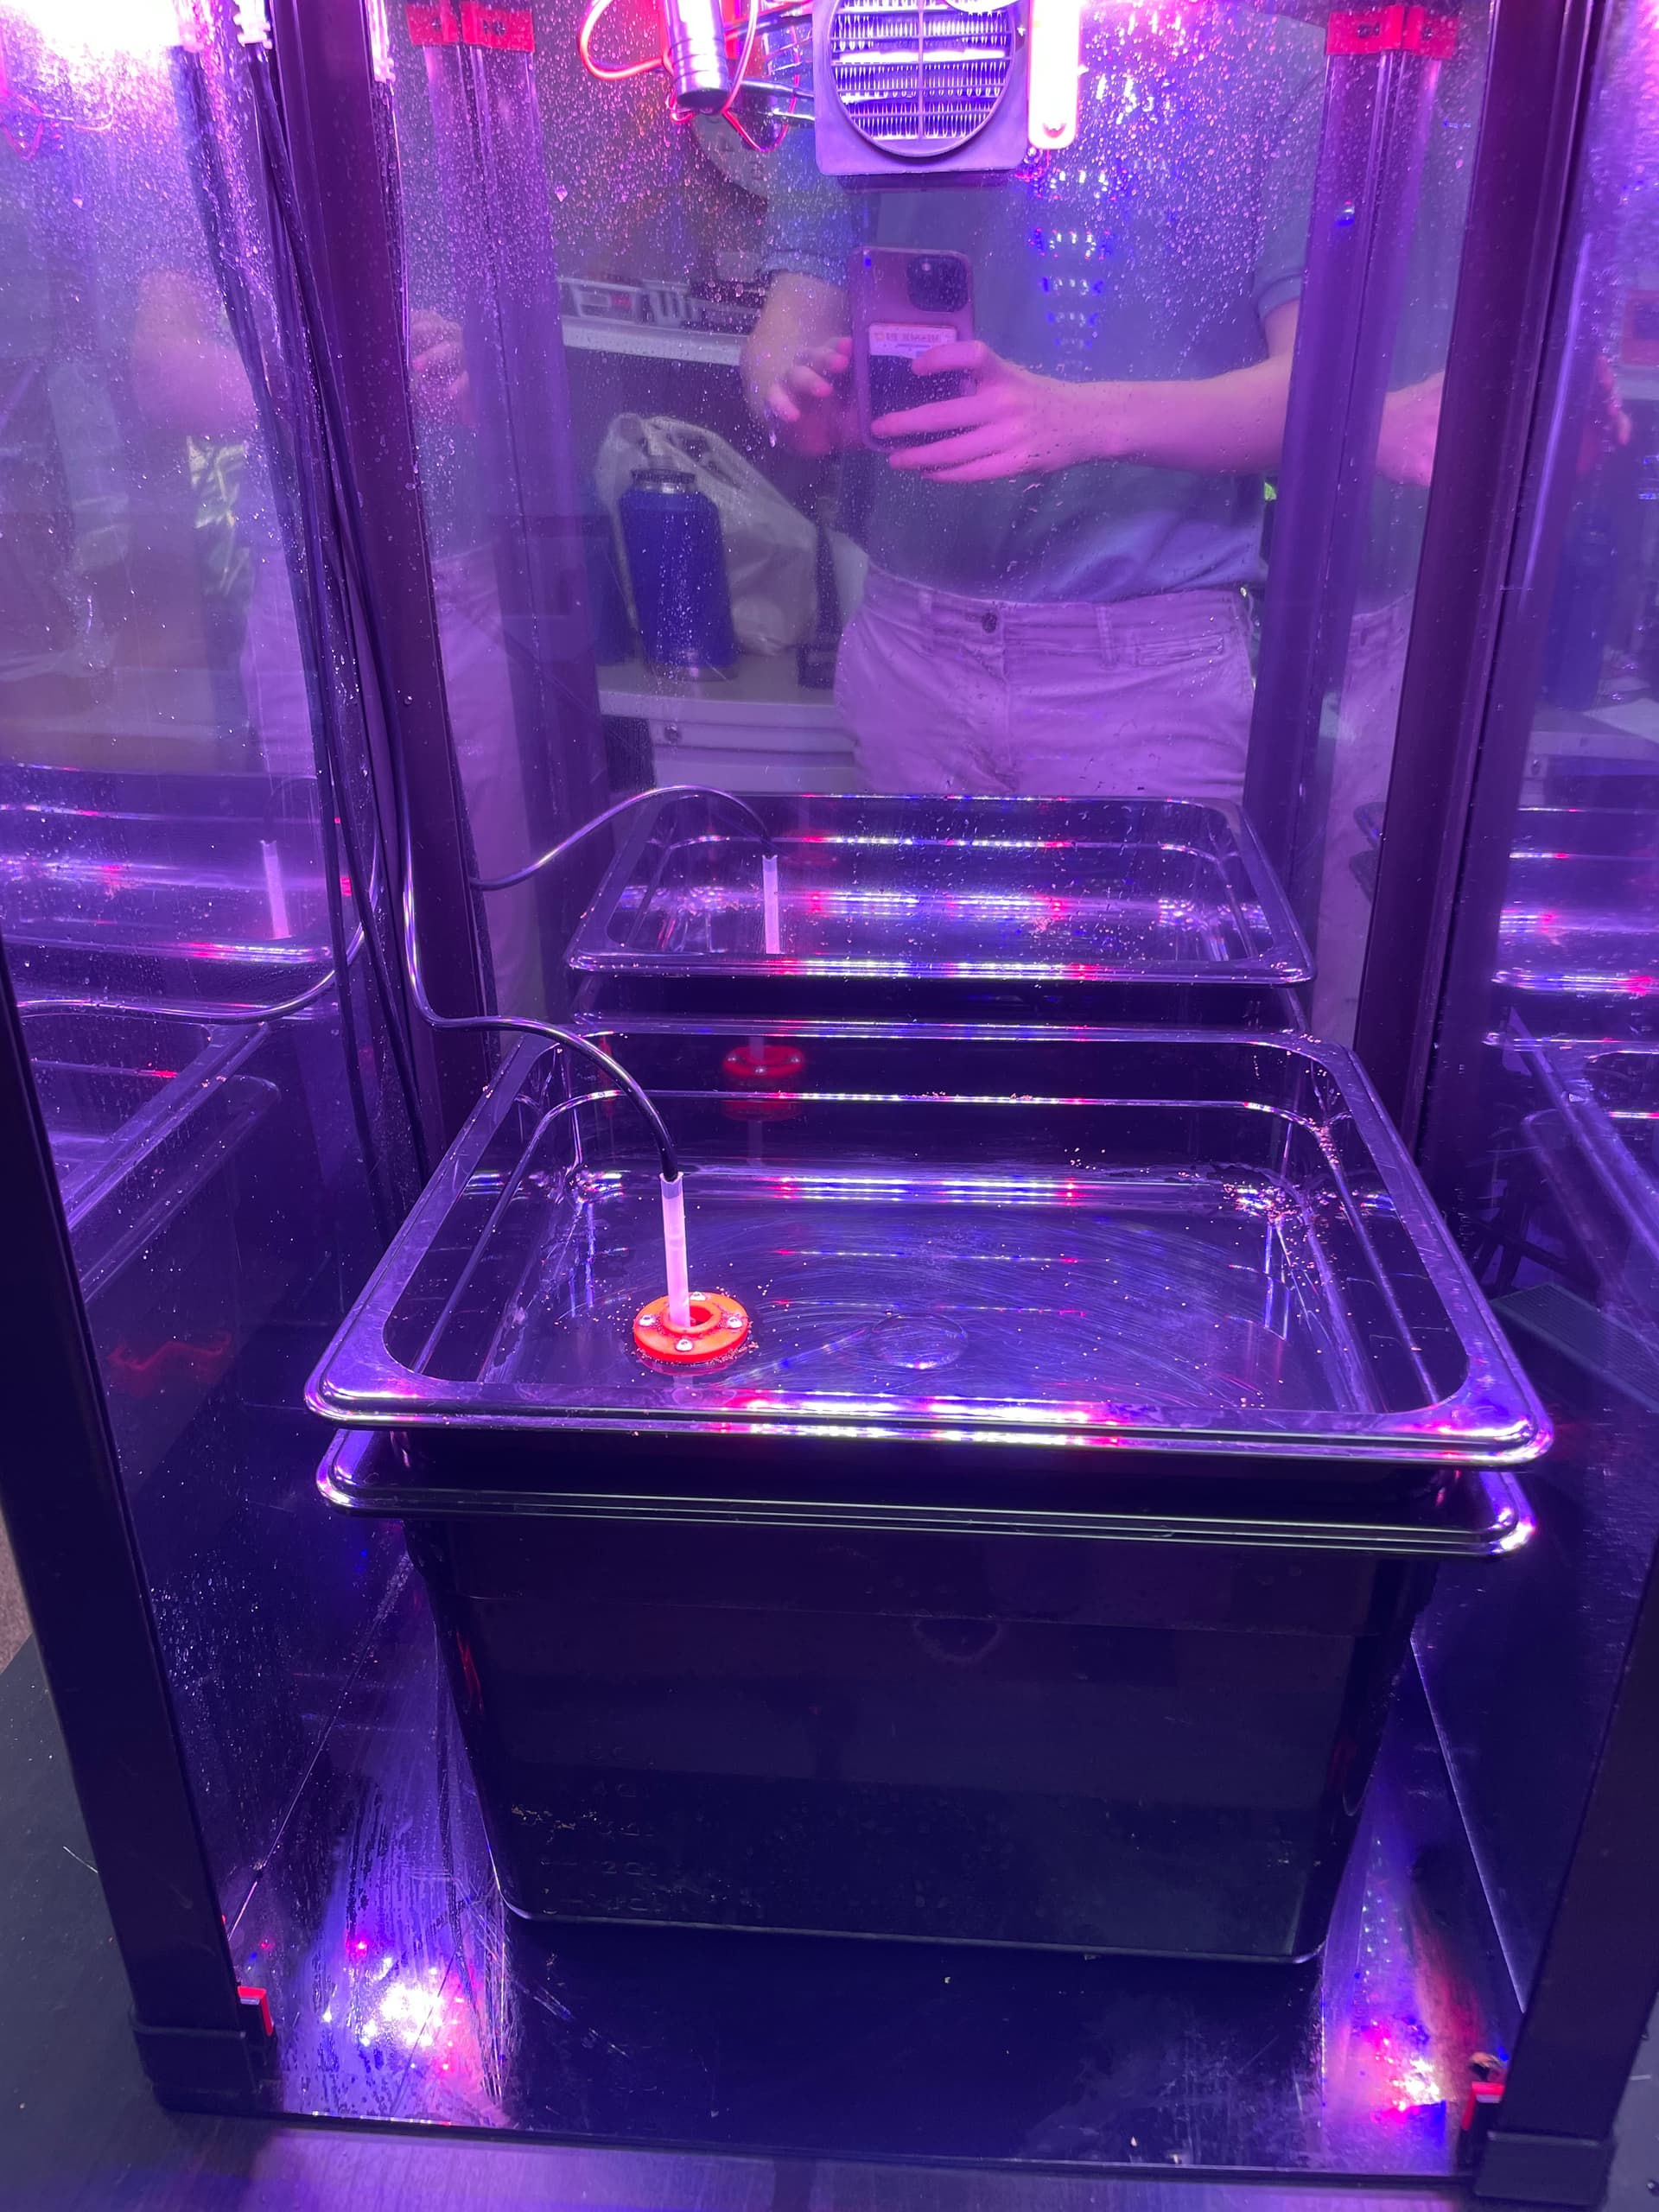
This is what the tip of your box should look like after you remove the tube. -
Next, I took the lower reservoir and top tray (which holds the plants) out of the unit to make it easier for me to harvest. You don’t need to coordinate harvest timing with the water output setting since the pump will not draw any water because you removed the other tube and lower reservoir.
This is what the unit looked like once I removed everything. Notice that the other tube is still attached and just hanging down. -
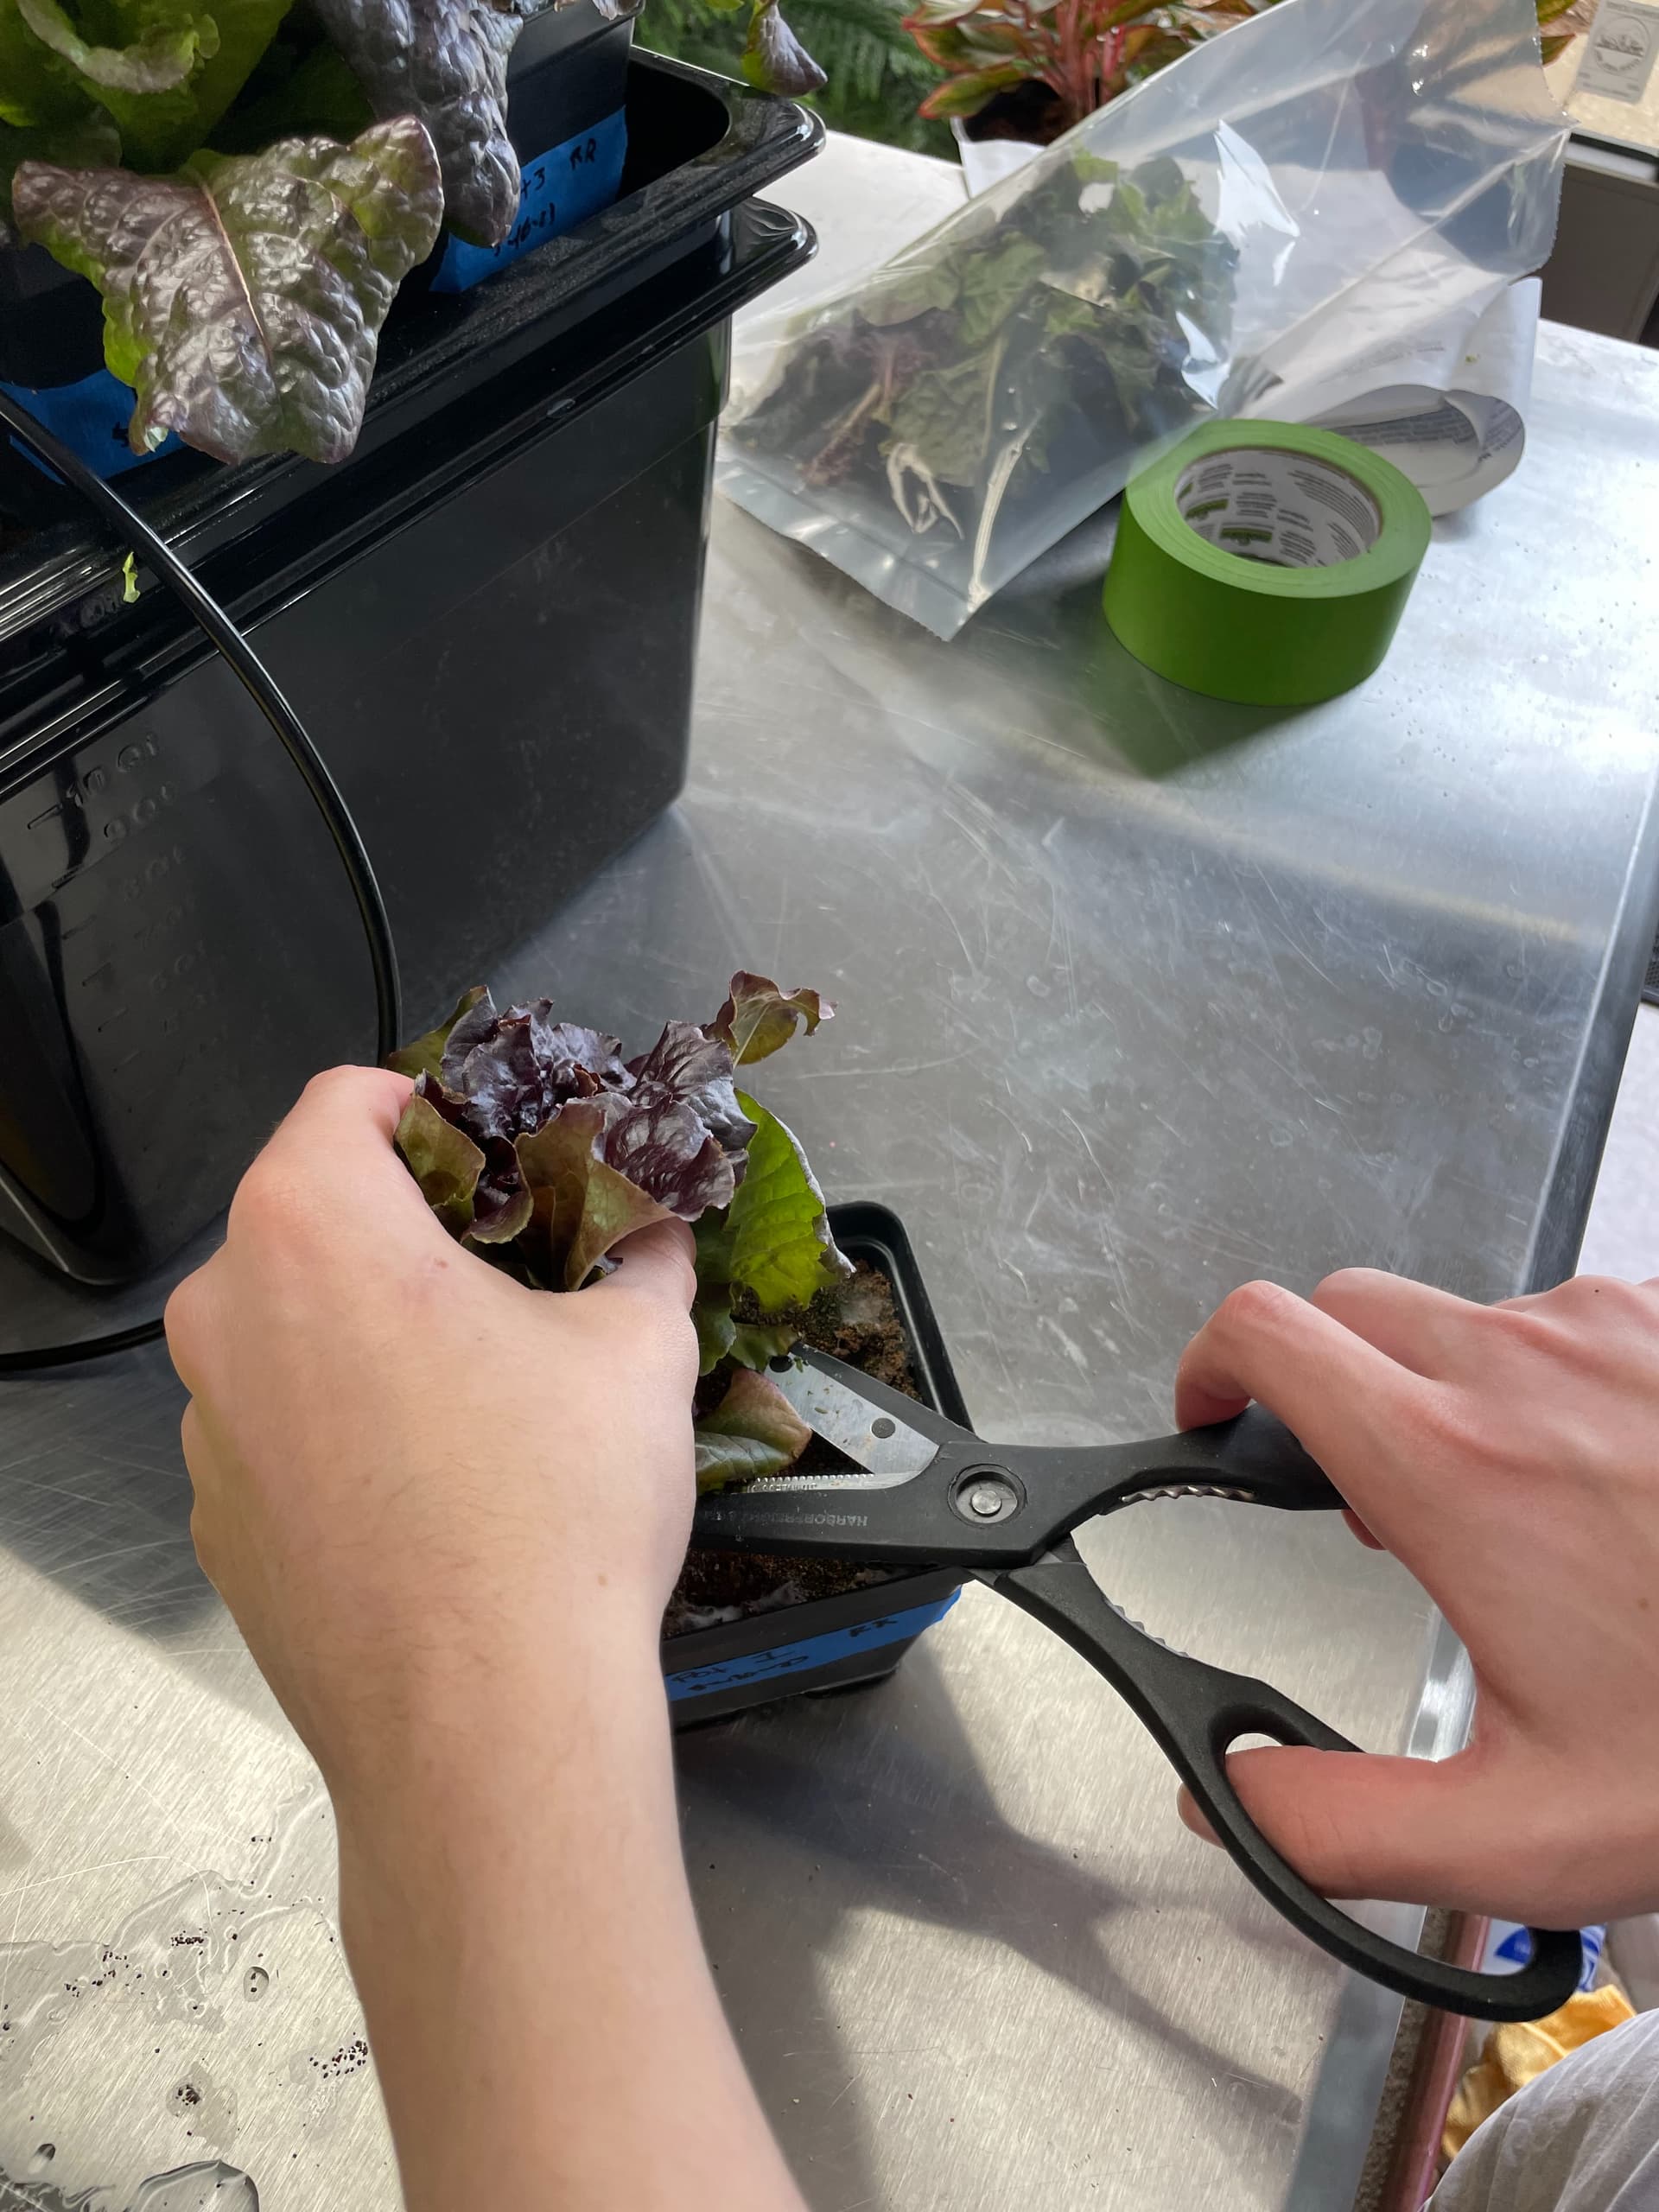
Now that the plants are removed, I cut out the leaves from the plants and weighed them. I weighed per pot and all the pots together.
This image shows me cutting some Red Romaine Lettuce out of the pot.
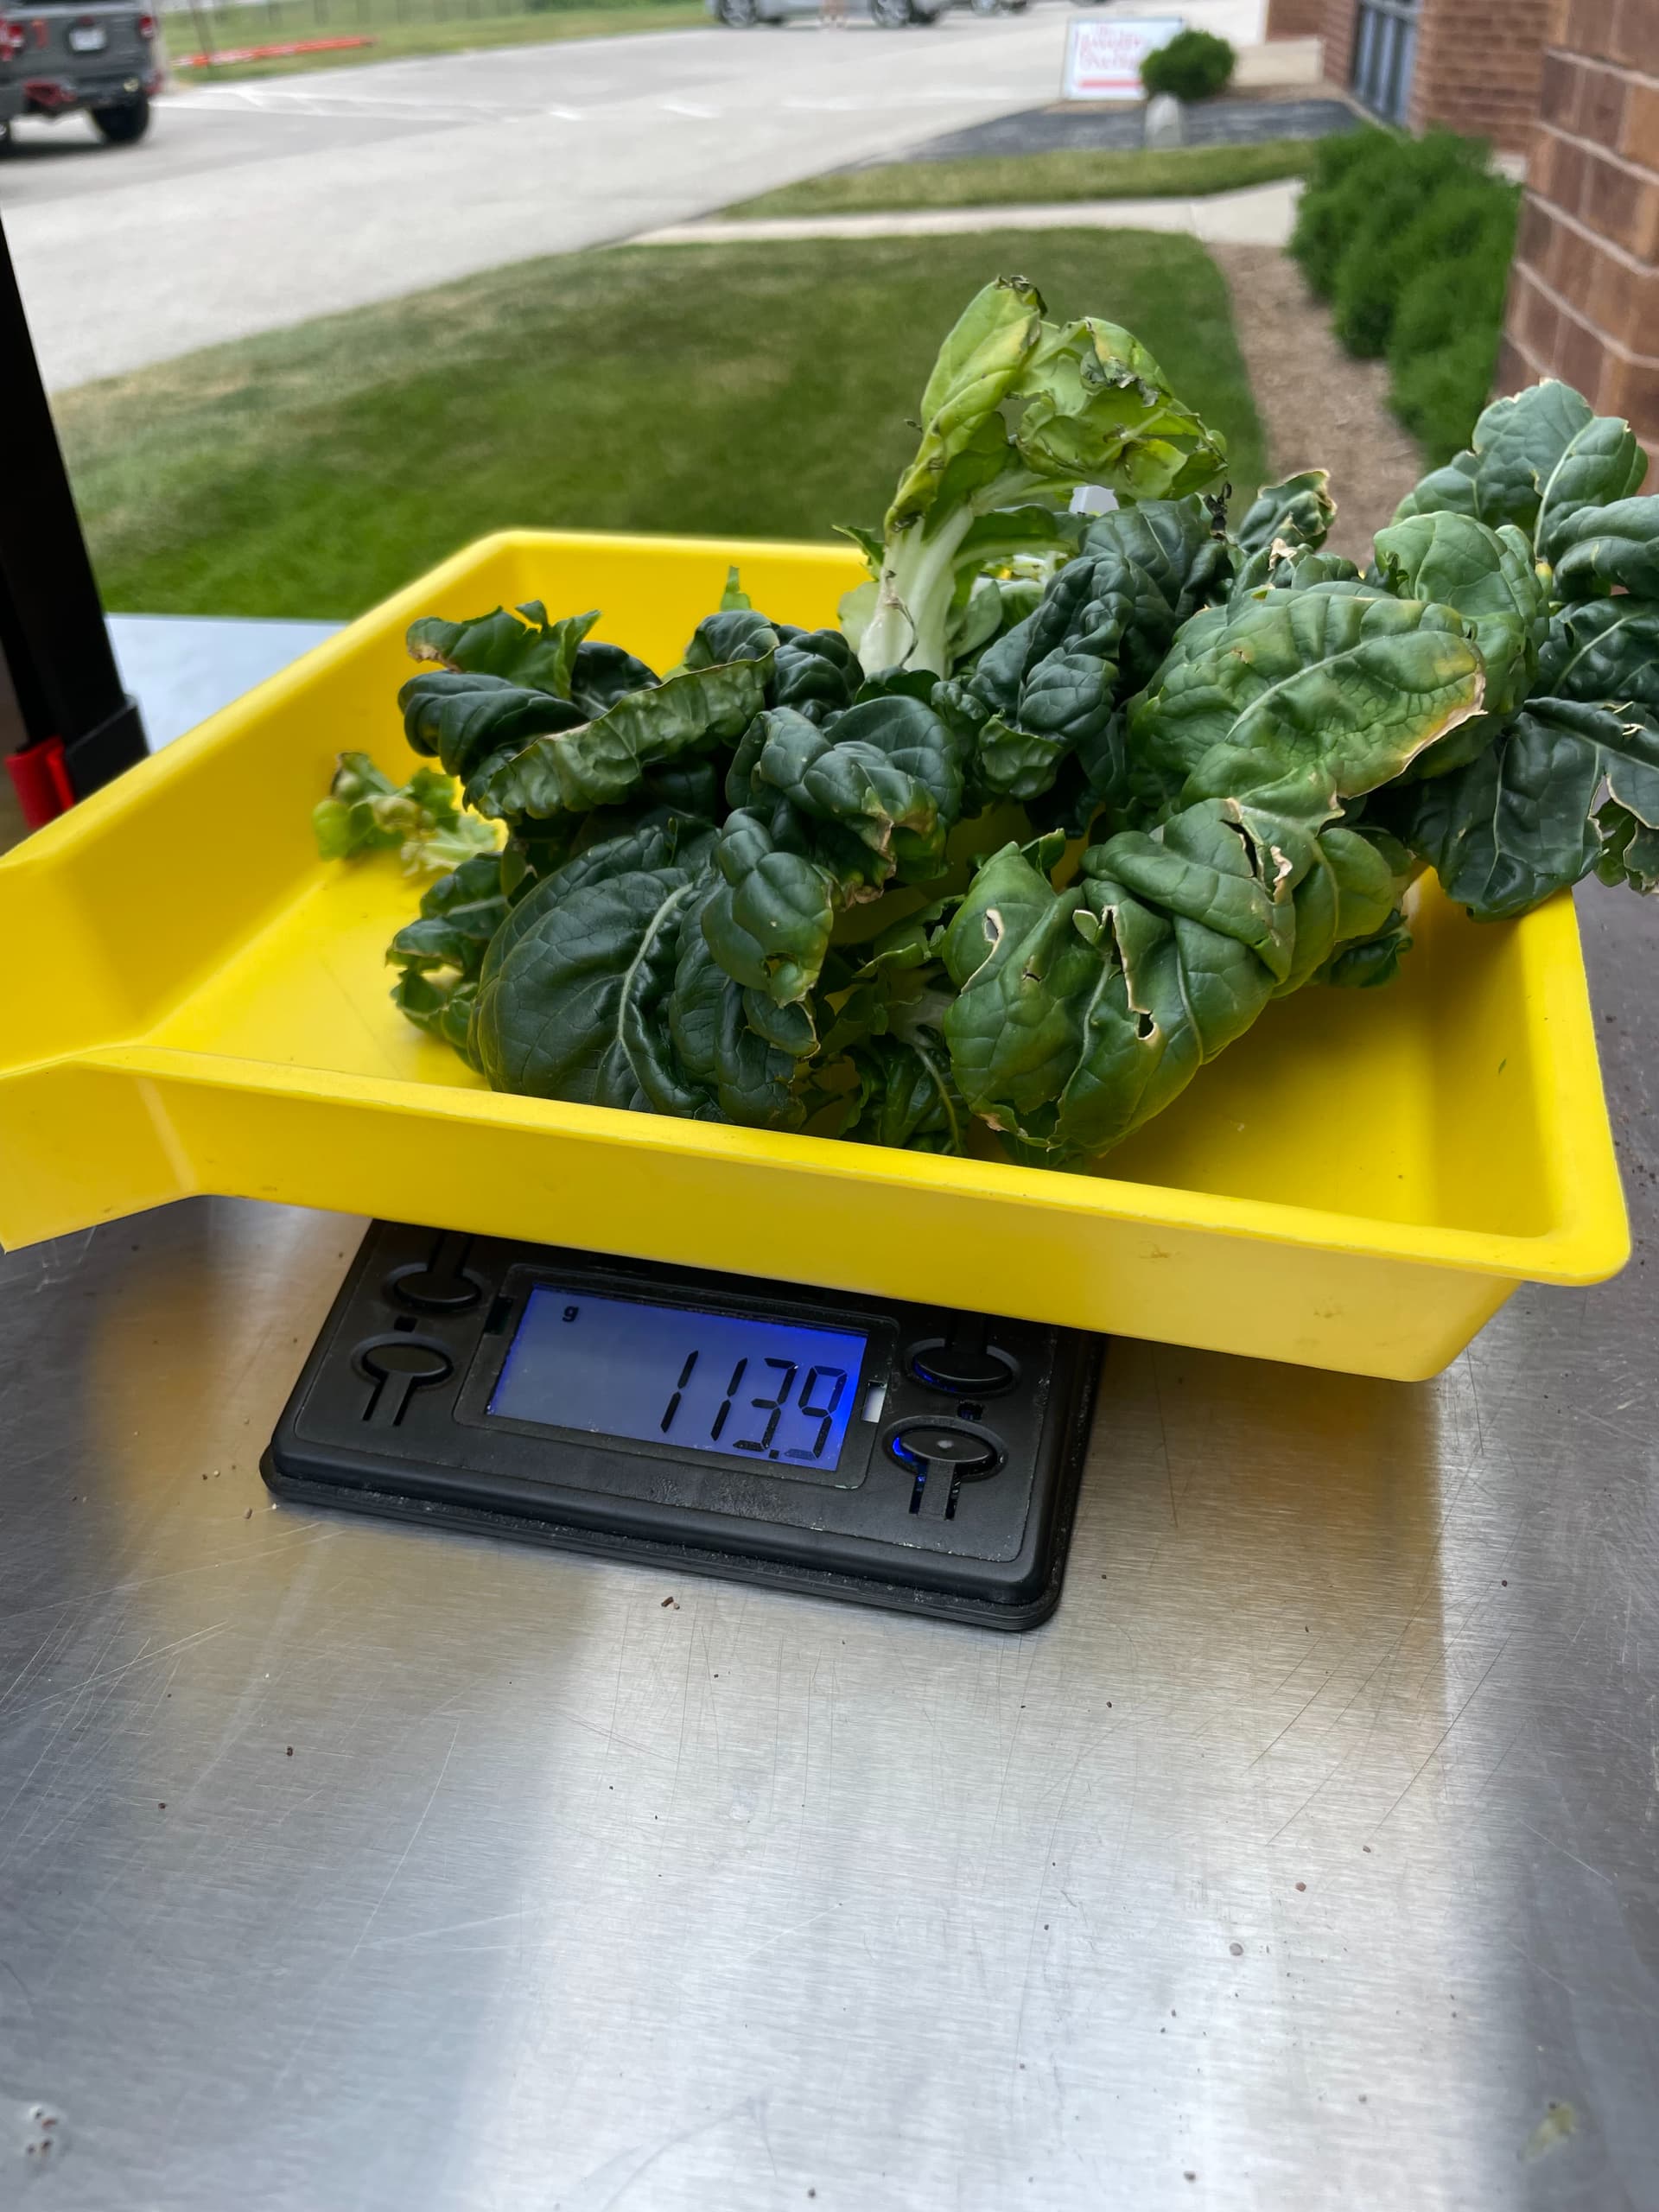
This image shows me weighing one pot of the harvested Bok Choy.
This image shows me weighing all the Basil I harvested after I weighed what I harvested per pot. -
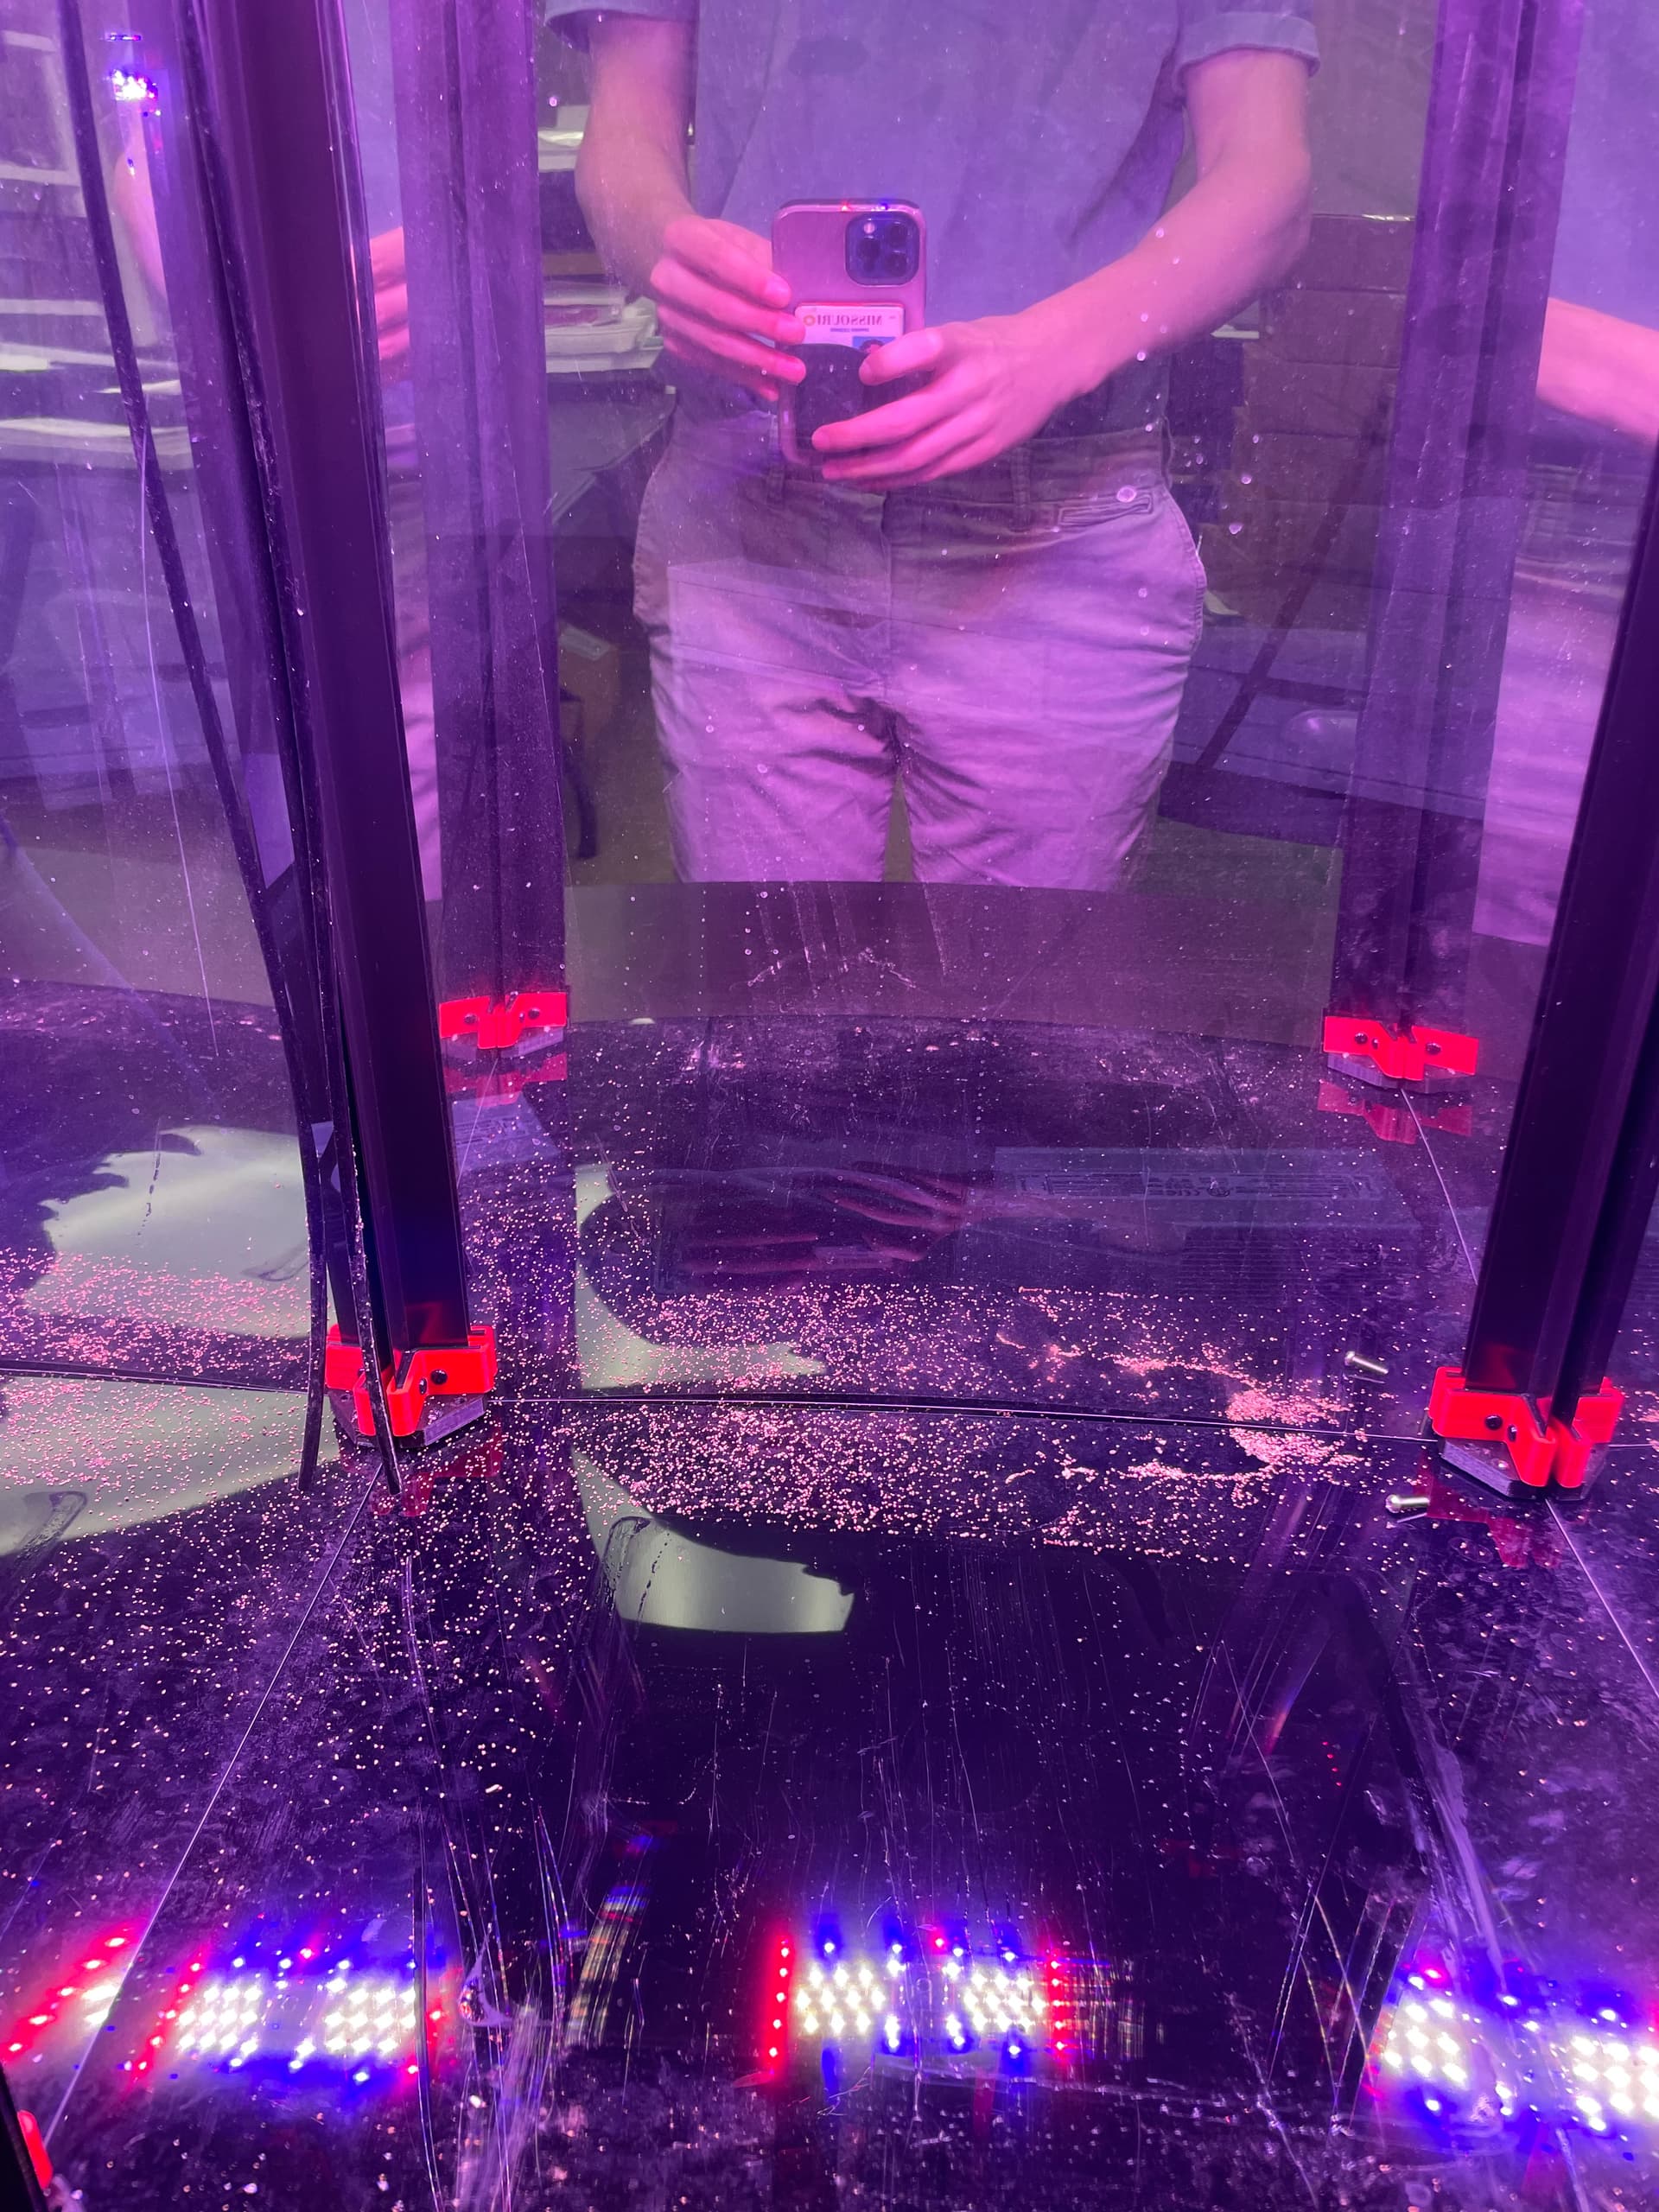
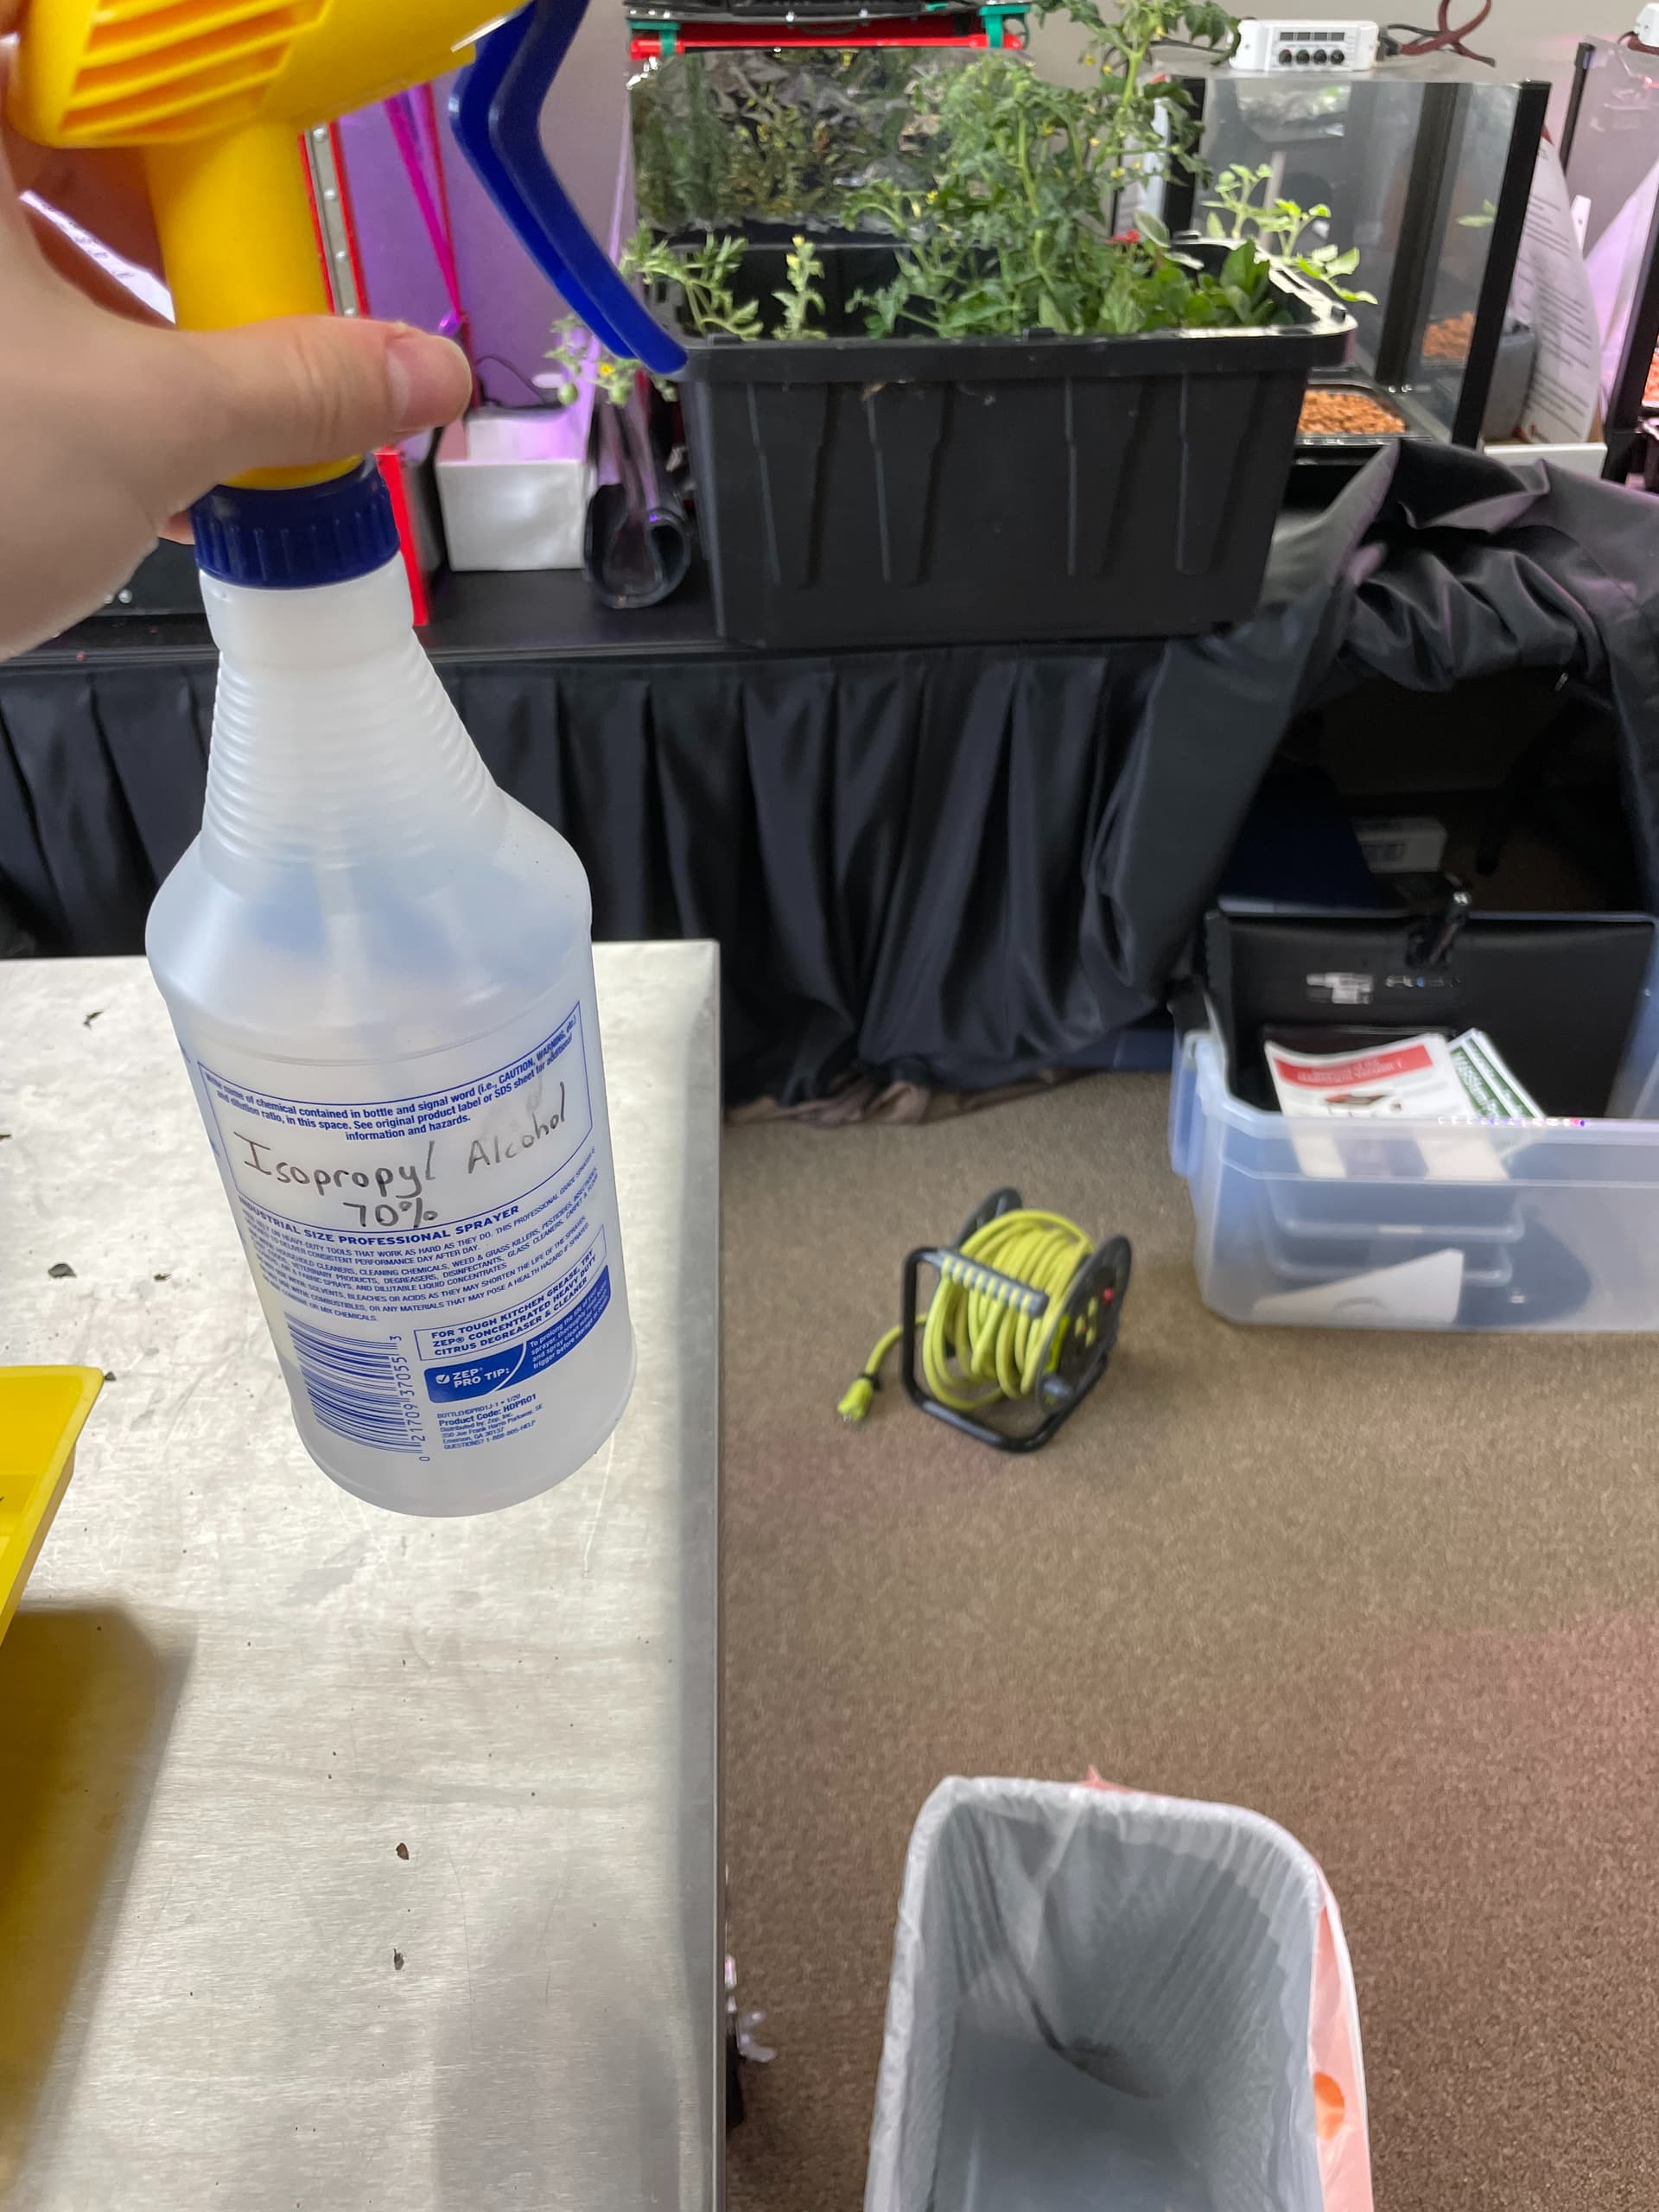
Lastly, I cleaned the unit. I disposed of the wicking mat and wiped down all trays and reservoirs utilized, as well as the walls and bottom of the unit. While it is not as crucial, you may also wipe down the tubes. By cleaning the unit, you can ensure no obstacles, such as algae, hinder your next trial. After cleaning, I returned everything to the unit.
This image is of the cleaning agent I used. Any cleaning mixture is ok for these units. Clorox wipes are good as well.
This is what the unit looks like fully-clean.

Once you are done with all these steps, congratulations! You have successfully harvested your plants and are ready for your next trial. 
Here are some of my specific measurements from harvesting (all weights are in grams):
- Unit MV1-0038 - Bok Choy:
Pot 1 (Front Left): 131.3 g
Pot 2: 62.3 g
Pot 3: 80.6 g
Pot 4: 50.9 g
Pot 5: 62.2 g
Pot 6 (Back Right): 49.1 g
Total: 425.2 g

This is the Bok Choy before being harvested.
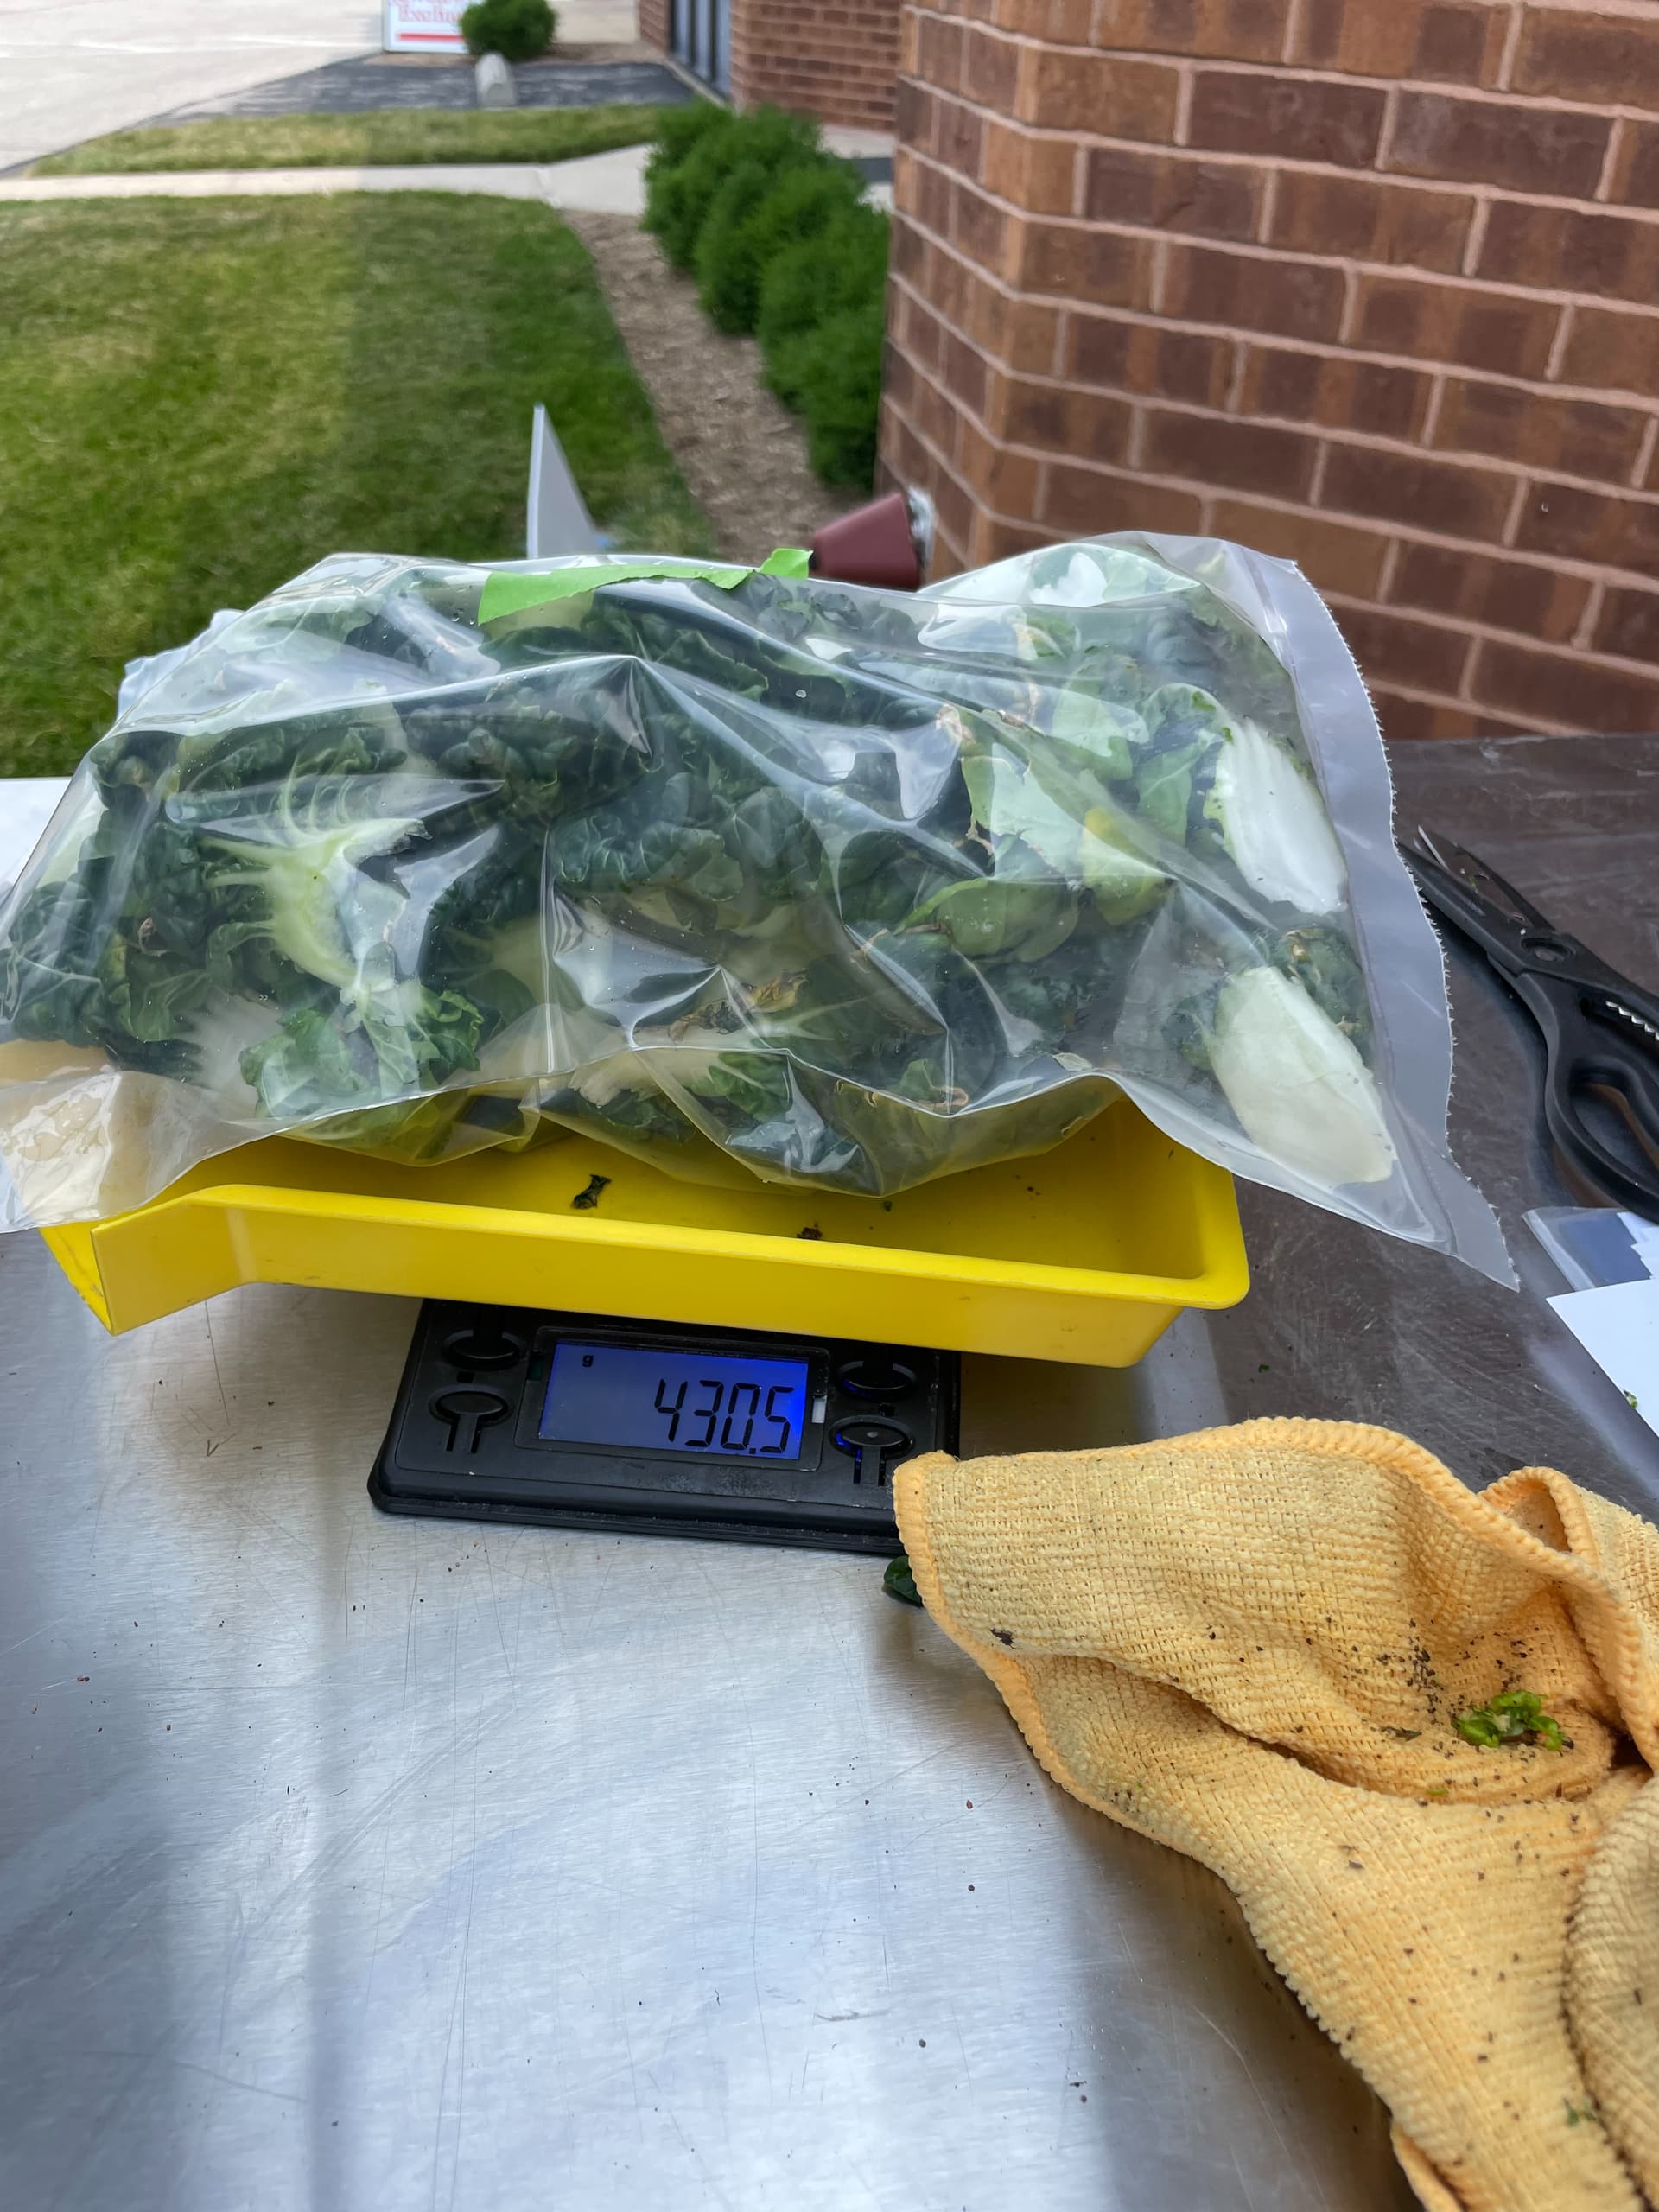
This is all the Bok Choy that was harvested being weighed.
-
Unit MV1-0039 - Red Romaine Lettuce:
Pot 1 (Front Left): 3.9 g
Pot 2: 0 g (no growth)
Pot 3: 18.5 g
Pot 4: 0 g (no growth)
Pot 5: 28.7 g
Pot 6 (Back Right): 14.5 g
Total: 82.6 g -
Unit MV1-0040 - Red Romaine Lettuce:
Pot 1 (Front Left): 11.4 g
Pot 2: 6 g
Pot 3: 23.2 g
Pot 4: 26.3 g
Pot 5: 40.1 g
Pot 6 (Back Right): 16.5 g
Total: 123 g
Total Harvested Lettuce Weight: 205.6 g
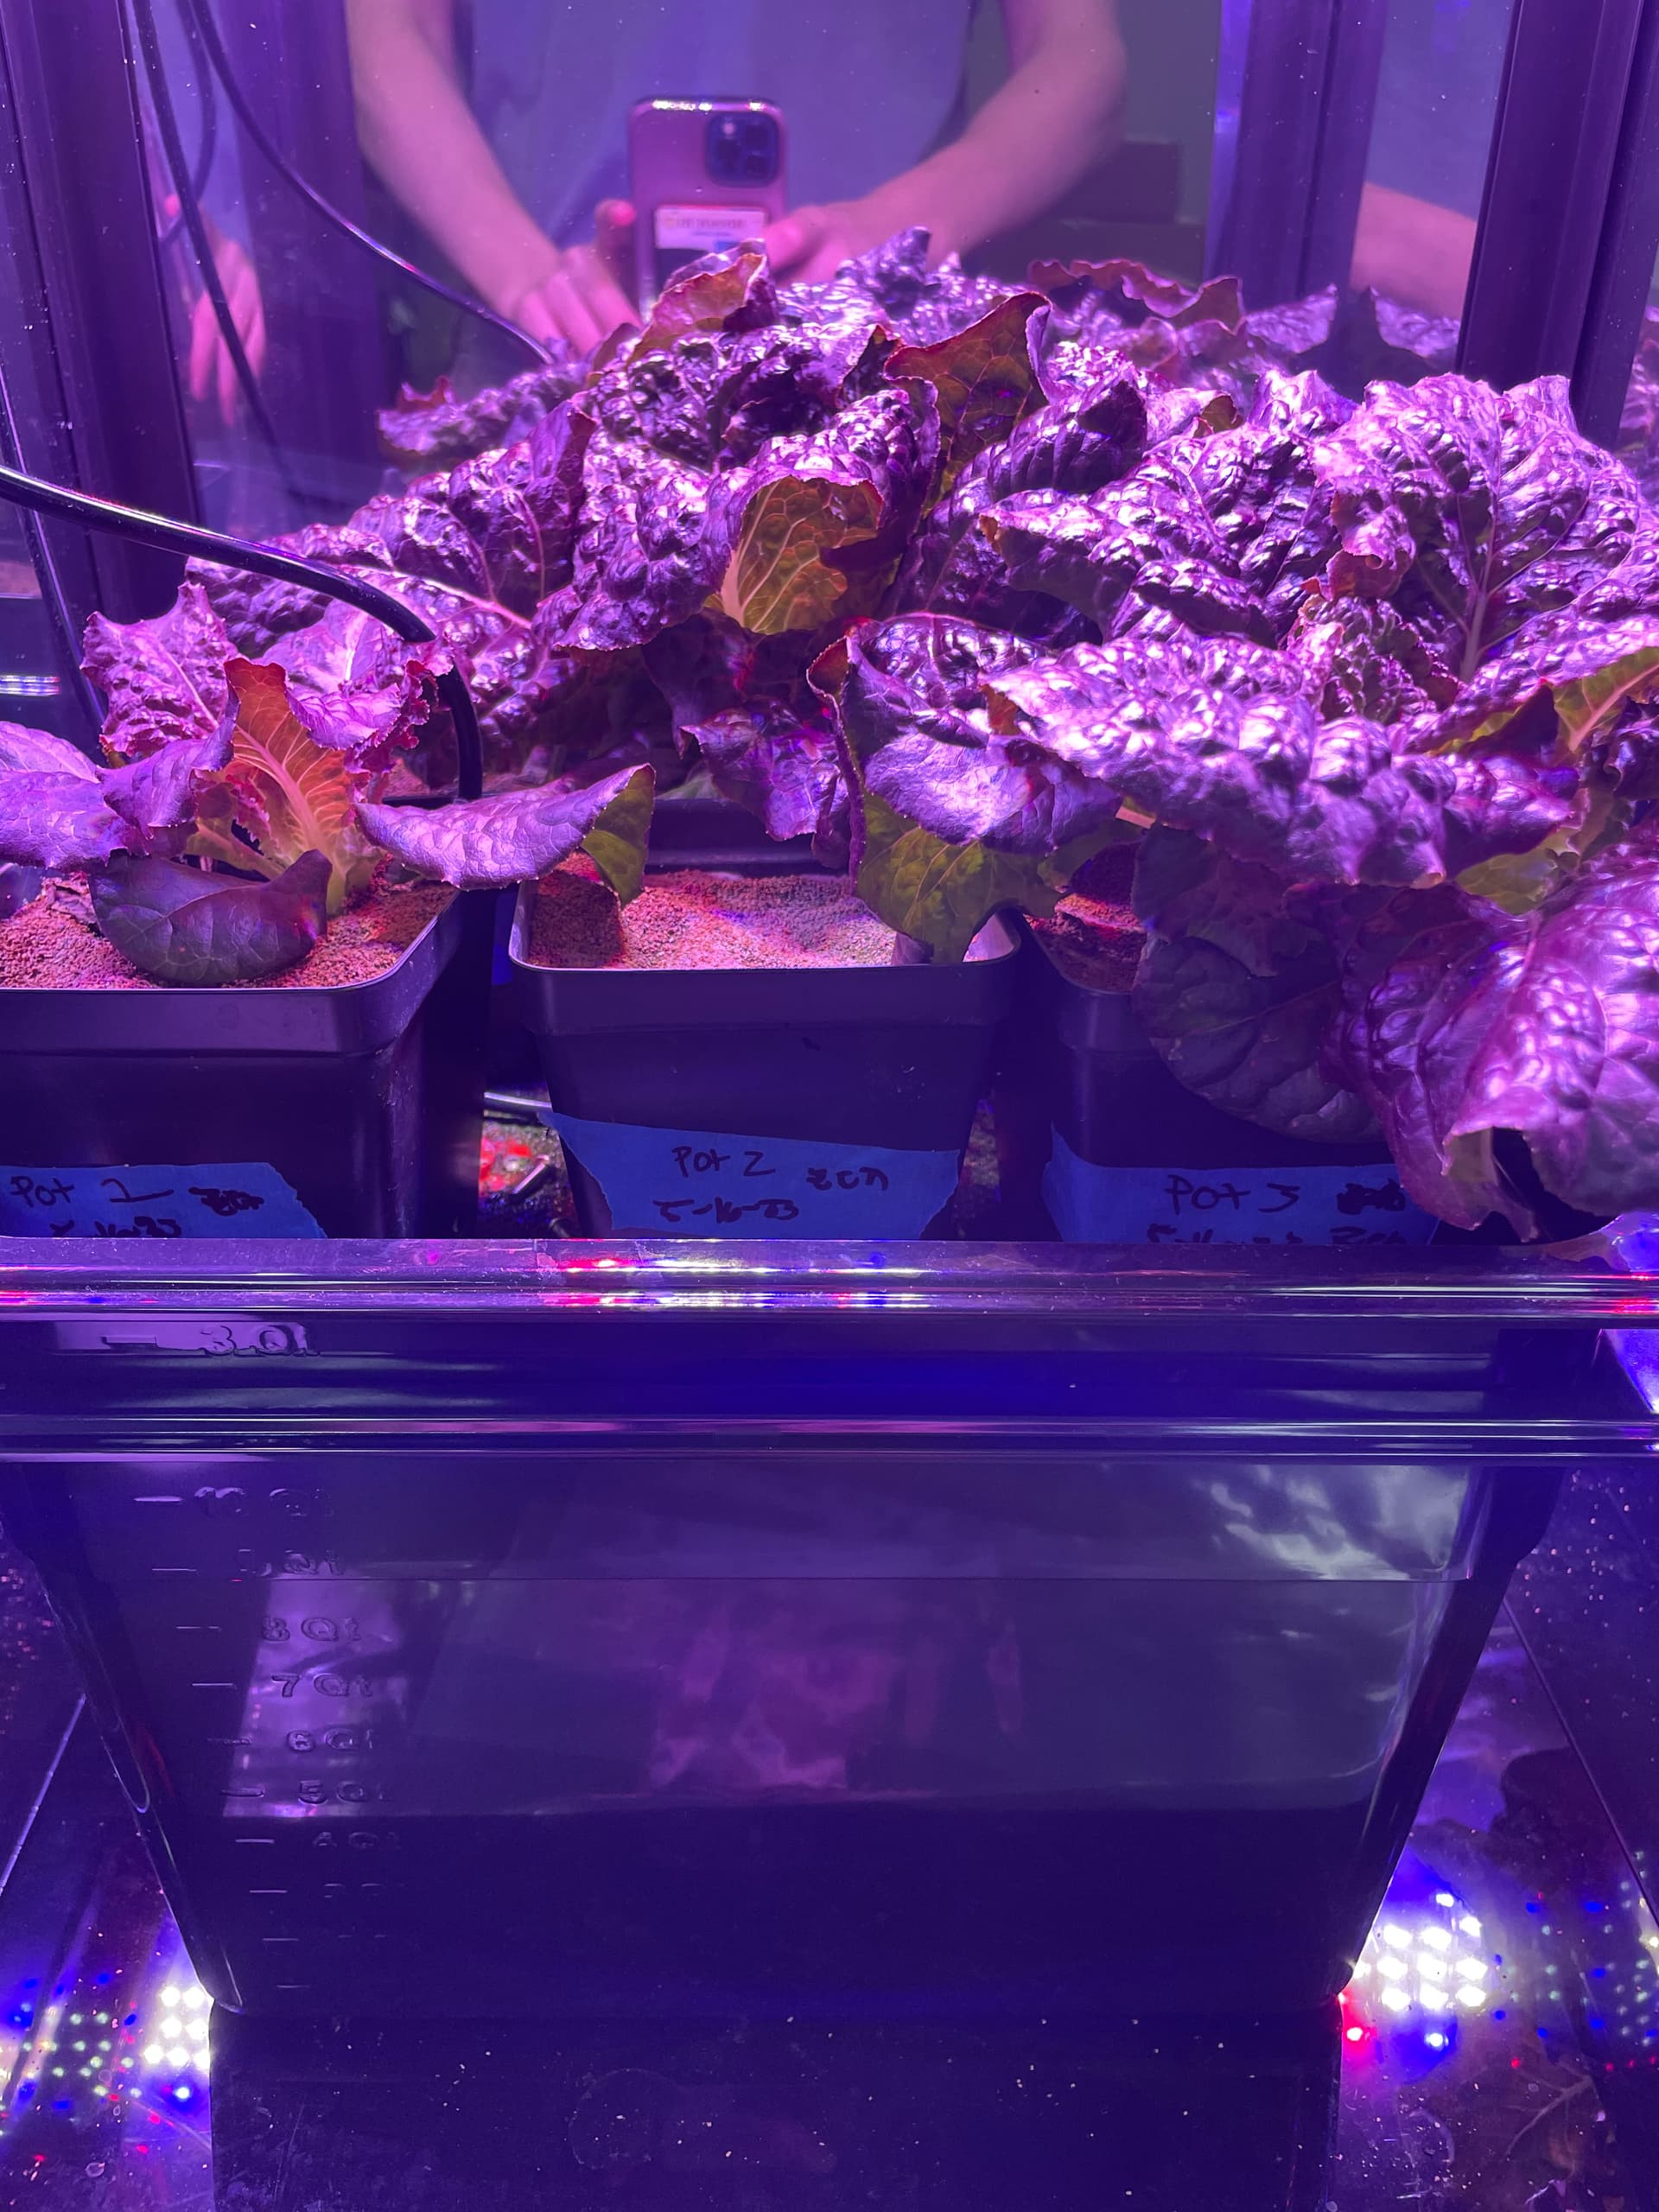
This is the Red Romaine Lettuce before being harvested.
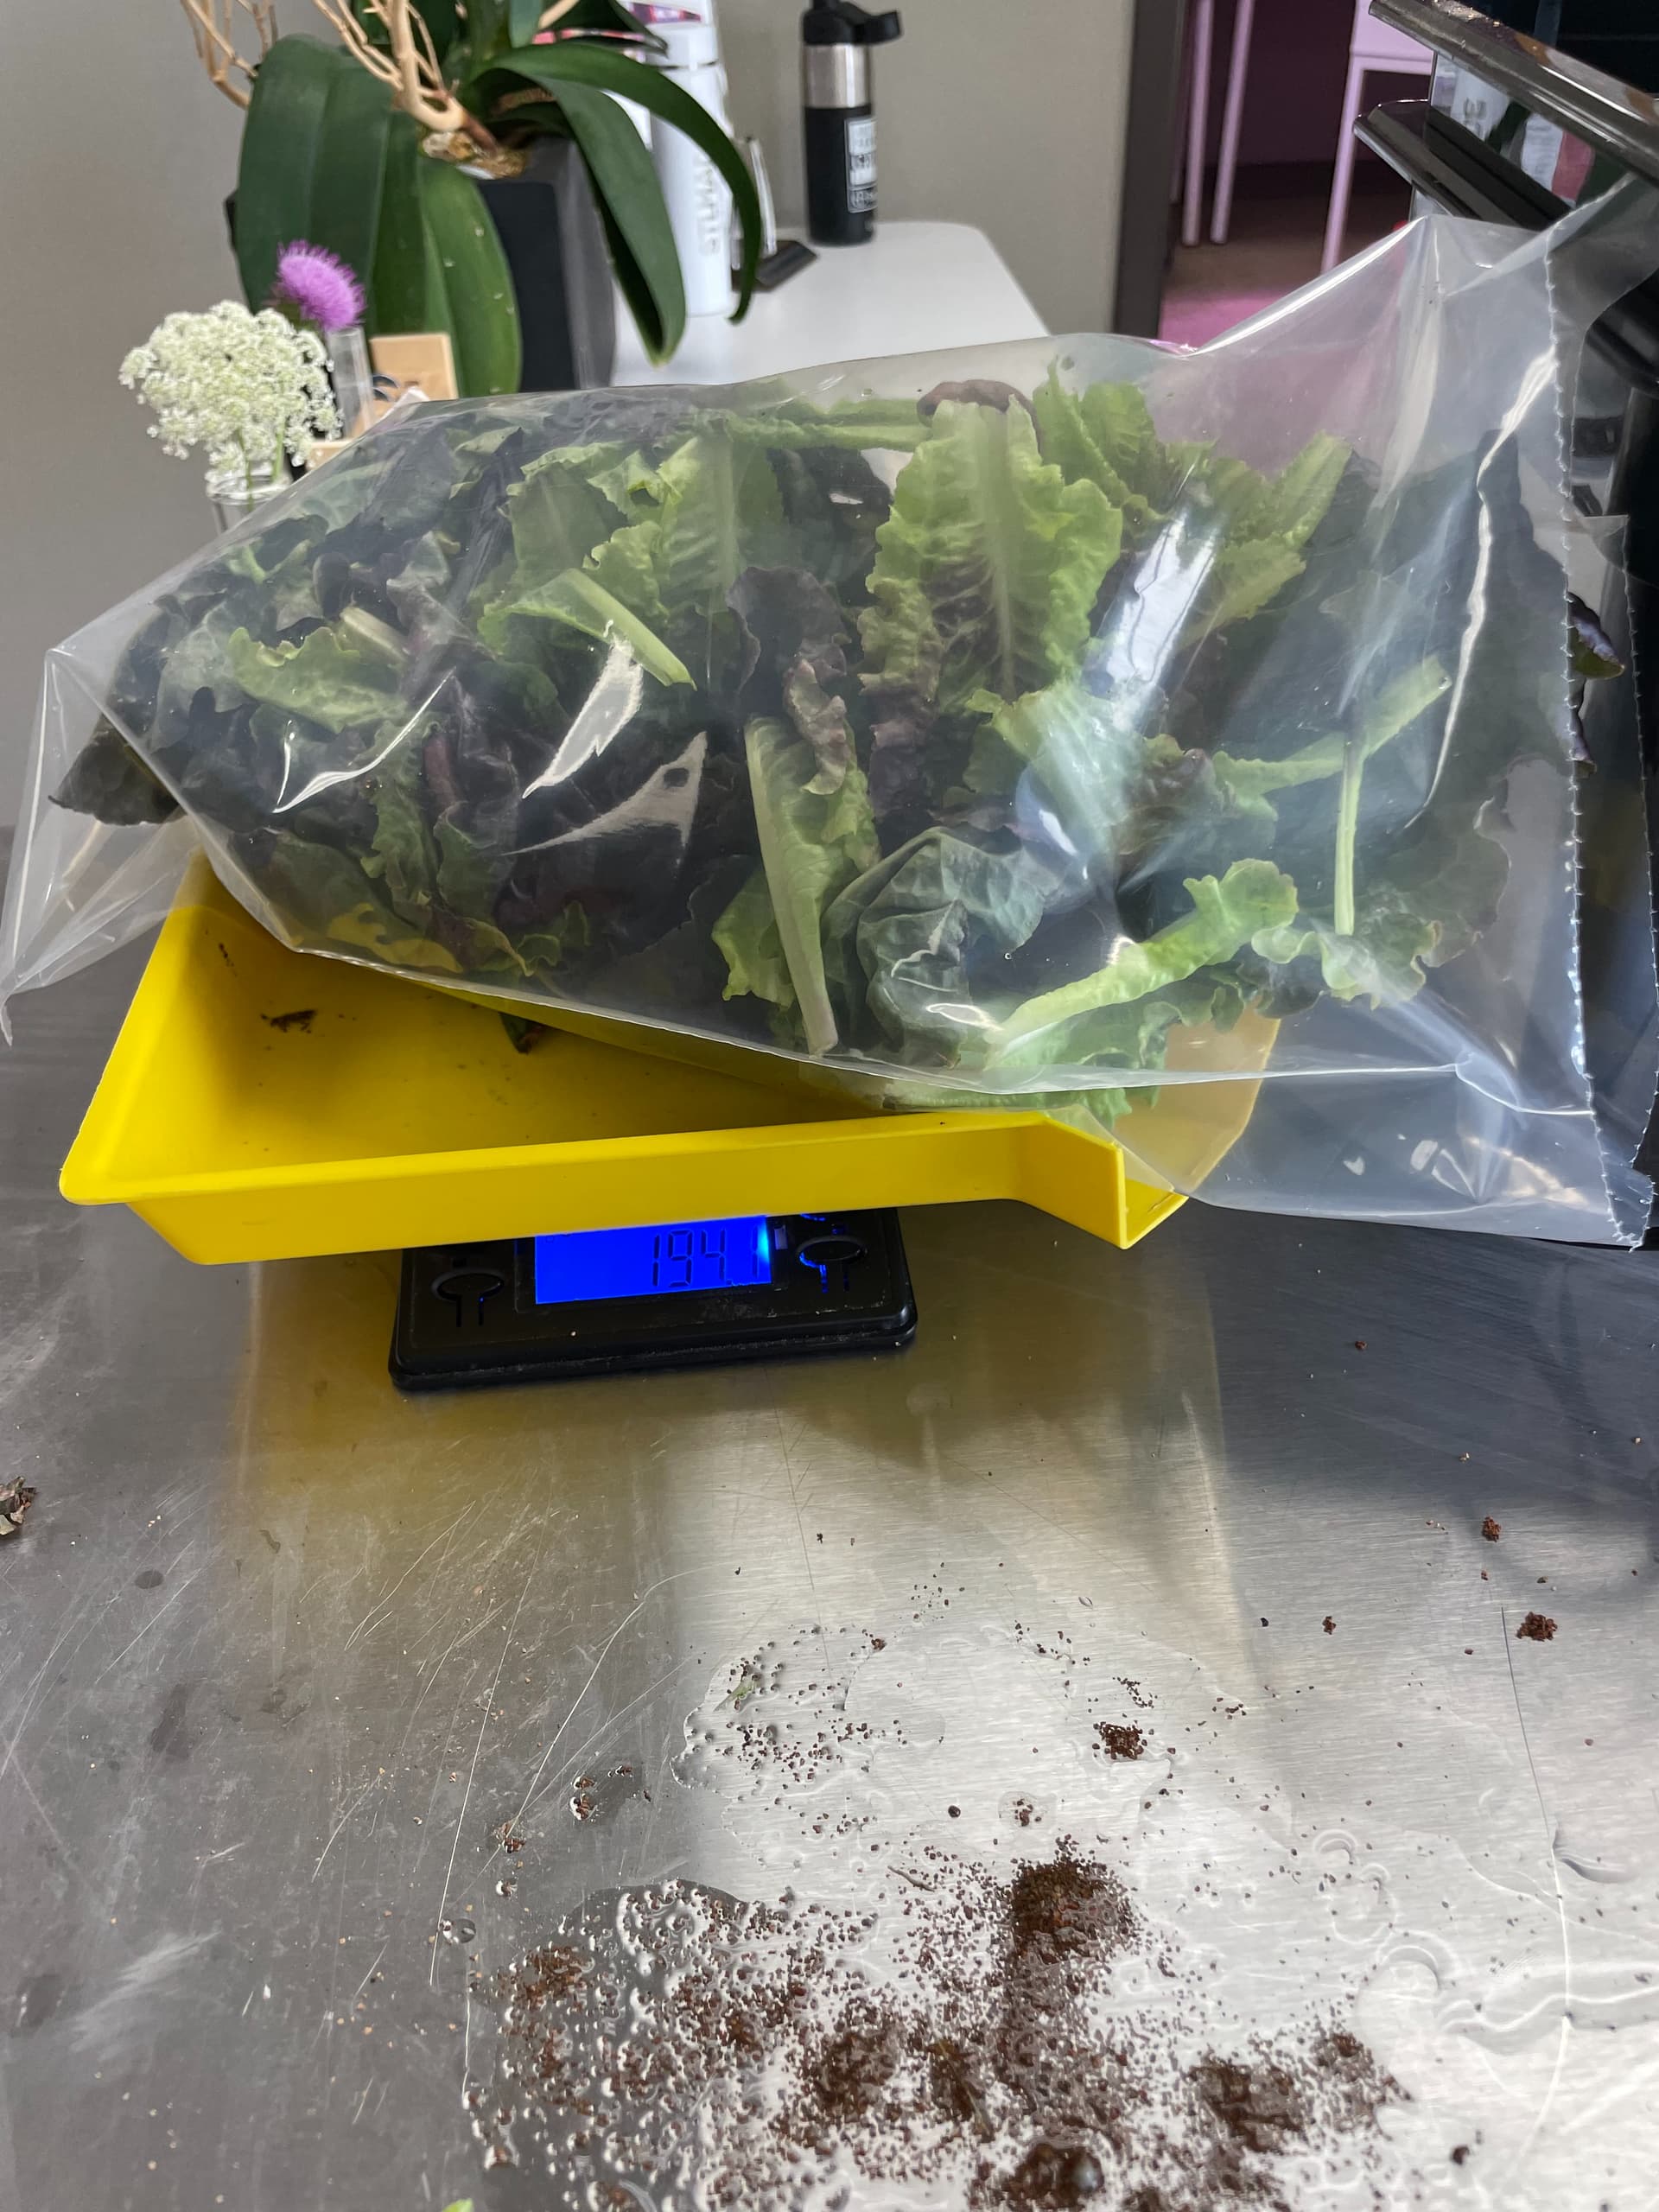
This is all the Red Romaine Lettuce that was harvested being weighed.
- Unit MV1-0042 - Cherry Bell Radish:
Pot 1 (Front Left): 20 g
Pot 2: 70.2 g
Pot 3: 53 g
Pot 4: 41 g
Pot 5: 64.3 g
Pot 6 (Back Right): 84.8 g
Total: 313 g
Total Radish Leafy Greens Weight: 215.5 g
Radish leafy greens are very bitter ( I learned that the hard way), but astronauts eat it up in space, which is pretty cool.

I forgot to take a picture of the Radishes before they were harvested. I am sorry. This picture was taken about two weeks ago. They were very similar to this picture but bigger.

This is all the Radishes that was harvested being weighed.
- Unit MV1-0043 - Compact/Cinnamon/Persian Basil:
Pot 1 (Front Left): 23.1 g
Pot 2: 2 g
Pot 3: 47.6 g
Pot 4: 7 g
Pot 5: 9.7 g
Pot 6 (Back Right): 67.1 g
Total: 156.5 g
This is the Basil before being harvested.
This is all the Basil that was harvested being weighed.

This is an image of our full harvest.
Feel free to share pictures of or tips for harvesting your plants in this thread.
This is a summary of all the data I found through harvesting:
| Pot 1 | Pot 2 | Pot 3 | Pot 4 | Pot 5 | Pot 6 | Total | |
|---|---|---|---|---|---|---|---|
| Bok Choy | 113.3 | 62.3 | 80.6 | 50.9 | 62.2 | 49.1 | 425.2 |
| Red Romaine Lettuce | 15.3 | 6 | 41.7 | 26.3 | 68.8 | 31 | 205.6 |
| Cherry Bell Radish | 20 | 70.2 | 53 | 41 | 64.3 | 84.8 | 313 |
| Compact/Cinnamon/Persian Basil | 23.1 | 2 | 47.6 | 7 | 9.7 | 67.1 | 156.5 |
| Total | 171.7 | 140.5 | 222.9 | 125.2 | 205 | 232 | 1100.3 |
Note that I did not collect the height of the plants, but that is typically done when harvesting.
Here are some takeaways I have gotten through doing some trials from start to finish:
-
The units are very adaptable. Even after we started a trial, it was easy to transport, change the plants inside the unit, or upload new recipes.
-
Algae grows on some of the wicking mats. This is seen in plants that take more time to germinate. Once plants grew, algae growth decreased or completely stopped.
-
Placing the pots to the right (pots 3 & 6 in my trials), yields more plant growth.
-
As plants get bigger, you need to refill your reservoir more frequently.
It’s crazy how rapidly these plants have flourished. It seems like I planted them just a few days back (although it has been six weeks). I suppose the saying “time flies” holds true. I’ll make sure to update everyone as I continue planting new specimens and embark on fresh experiments within the units.
2 Likes
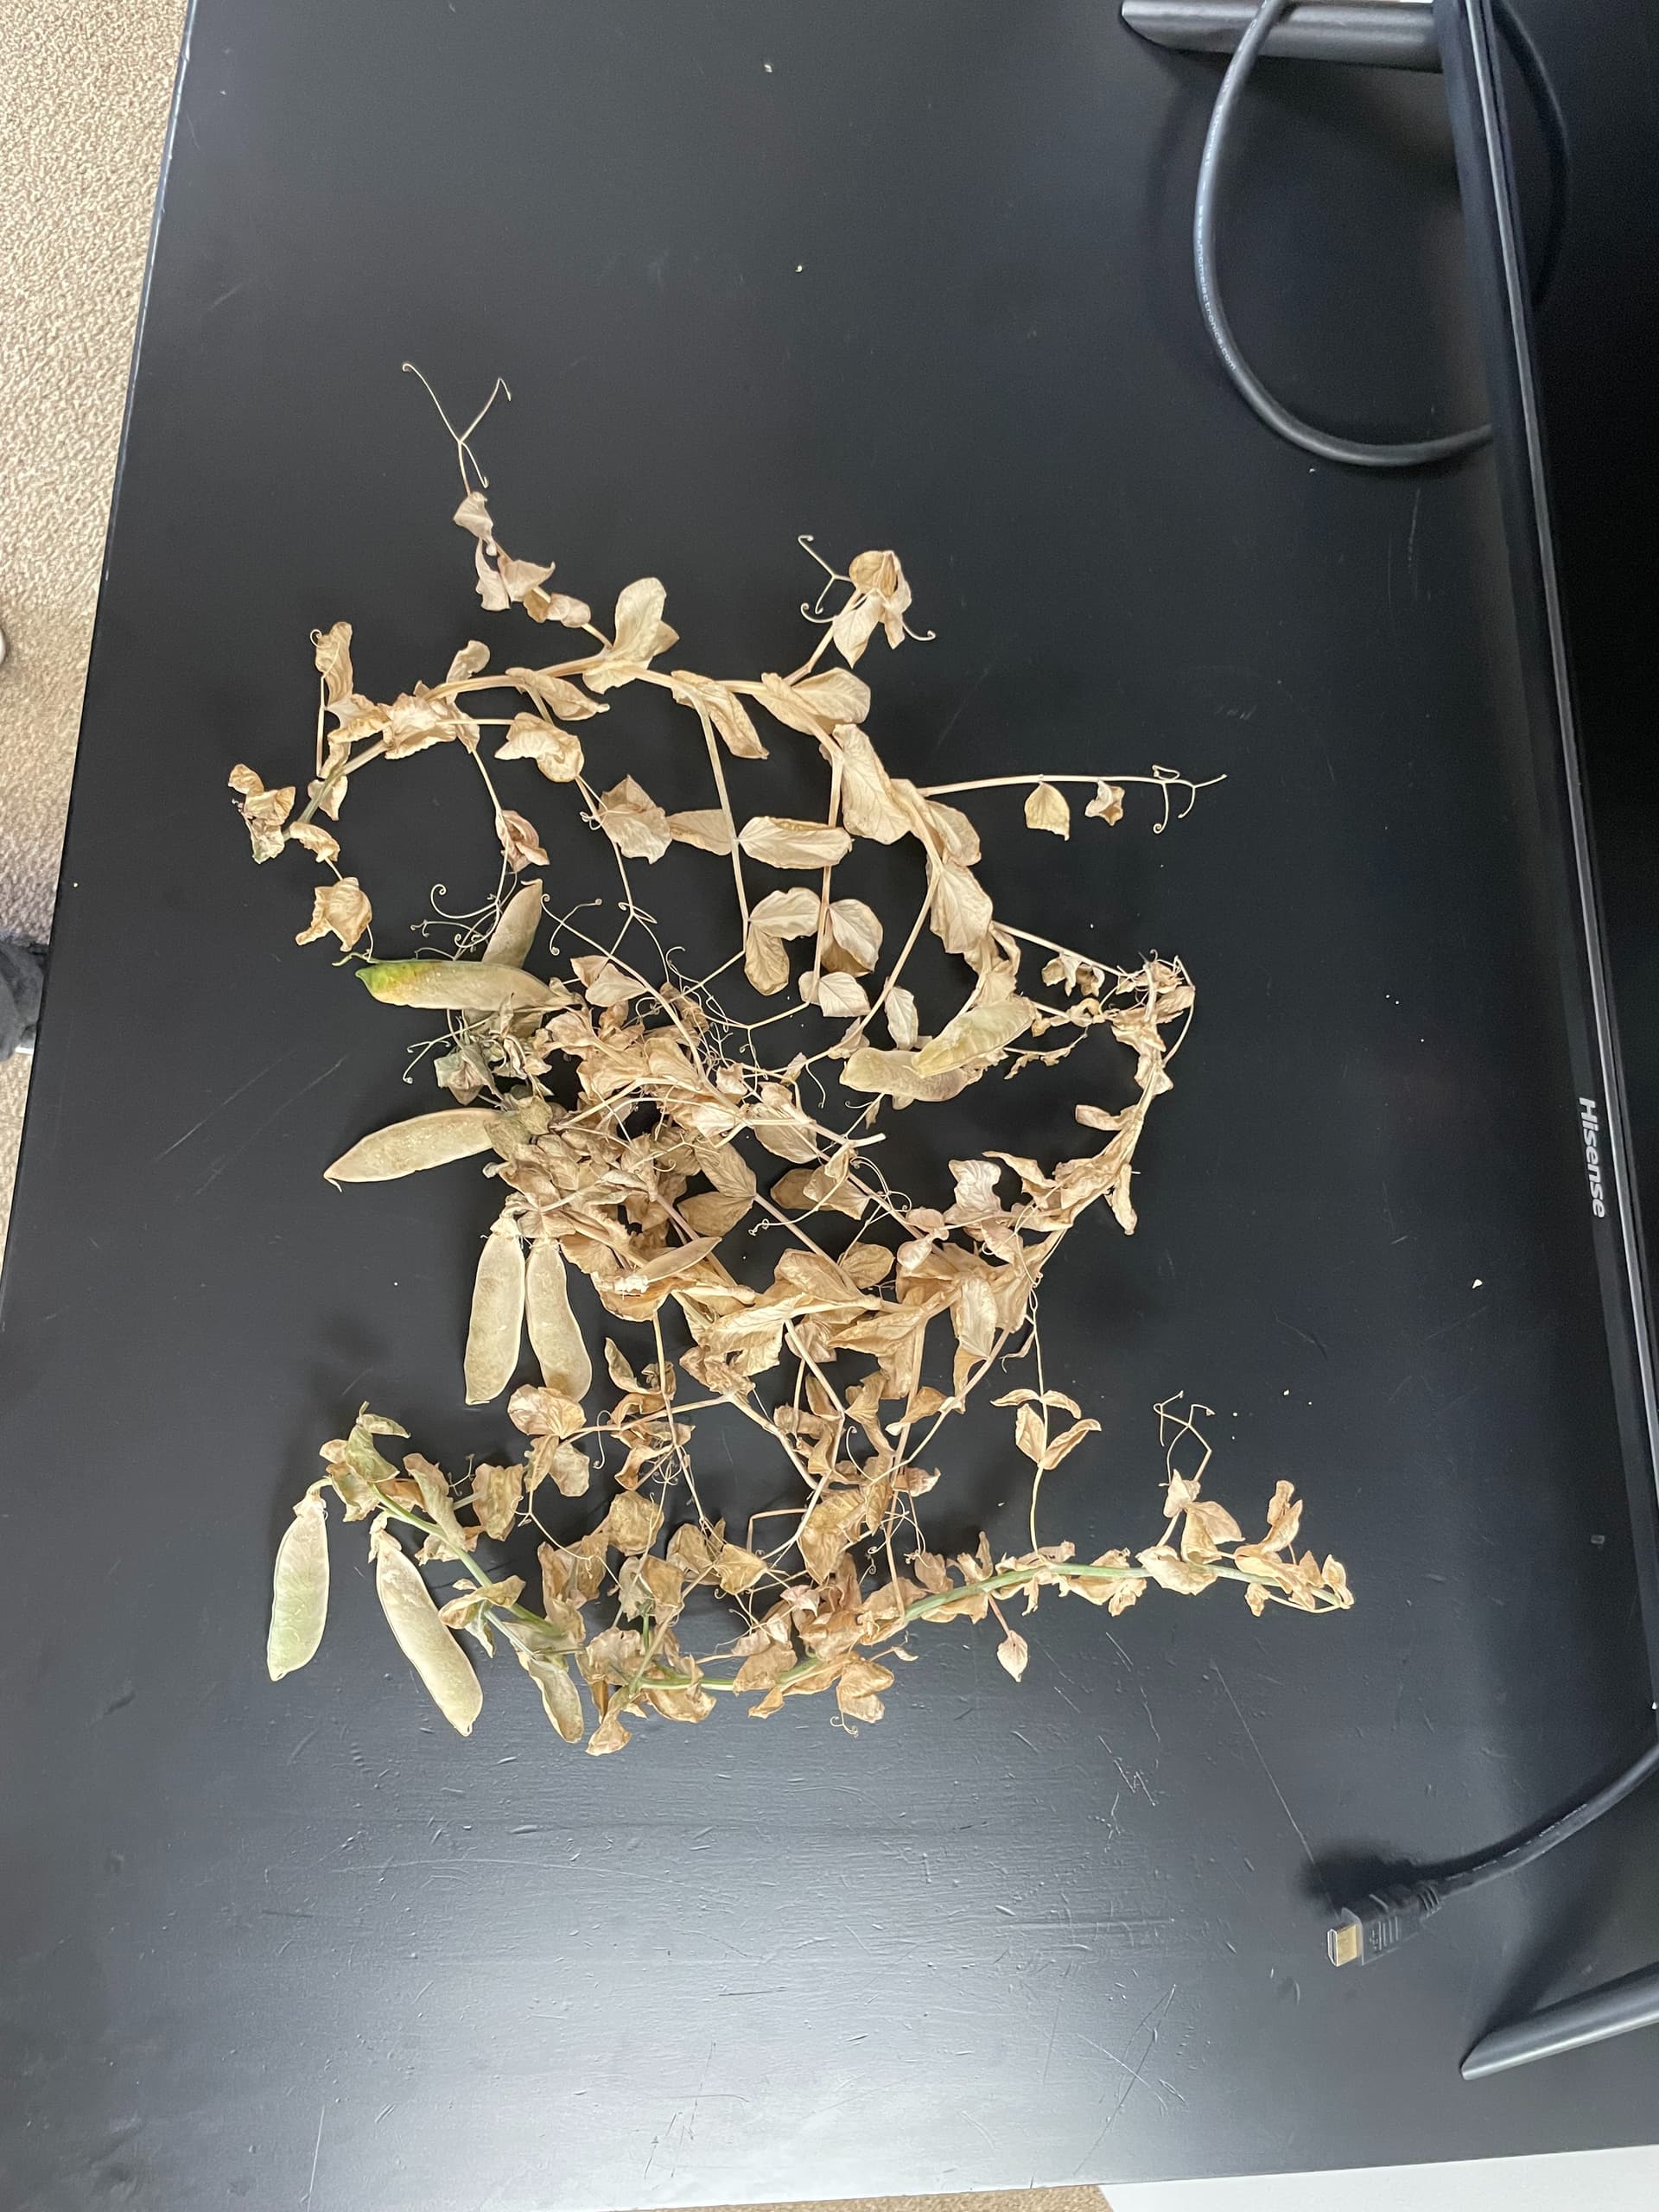
Today I harvested the Little Marvel Dwarf Peas in one of my MV1 units! ![]()

This is an image of the peas before they were harvested.
As you can see in the image above the plants were not doing that well. ![]()
This could be for several reasons:
-
This pea variety tends to want to latch onto anything that it can grab. Becuase of this we put tubes in the middle of all the pots to try to control them. It did not work (big shocker). We did it too late. Because of this tendency, some of the peas stretched up and grabbed the wires at the top of the box near the heater. The excess amount of heat damaged the plants.
To solve this, you can trim your plants, and control their latching by putting a rod in the middle of each pot similar to how we did, but early on (around the time you plant the seeds). To learn more about trimming check out this forum post:
MV1 Summer Trials - #10 by steven
This is an image of the peas after being taken out of their pots. As you can see they are all connected. This demonstrated the plants latching onto each other. -
As we go to conferences we bring our units and the plants inside of them. Due to this, the units are unplugged for a long time and it gives the plants a hard time.
The solution to this issue is to keep your unit plugged as much as you can, while plants are inside. If you have to unplug the unit for a long period, make sure the plants get enough water.
Before I get into the harvesting details I wanted to share a cool thing I noticed. The peas were very mature, as a result, some of the pea pods split open.
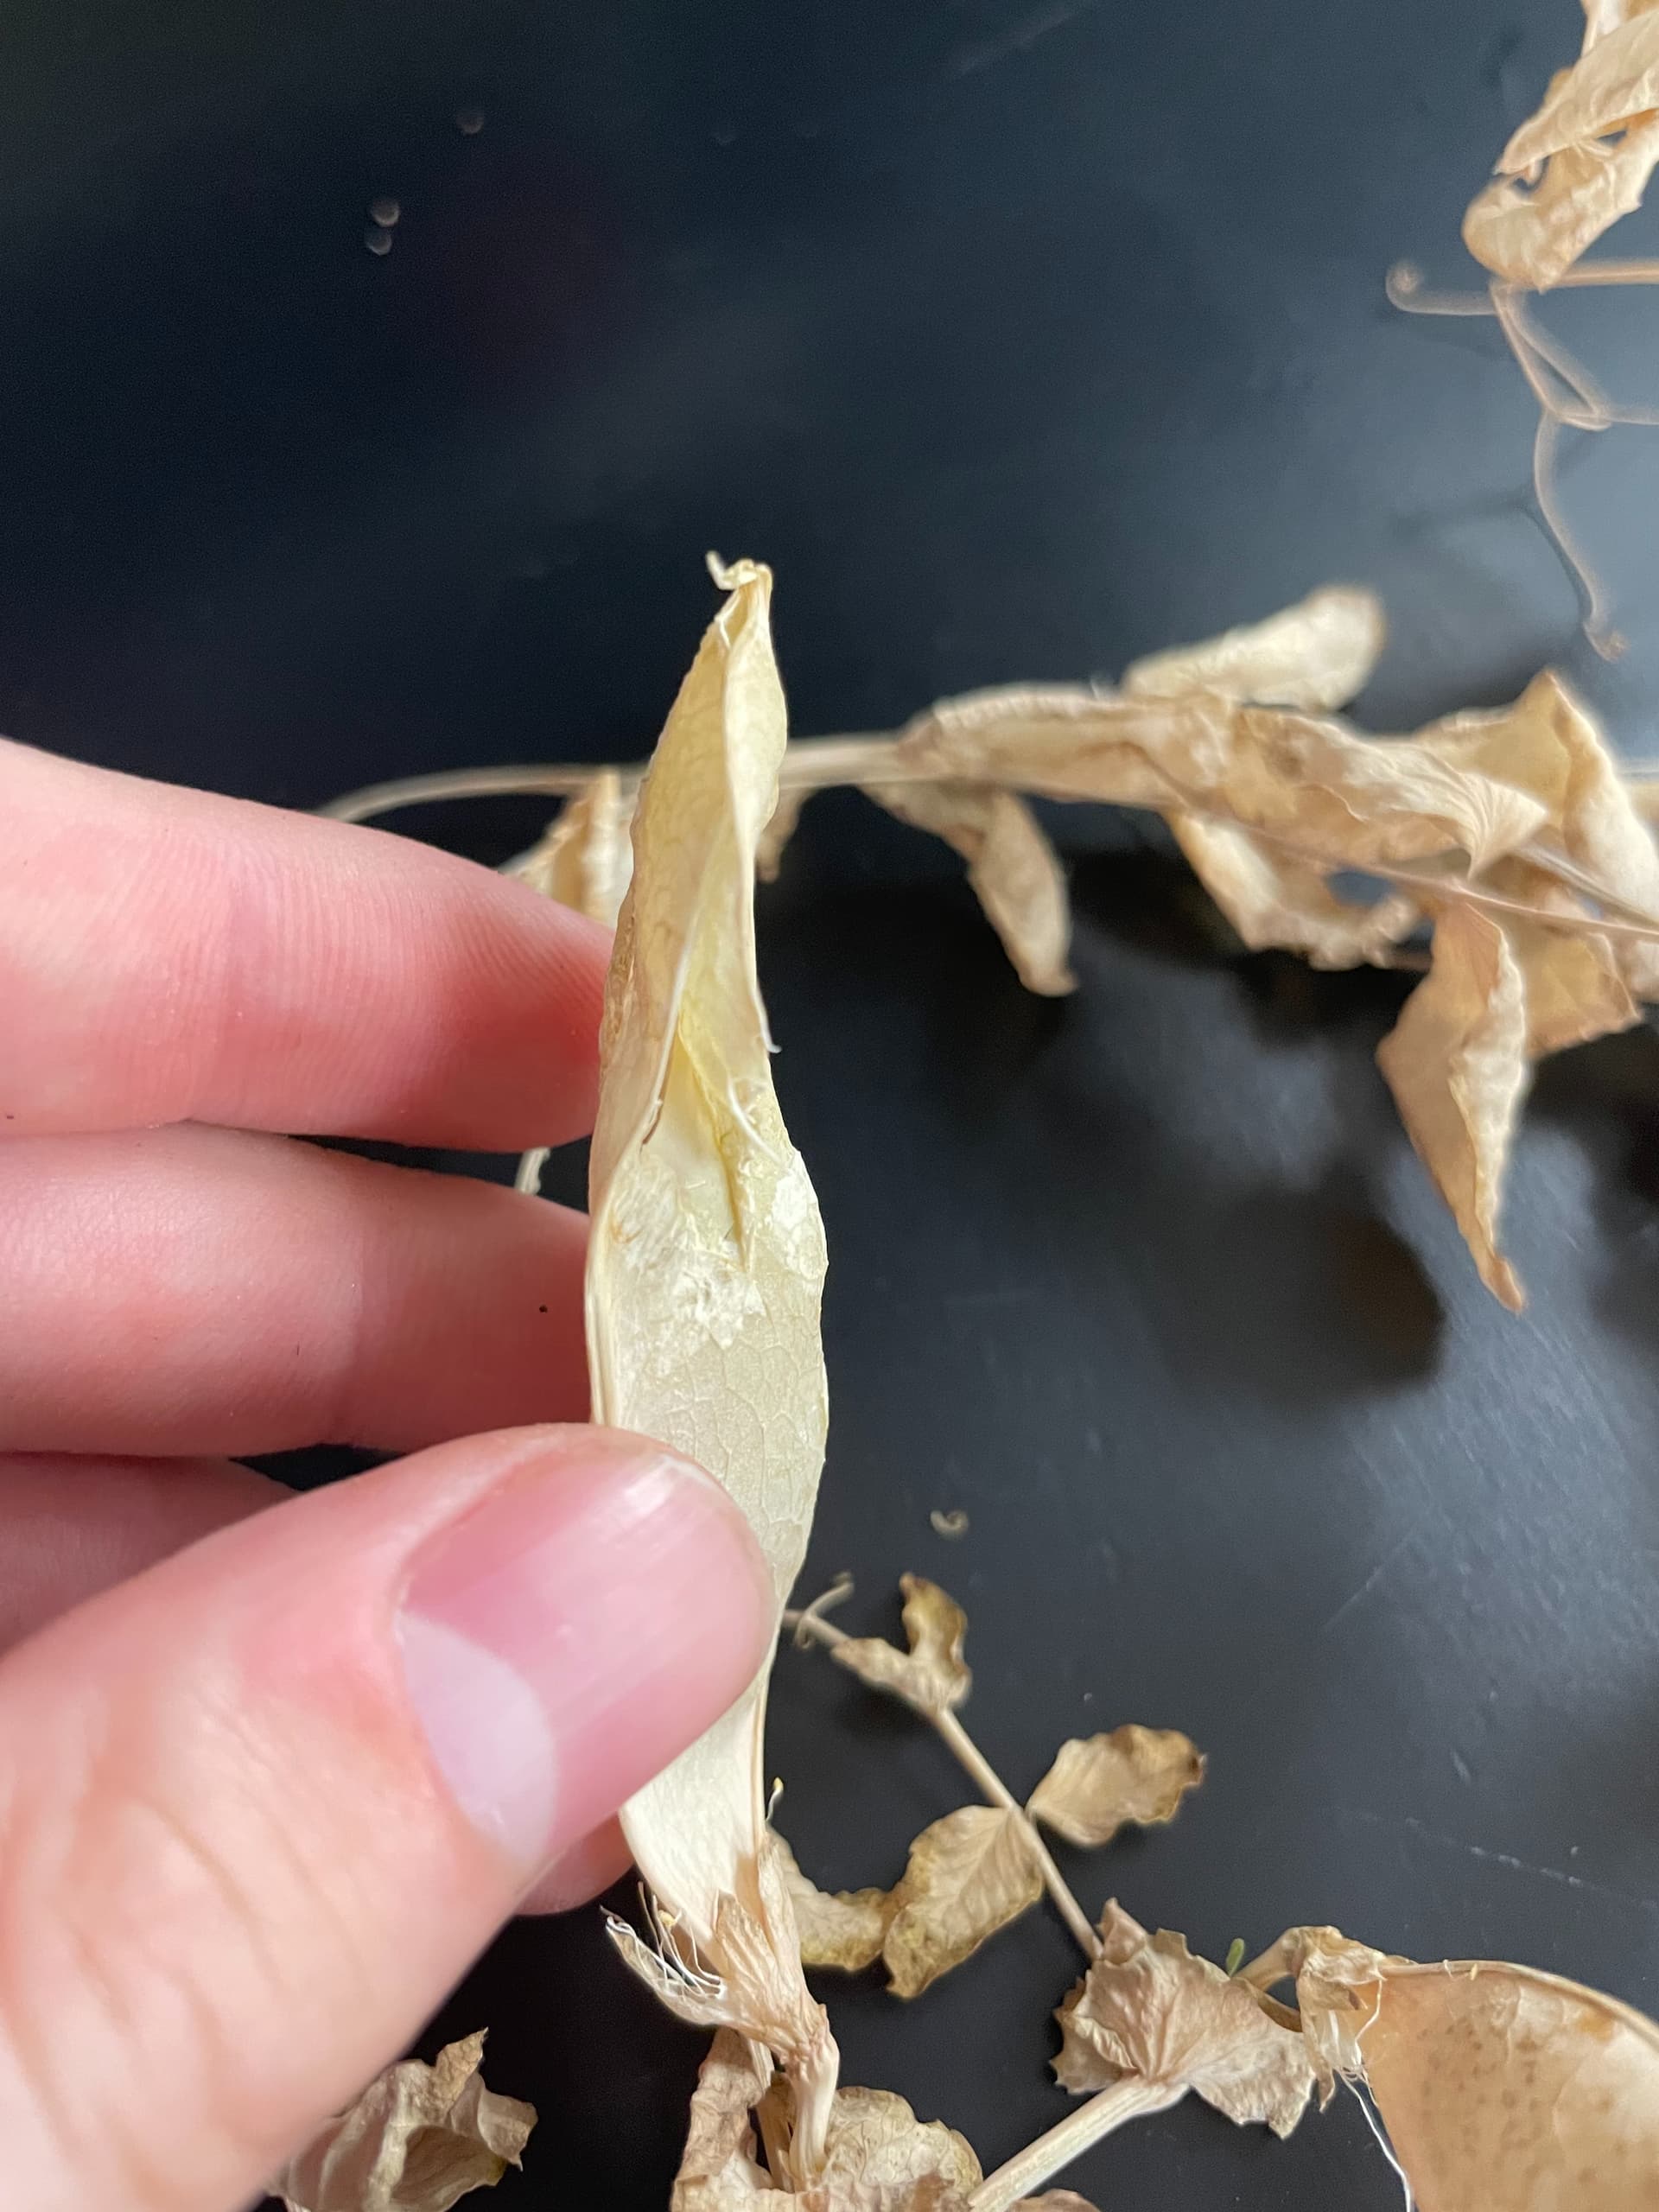
This is an image of a split pea pod.
While harvesting I decided to weigh all of the peas at one time, because there were so few peas to harvest.

This is an image of the harvested peas being weighed, they weighed 11.6g.

This is an image of the total peas harvested.
A silver lining to the peas being dried out is that now I can plant the peas as seeds!! Stay posted as I plant these seeds and share the results.
Feel free to share your harvesting ups and downs. For more information about harvesting visit this forum post:
1 Like