MV1 WiFi - How to Remove A Connection

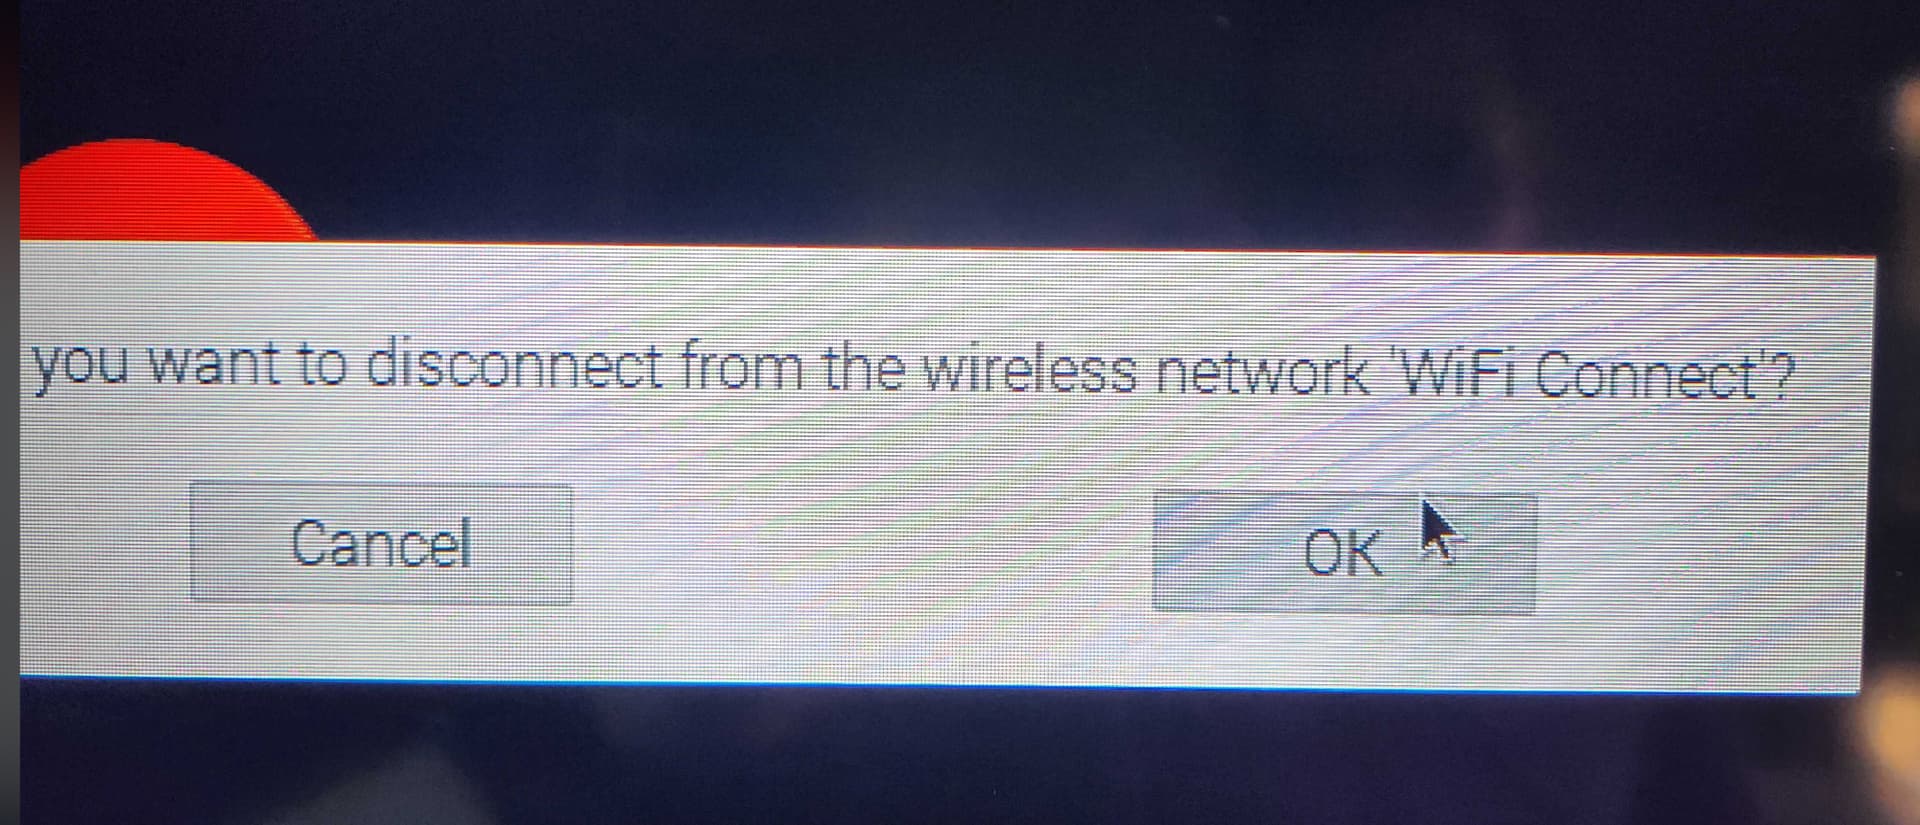
Here at MARSfarm, we’ve received a few questions about how to remove an existing WiFi network once it’s been configured via WiFi connect. This might be because you connected to the wrong network accidentally, or because the IT department sets up a new IoT network that they want you to put the devices on, etc.

Whatever the reason, you have found yourself in a situation where the existing network is still active (and thus, WiFi Connect will not pop up again), and you need to switch the device to a new one.

Setup the Device

The easiest way uses the command line, and you’ll need a keyboard and screen connected to the Raspberry Pi in the Brain.

IT Professionals: If you want to use PuTTY, contact me for the login info!


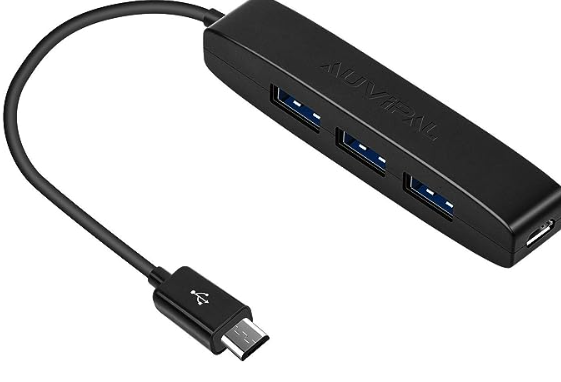
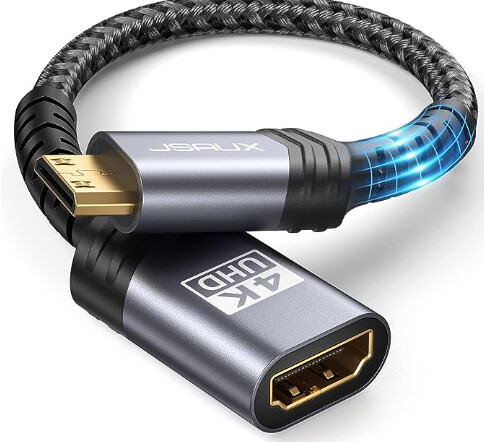
Unless you have some strange hardware, you will likely need a “MicroUSB” adapter for the keyboard, and a “HDMI → MiniHDMI” adapter for the screen.
Also, the Raspberry Pi doesn’t like when you plug a new HDMI connection in when it’s running; you’ll usually have to power it off, plug the HDMI in, and then power it back on.

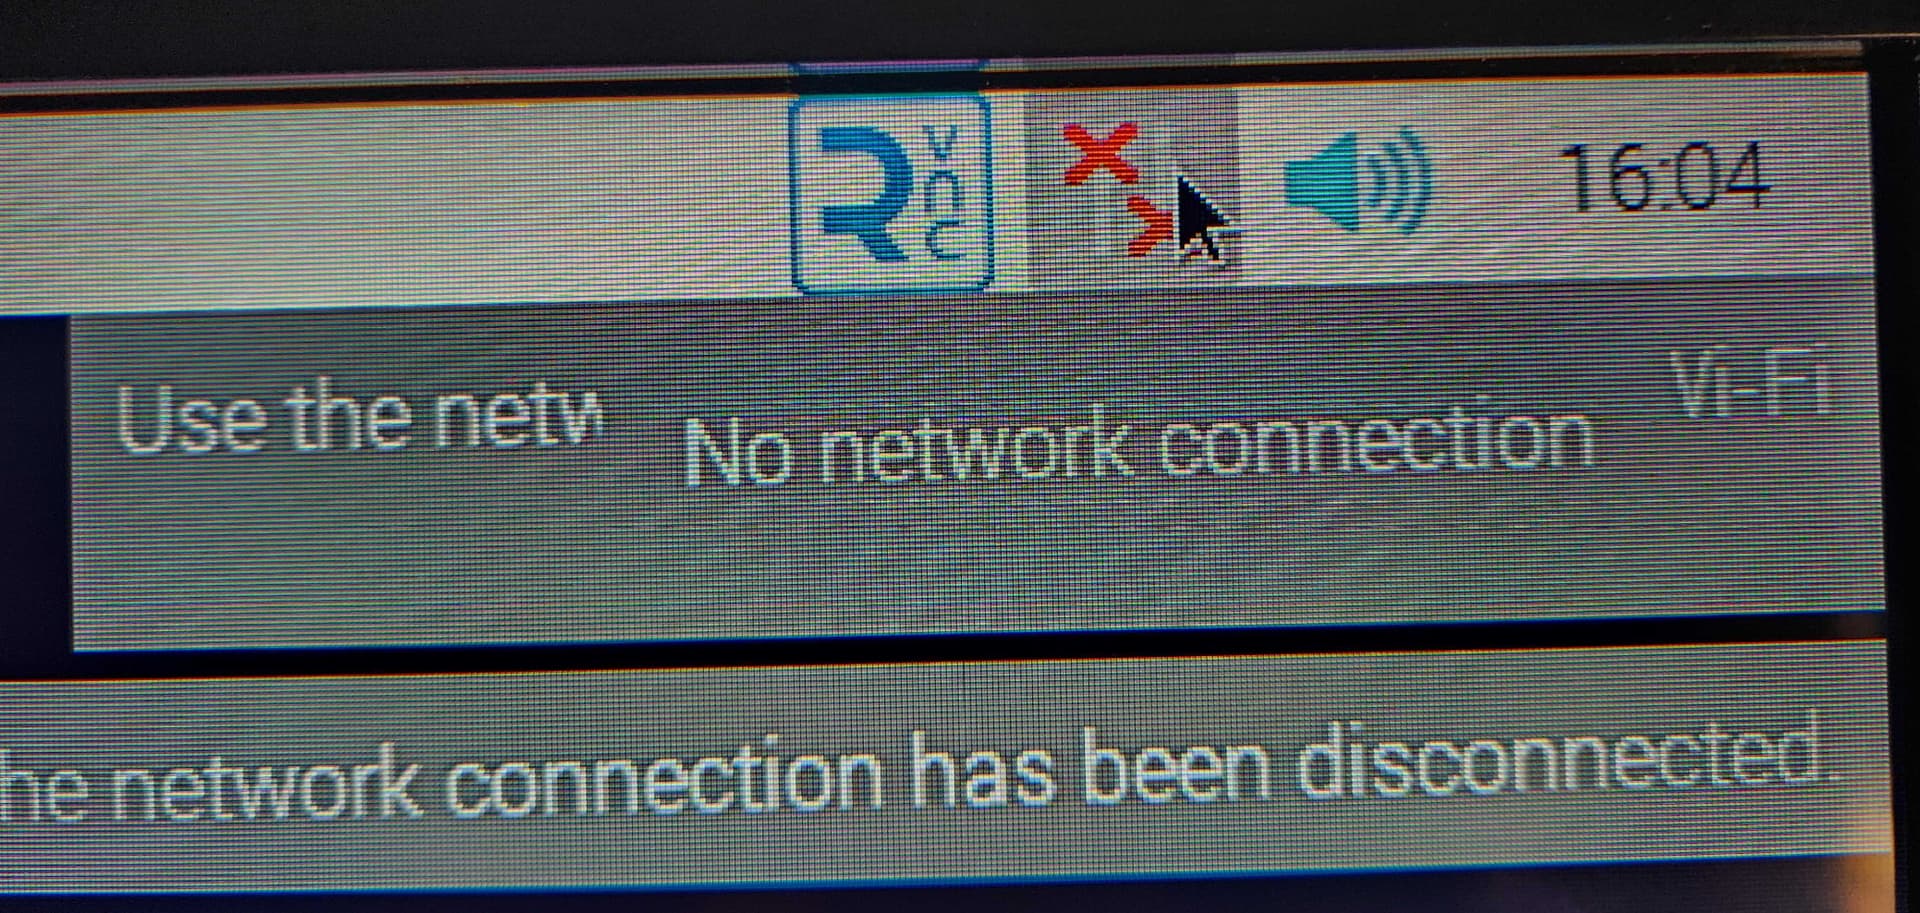
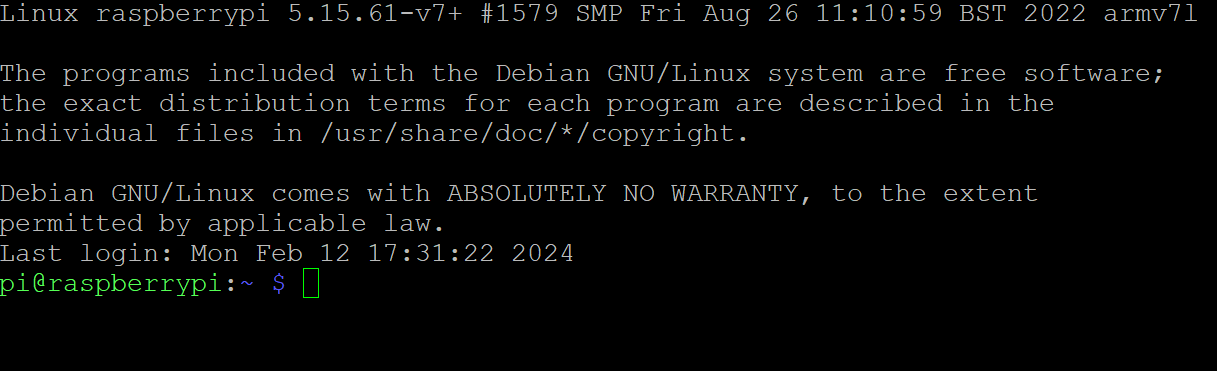
Once you’re connected, you’ll see something like this:

Command Line Commands

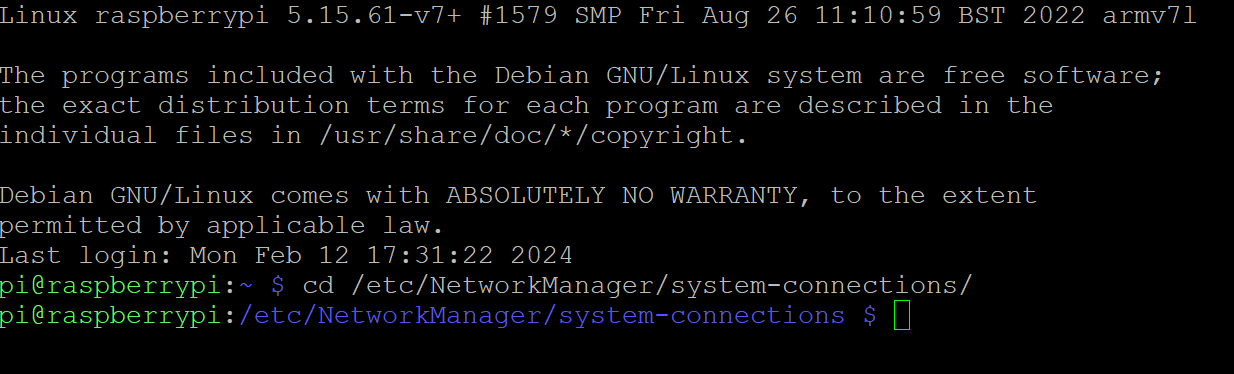
  1. First, you’ll navigate to the correct directory. This is equivalent to opening a folder on your desktop
    a) Type in the following command:
    b) cd /etc/NetworkManager/system-connections/
  2. List the files in this directory. In this case, the files will be named the same as any WiFi network the MV1 has saved the network credentials for:
    a) Type in the following command (note that the first character is an “L”):
    b) ls
  3. Remove the network that you wish to disconnect from:
    a) Type in the following command:
    b) sudo rm File_Name
  4. For verification, list the files in the directory again to make sure it was correctly removed:
    a) Type in the following command:
    b) ls
  5. Reboot the Pi safely with the following command, and you should see WiFi Connect available as a network again when it’s back up and running!
    a) Type in the following command:
    b) sudo reboot

That’s it! Hopefully this was painless, and made you feel like a super cool hacker.

2 Likes

These instructions should be a usable workaround for anyone unable to connect using Wi-Fi Connect (for whatever reason). If you have a keyboard+mouse and HDMI monitor in a classroom - Amazon will sell you these adaptors for $15 and you’ll be ready to go after plugging them in like Drew showed in the photos above.

Alternative method of adding a new Wi-Fi network

  1. Get the ssid (network name), password, and username (if needed) that you want to join.
  2. Connect a keyboard+mouse/monitor to the Brain.
  3. On the command line, type in “startx”, and hit Enter/return.
  4. After the Desktop starts up, look in the top right of the screen for the Network icon (looks like two arrows, one pointing up, and the other pointing down), and click on it to open.
  5. Click on the “WiFi Connect” option to disable this self-hosted network. Click “OK” on the dialog box that appears in the center of the screen.
  6. Back on the top right of the screen, open up the Network icon again (the two arrows will probably have red X’s over them)
  7. Select the name of your desired network from the list, or hover over “More networks” to see the full list. Click on your network.
  8. Enter the password for your network in the new dialog box in the center of the screen. Click “Connect” or hit Enter/return to connect.
  9. In the top right of the screen, you should see a notification of success.
  10. In the top left of the screen, click on the Raspberry Pi icon to open the system menu.
  11. Click the “Logout” option
  12. Click the “Exit to command line” option
  13. Once you see the command line again, you can now disconnect the adapters. Your device will now be able to accept commands from the web application within a minute or two.

Links to adaptors

USB (keyboard + mouse) - AuviPal 3-Port Micro USB Adapter
https://www.amazon.com/gp/product/B083WML1XB/
image

HDMI (screen) - JSAUX Mini HDMI to HDMI Adapter
https://www.amazon.com/gp/product/B09MD23K4X/?th=1
image

@InnovationCenter @Surendra