A lot of the parts that we make are made with 3D printers. This thread will be used to explain and improve the work we do using 3D printers. Here is a video of our production and assembly manager (Ashley) showing our 3D printers to you and some parts we make with them:
https://youtu.be/5npHx2duYxE
2 Likes
Here are some updates about MARSfarm 3D Printing. Below are some photos from the 3D printing room today:

This is an image of a newly finished brain enclosure. It will soon be removed from the printer mat and put on a machine.
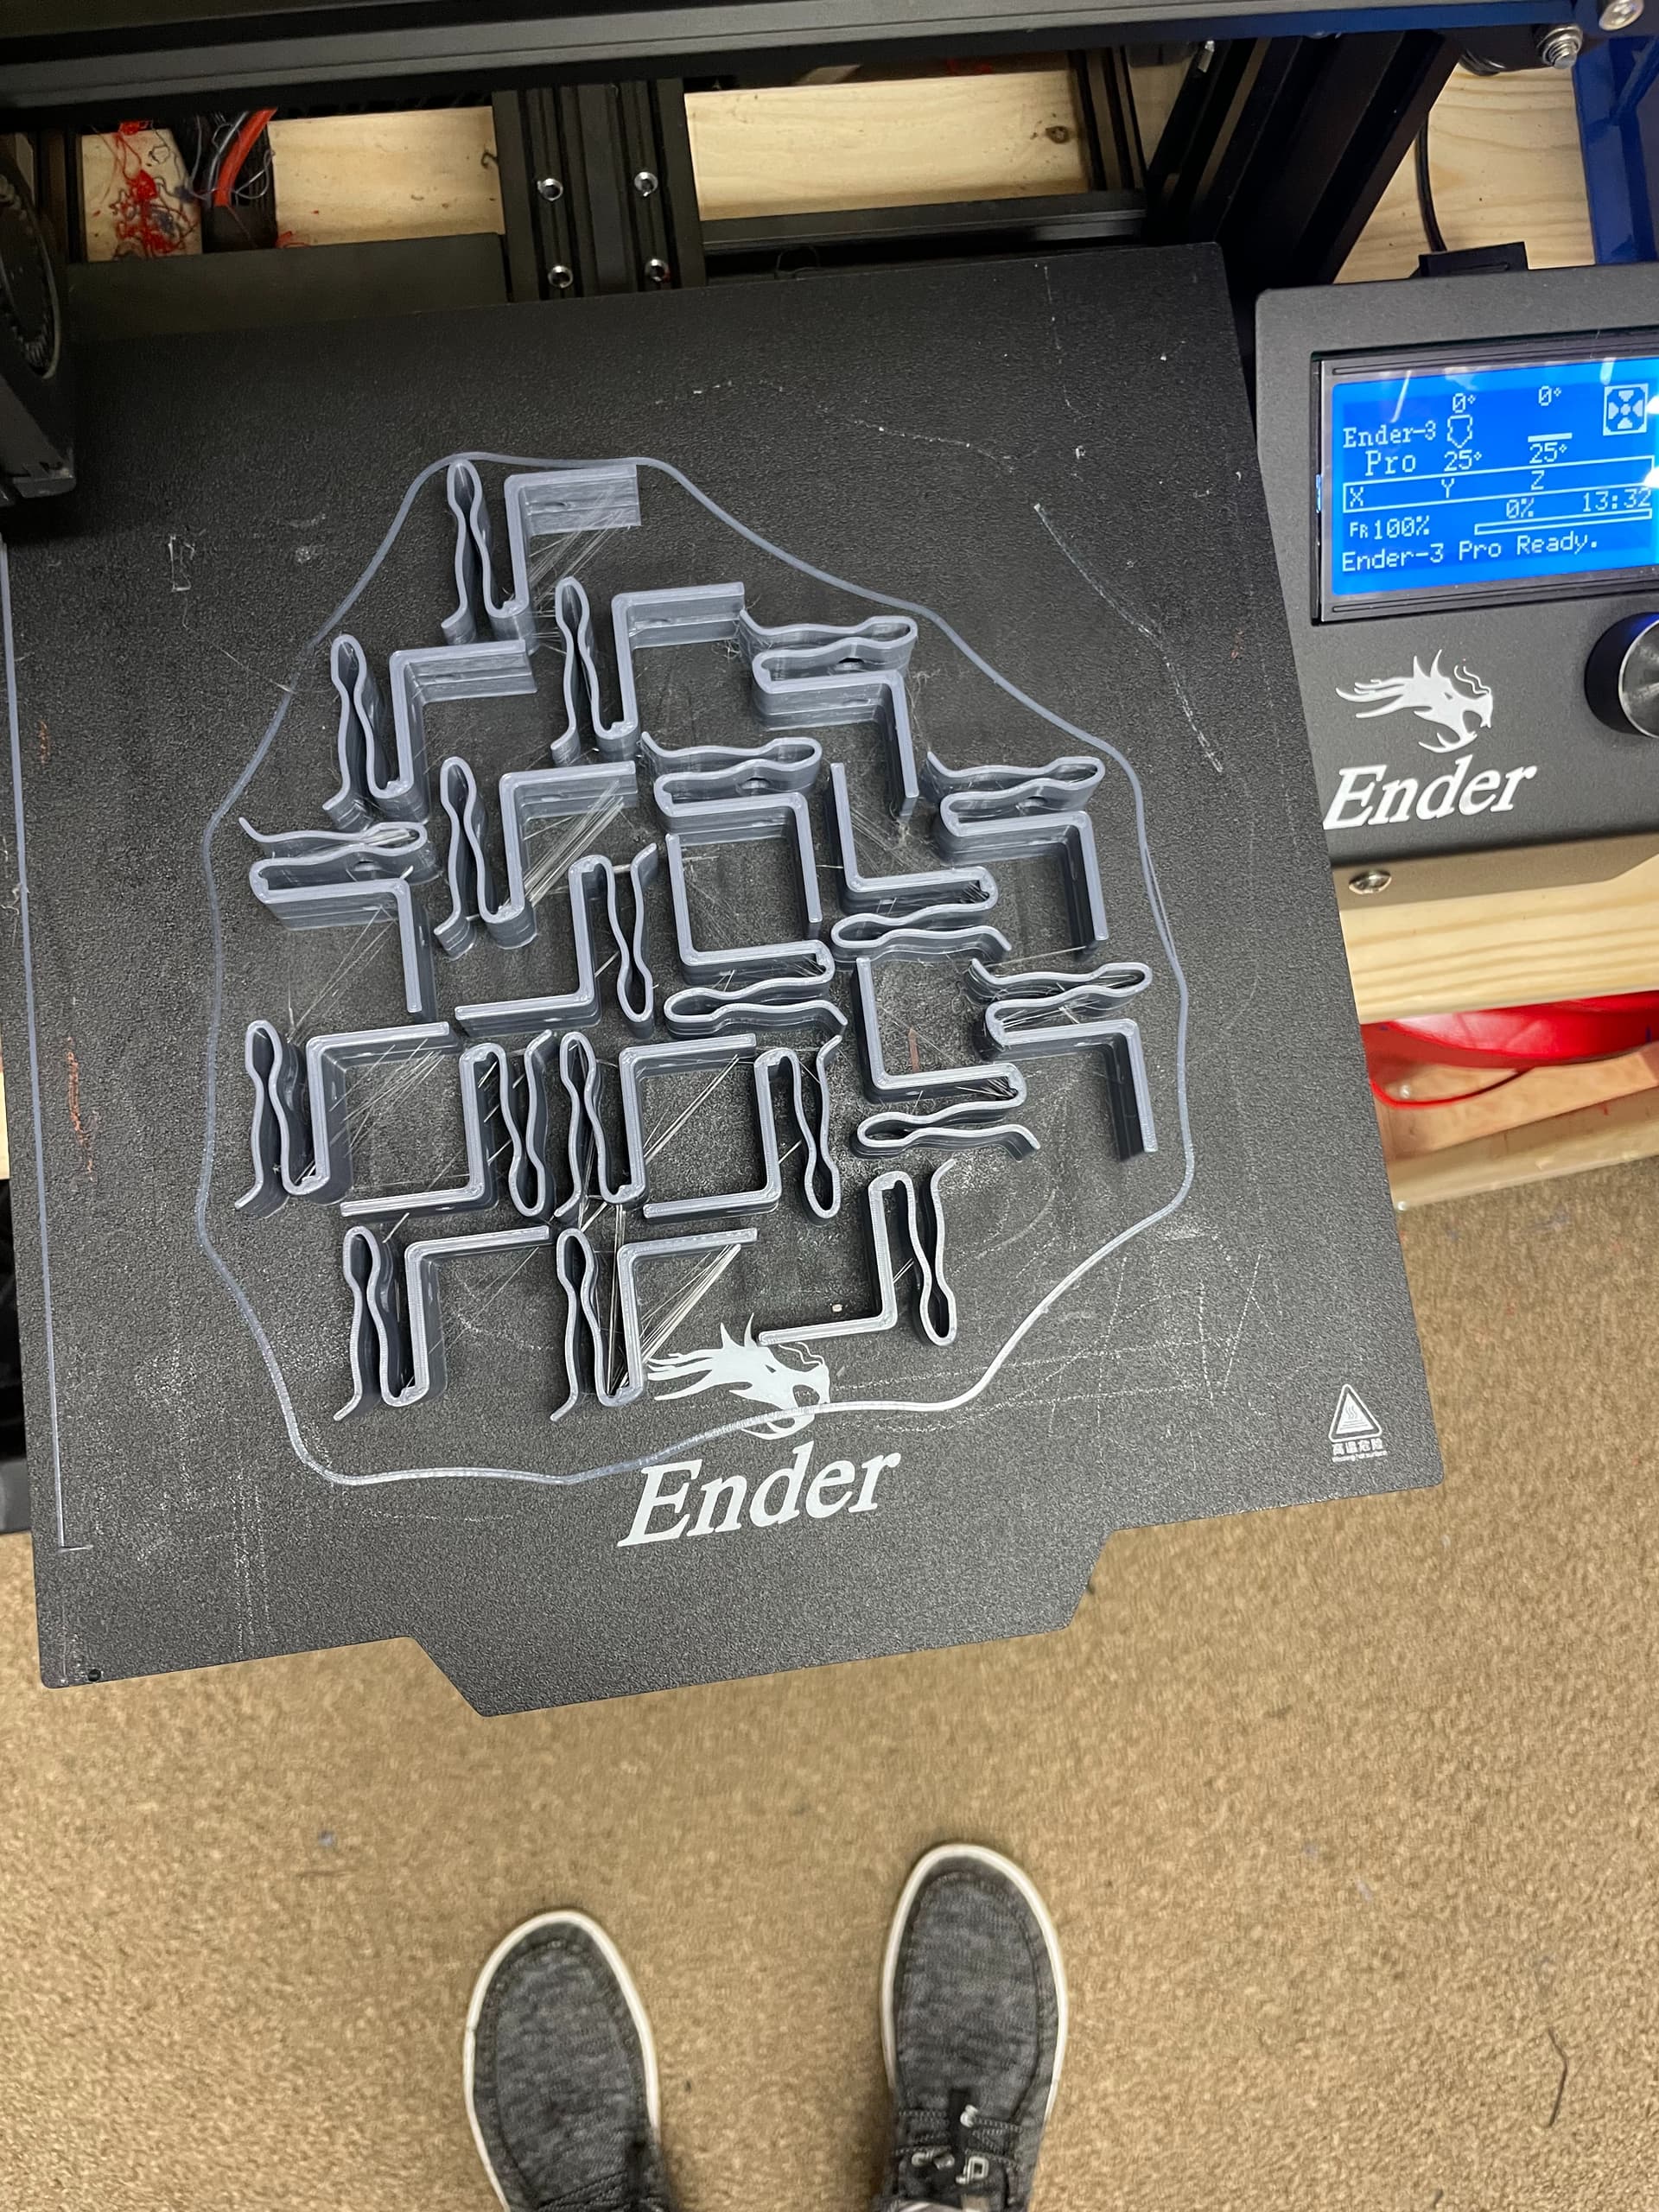
This is one of the parts that make up the corners of the units.

This shelf is where we store a lot of parts that we are waiting to use on units.
I also would like to share with you this file:

This camera mount was designed to hold an ArduCam in the center of an older Growing Beyond Earth frame with minimum hindrance to airflow. Since there was only one mounting location, the holes in the center of the GBE LED were put to double purpose to attach the camera mount. This file could be improved in several ways:
- Redirect the airflow with a wedge or curve above the lid that holds the camera into the cradle. Some more complex ducting could also be used to ensure the airflow is still pointed at the plants
- Accommodation for the camera ribbon cable
- Using the case that the ArduCam comes with instead of a printed cradle/lid
Here is the link to that file. We would love any input you all have on how to improve it.
I will continue to share updates on the 3D printing projects at MARSfarm, and feel free to post some 3D projects of your own as well!
1 Like
Look at these cool pots students at Northridge Highschool in Colorado printed, and put in their Growing Beyond Earth Unit:
https://twitter.com/MachinNorris/status/1631793152670715905
https://twitter.com/MachinNorris/status/1631077102522105857
2 Likes
Recently I spoke with a team of teachers in Hawaii participating in the Growing Beyond Earth. They asked if I would share some of the files that we use on our 3D printers with them, so here they are! I’m sharing the “G-code” that actually runs on our 3D printers, which means you can take these and load it directly onto any printer - without ever opening the file on a computer.
What’s G-code?
Imagine you have a robotic pencil that can draw pictures by following a specific path on a piece of paper. Now, if you want to make that pencil draw a smiley face, you’d have to give it a set of instructions. You’d need to tell it where to start, where to go next, how fast to move, and so on.
G-code is a language that does just that but it extrudes plastic - which allows it to “print” in three dimensions (vertical, left/right, forward/backward - ) - which is why its called a 3D printer! It’s a series of commands that tell the printer where to move, how fast to move, and what to do at each step. Here’s what some of the common commands might look like:
- G0 or G1: These commands tell the printer to move to a specific point. G1 usually includes a speed, so the printer knows how fast to move.
- G2 or G3: These commands are for drawing curves.
- G28: This command tells the printer to go back to its home or starting position.
- M104: This is an example of a command that might set the temperature of the part of the printer that melts the material.
So, if you want to print a 3D model of a cat, the G-code would be like a really long list of these commands, guiding the printer to build the cat layer by layer, starting from the bottom and working its way up.
It’s like giving step-by-step instructions to someone building a LEGO model. Every piece has its place, and the instructions tell you exactly where each piece goes and in what order. In the case of a 3D printer, G-code is the instruction manual, and the printer is the person following the instructions, building the model piece by piece.
FG_V3_GCK_Bottom_Corner_x8.gcode
FG_V3_GCK_Fan_Cover_x9.gcode
Please keep in mind these are our production files - which means they’ll create 8 or 10 or 16 parts at a time and run for 10-24 hours. I figured it would be fun to share this version so students can learn more about manufacturing. 3D printers are a great way for students to get excited about designing parts. I think the value goes beyond that though, because it forces them to think about the manufacturing process itself and whether that part can actually be made. This concept is called “Design for Manufacturing” by product designers.
We would also be willing to share the actual CAD files (.STEP format?) but frankly, this is better to share because the students won’t have to slice these files before being able to print them.
I’m adding a few more parts from the MARSfarm Mini V0.23, including:
- The red clips from the vertical support posts
- The Top Corner from the vertical support posts
- The two parts of the CO2 Sensor Enclosure
This folder has them in both .STL and .3MF formats. Happy printing!
https://drive.google.com/drive/folders/1fSl_kg1EfBOBHozdOV3FdbCeUztMFzAN?usp=sharing
Hands down, the brain enclosure has been the most difficult part to manufacture. That’s partly because it’s PETG (flame resistant) and partly because it’s so large that as it cools the edges tend to curl upward. The value of 3D printing (and CNC technology in general) is that it makes more materials accessible to individuals (or small groups) - which then fosters innovation. If we started MARSfarm 10 years ago, we wouldn’t be able to make anything out of plastic until we were producing that part by the 1000’s.
After dozens of failures (beyond what you see here) we finally upgraded three of our printers to the newer Ender Pro 3’s - highly recommended - which I got for ~$200/ea. Here’s a link to buy it from Microcenter.
